Create an add-on
Add-ons let you offer extra items that can be added to another product — for example “Extra cheese”, “Fries”, or other optional sides/toppings. Add-ons cannot be sold on their own; they always belong to a main product.

1: Create an add-on group (article type)
Before creating individual add-ons, you must first create an article type of type AddOn. Think of this as an add-on group (e.g., “Pizza toppings”).
You will later attach many add-ons — such as Extra cheese, Extra ham, etc. — to this group. A single add-on group can be used by multiple articles (e.g., all pizzas on your menu).
- Sign in to BackOffice.
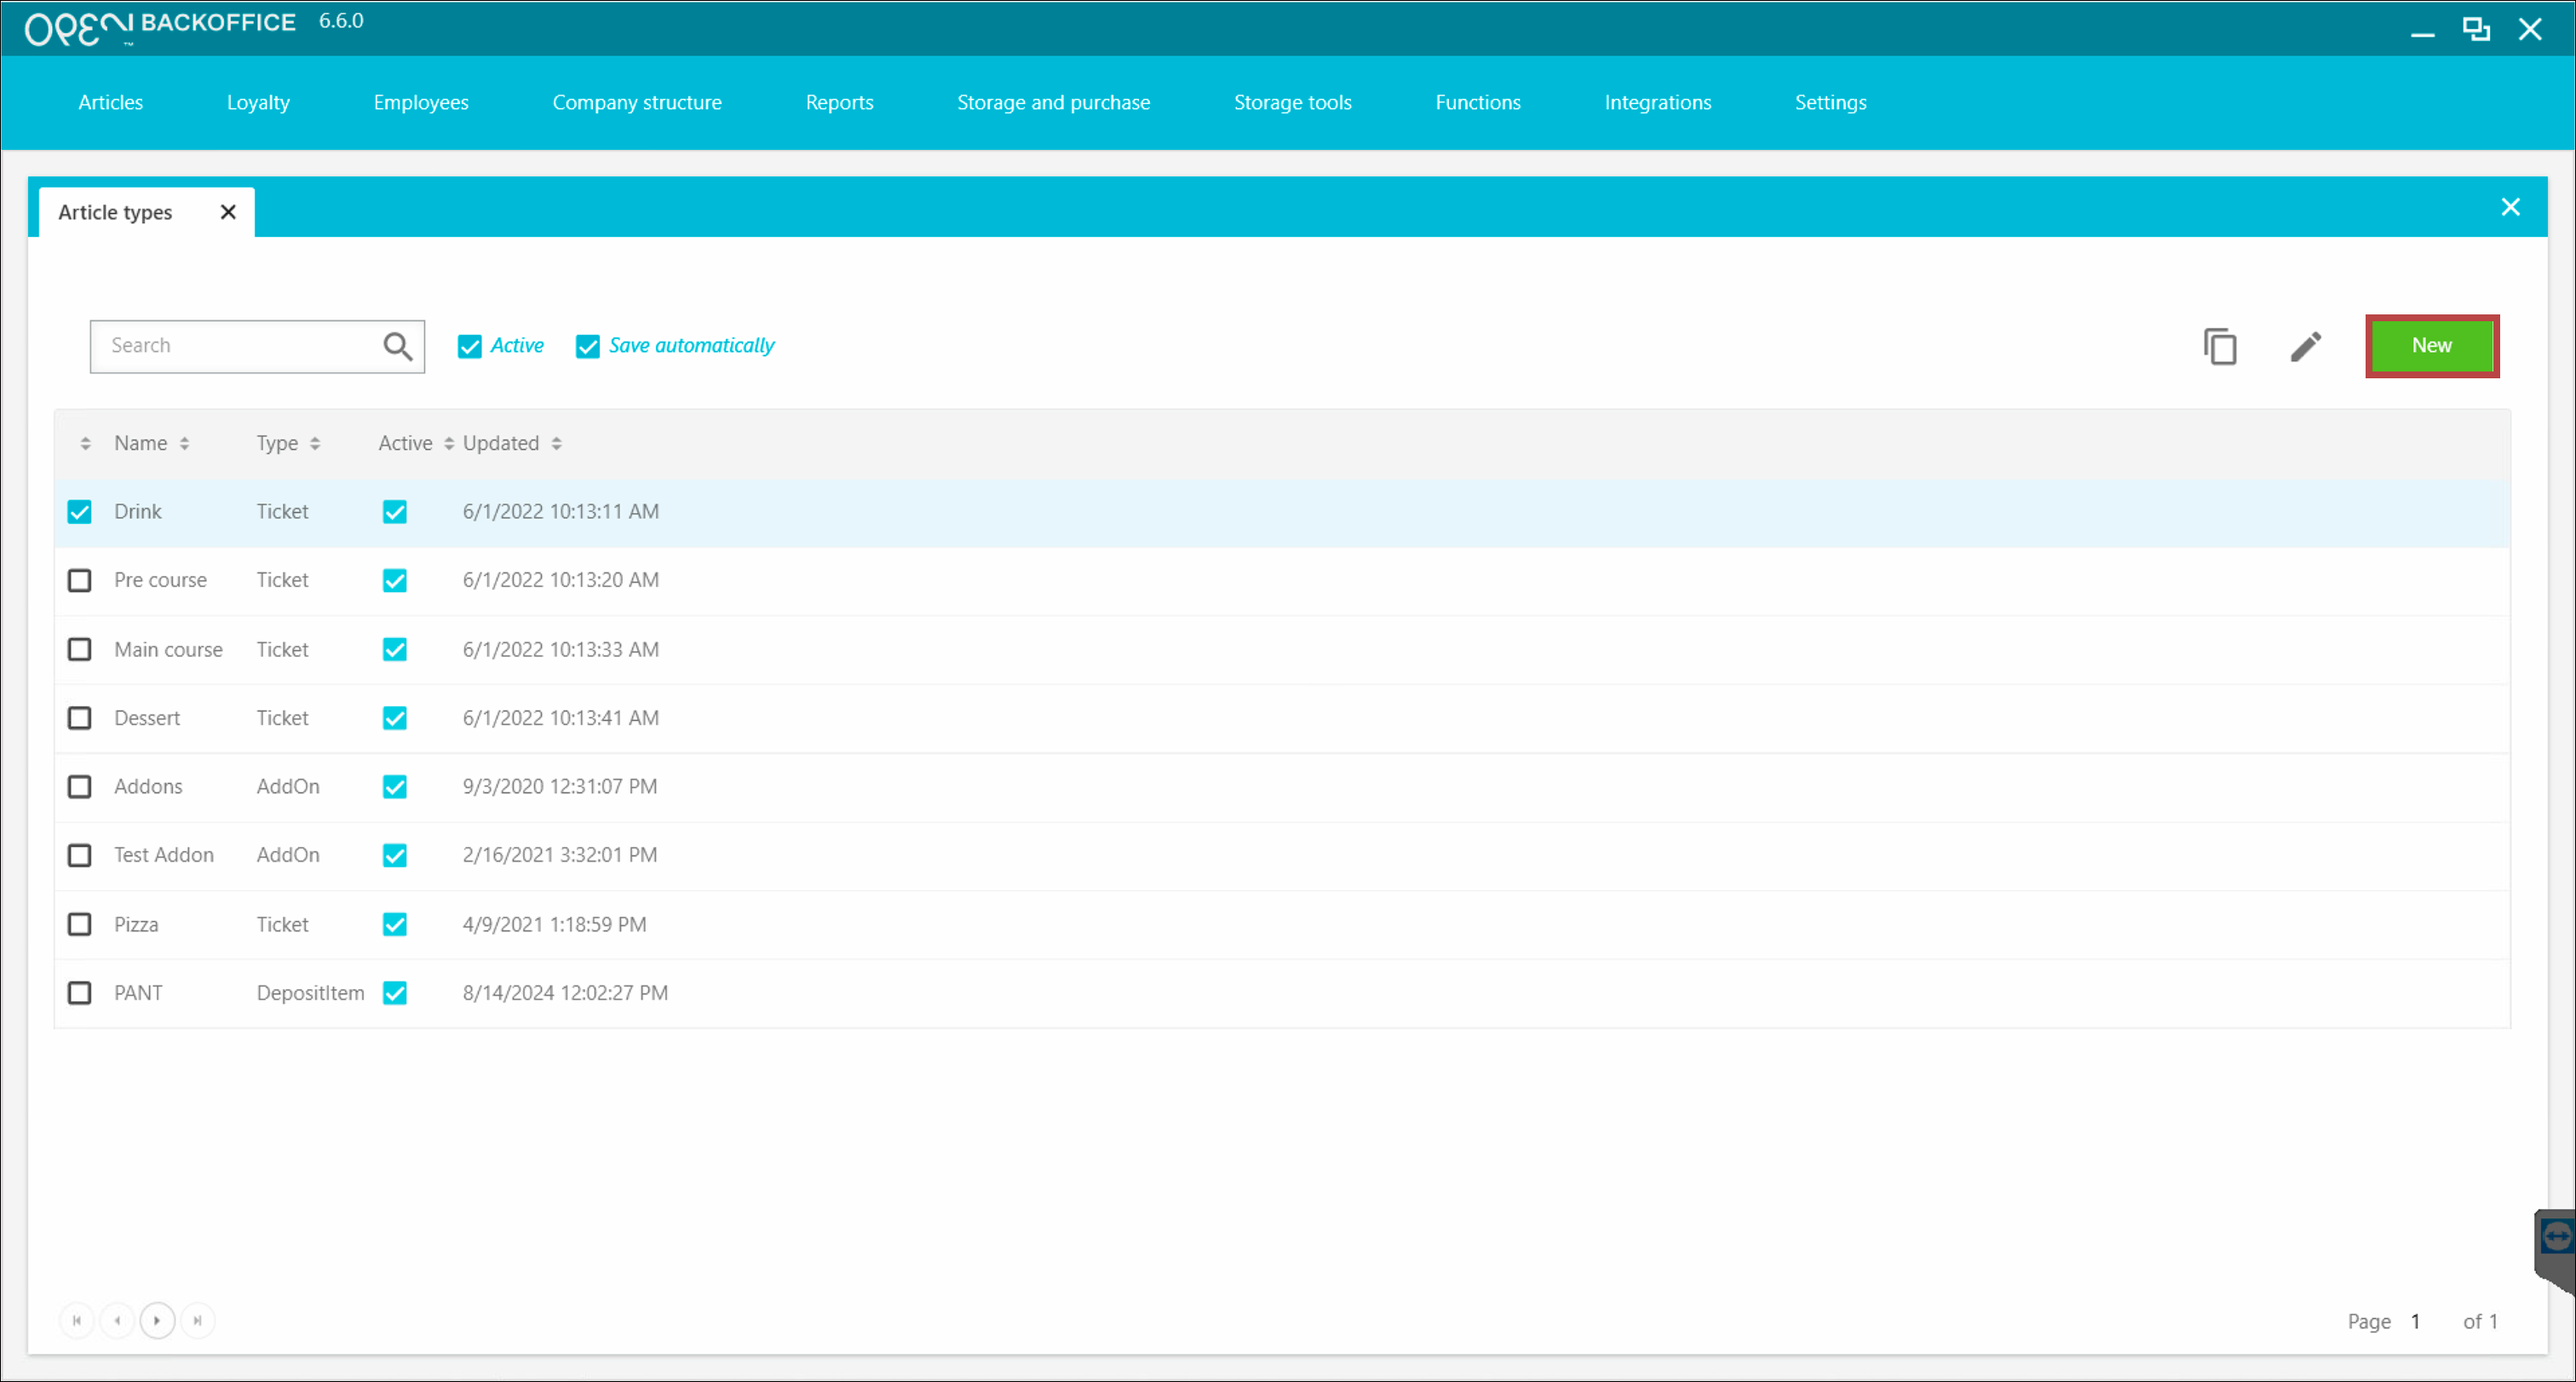
- Go to Articles > Article types.
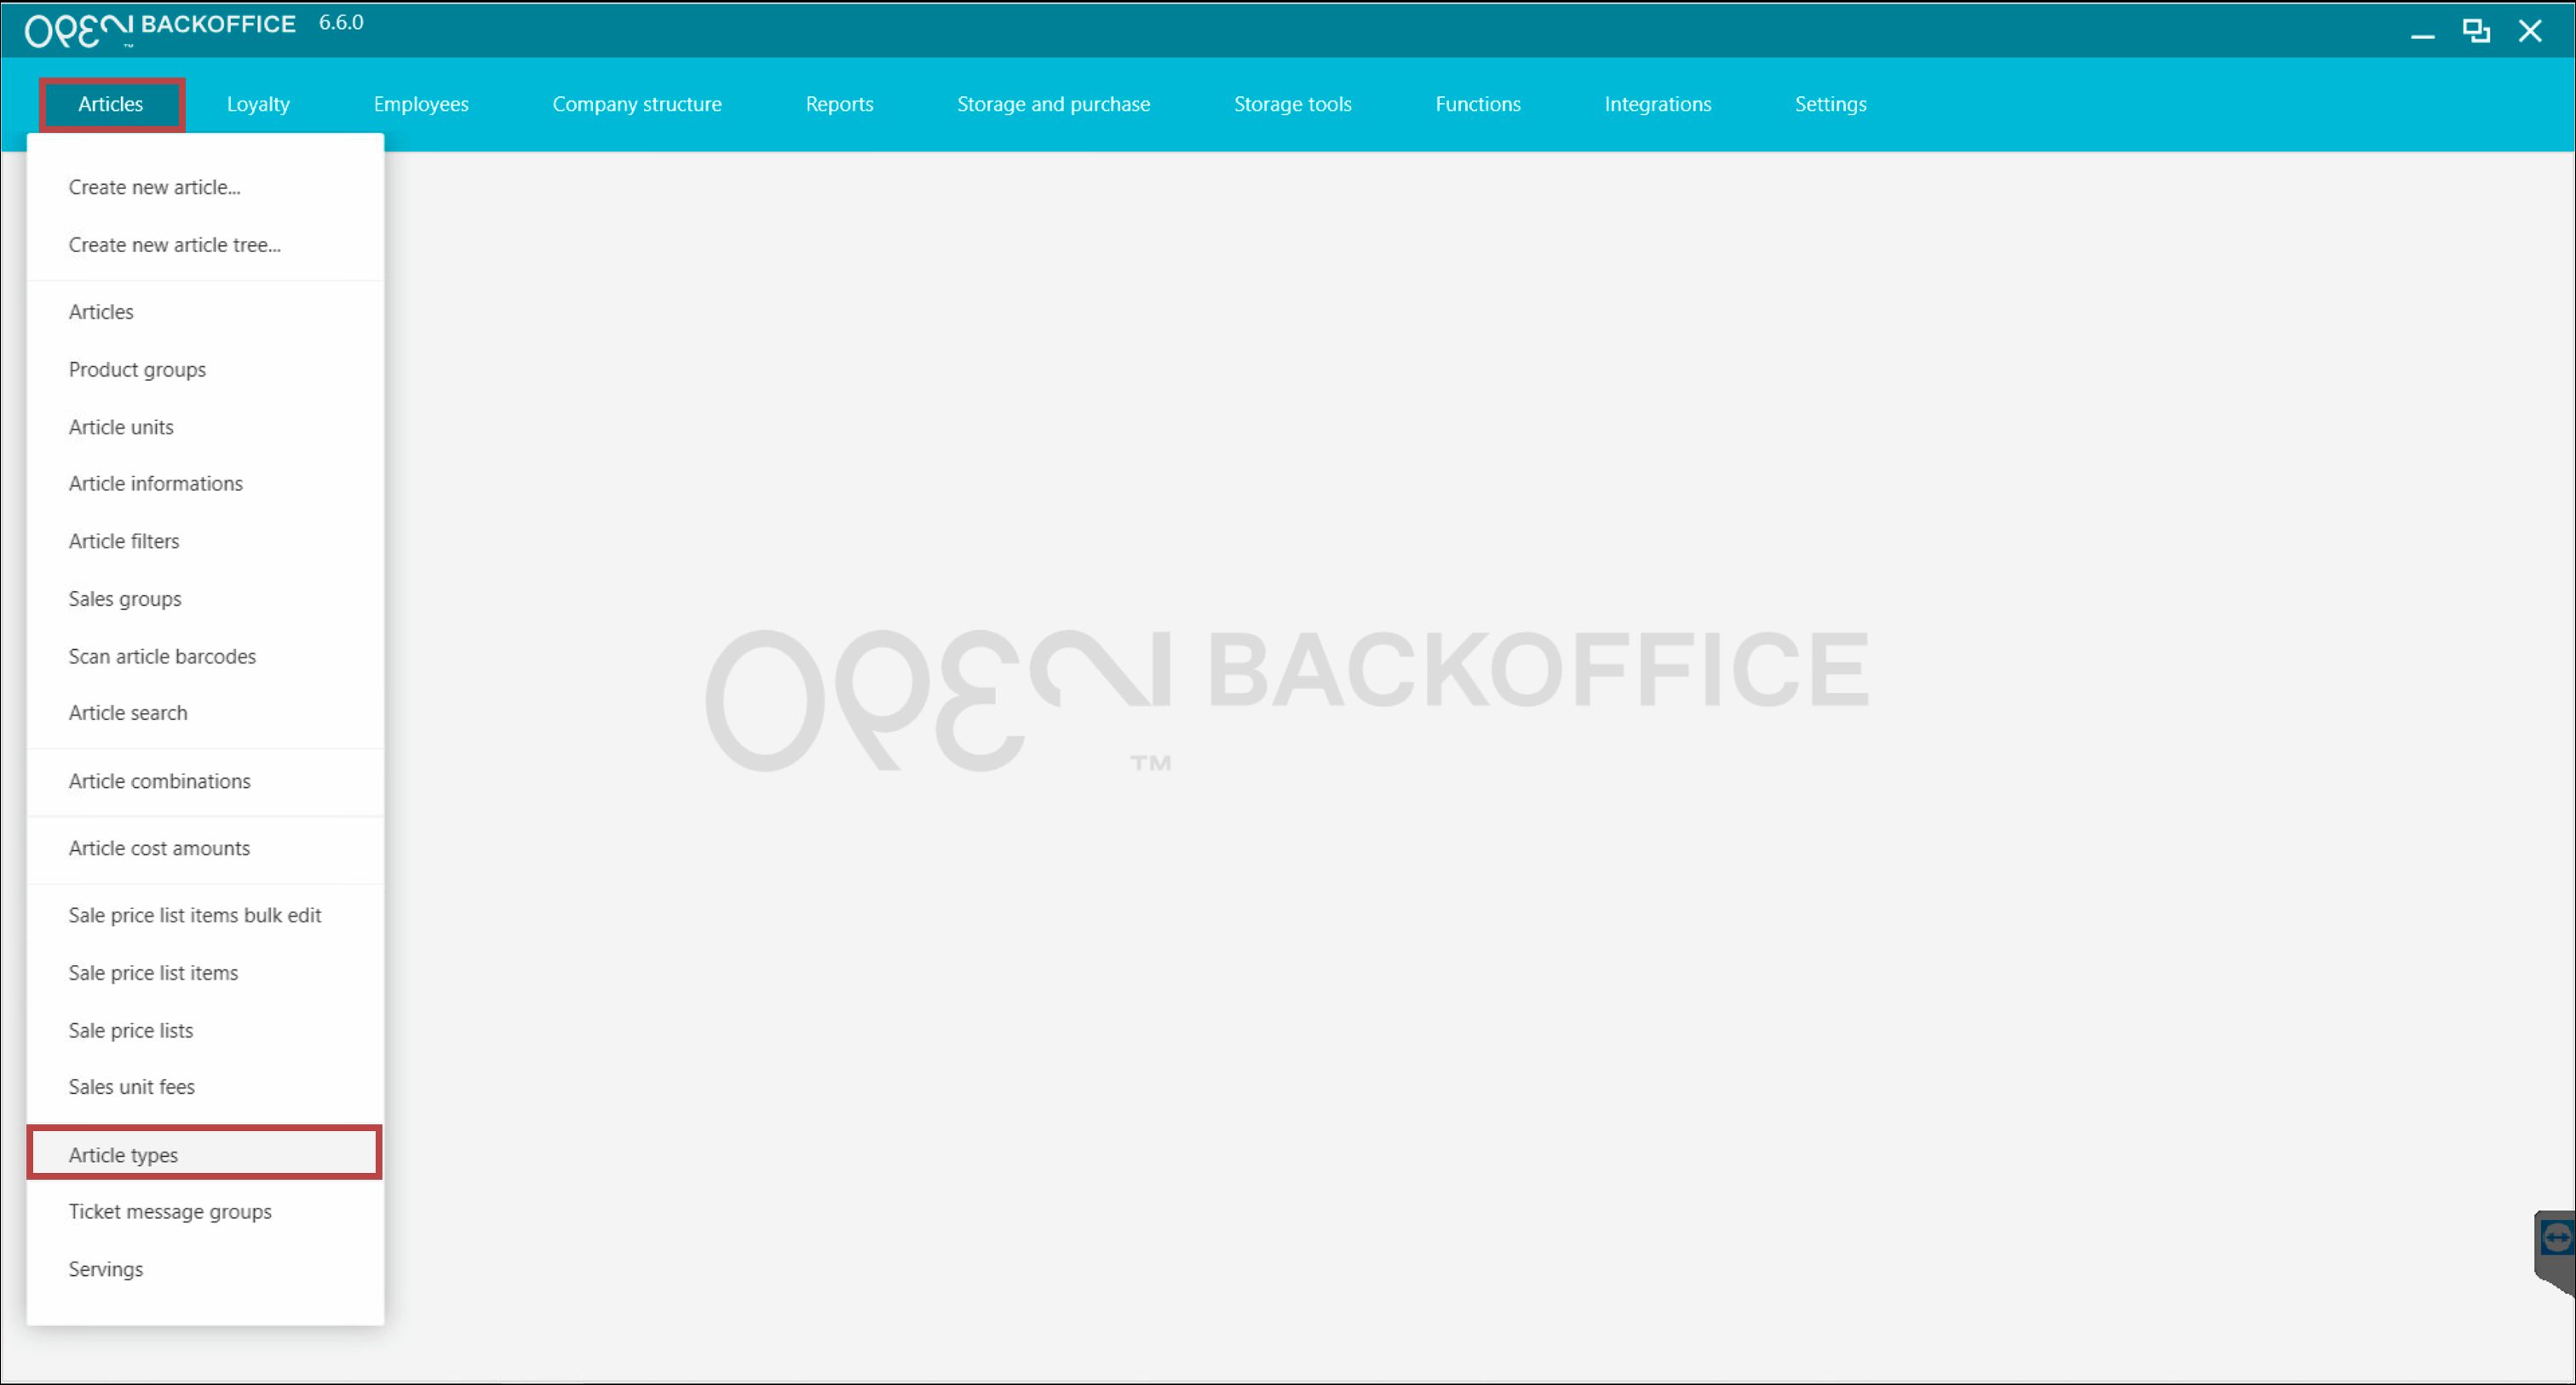
- Press New in the upper right corner.


- Fill out the settings:
- Name - e.g. Pizza toppings
- Article type - select AddOn

- Click Save.

2: Create an add-on (article)
Now it’s time to create the actual add-on item, such as Extra cheese or Extra ham.
Steps
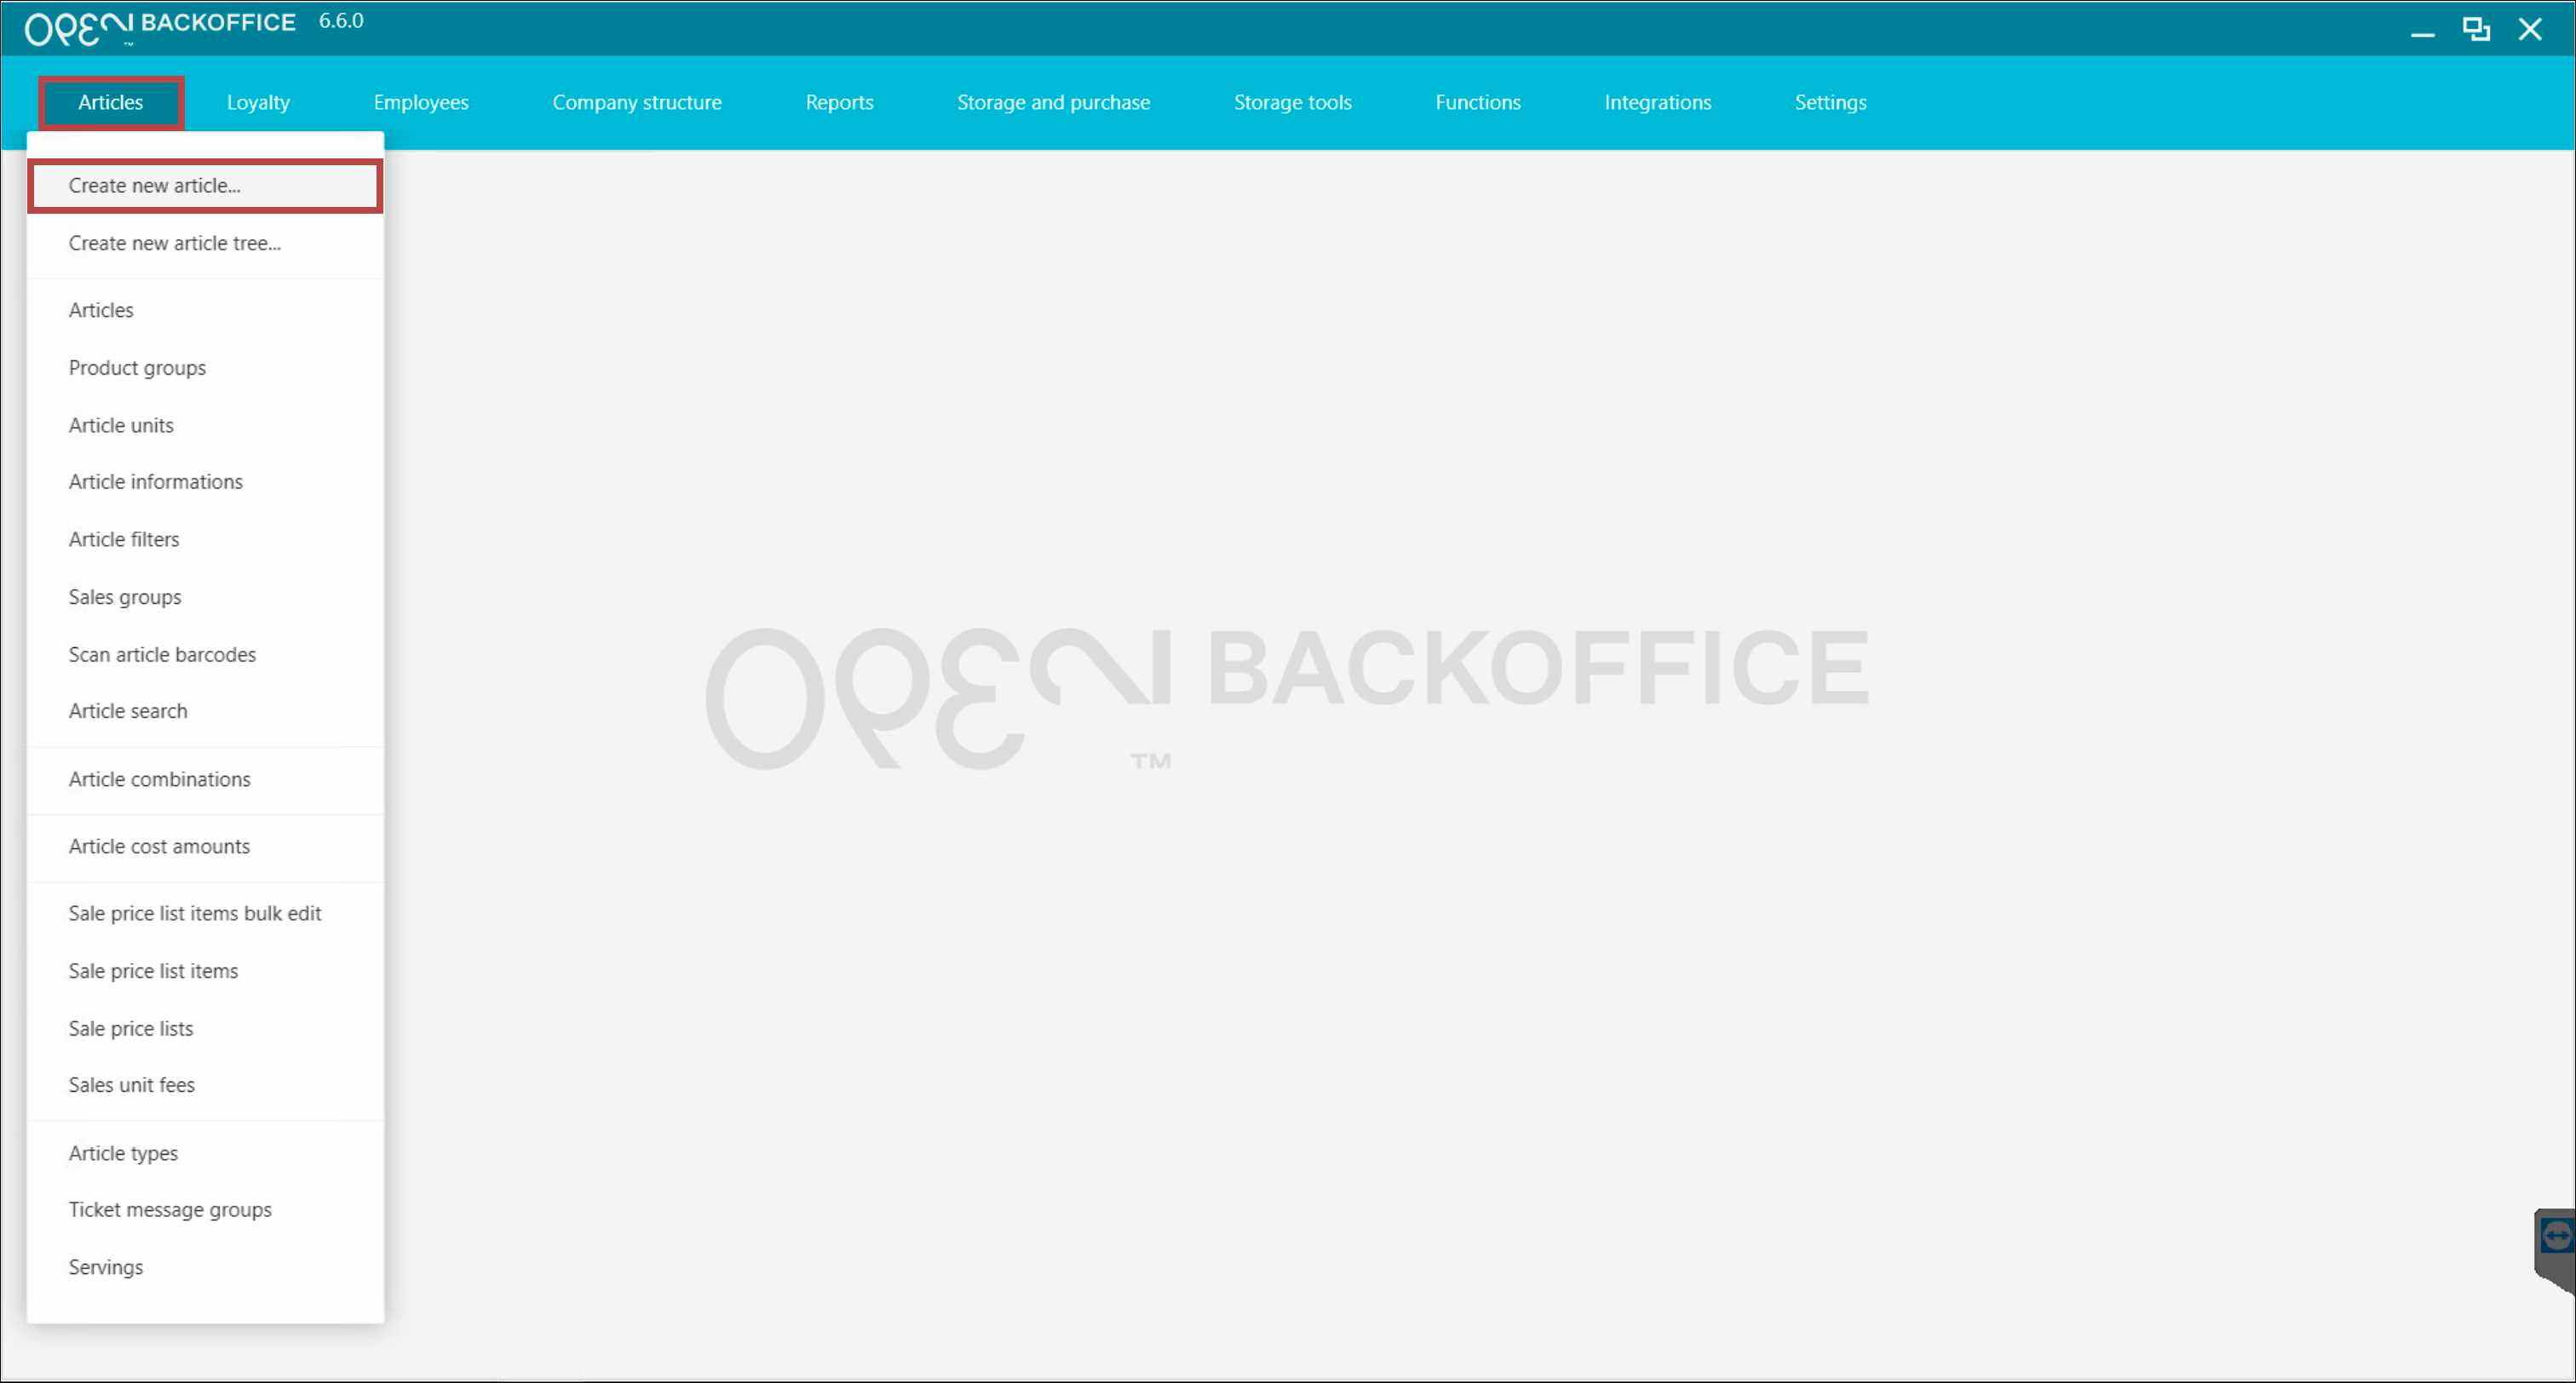
- Go to Articles > Create new article.

Fill in the required settings (highlighted in the dialog).
Recommended basic settings:
Article name - e.g. Extra cheese
Sales unit - e.g. pcs
Product group - e.g. Food
Sales group - leave empty
Add-ons must not have a sales group because they can not be purchased directly.
VAT group - e.g. 12%
Article type - select your previously created add-on group, e.g. Pizza toppings

- Click Create.
Tip
Use Save & copy to quickly create additional add-ons.
3: Create more add-ons
To add more items (e.g., more toppings), simply repeat the steps in Step 2.
In the example below: three pizza toppings are listed as add-ons - all belonging to the same add-on group Pizza toppings.

4: Connect the add-on group to your articles
To make add-ons available during a sale, you must connect the add-on group to each relevant article — for example, attaching Pizza toppings to your Calzone article.
Steps
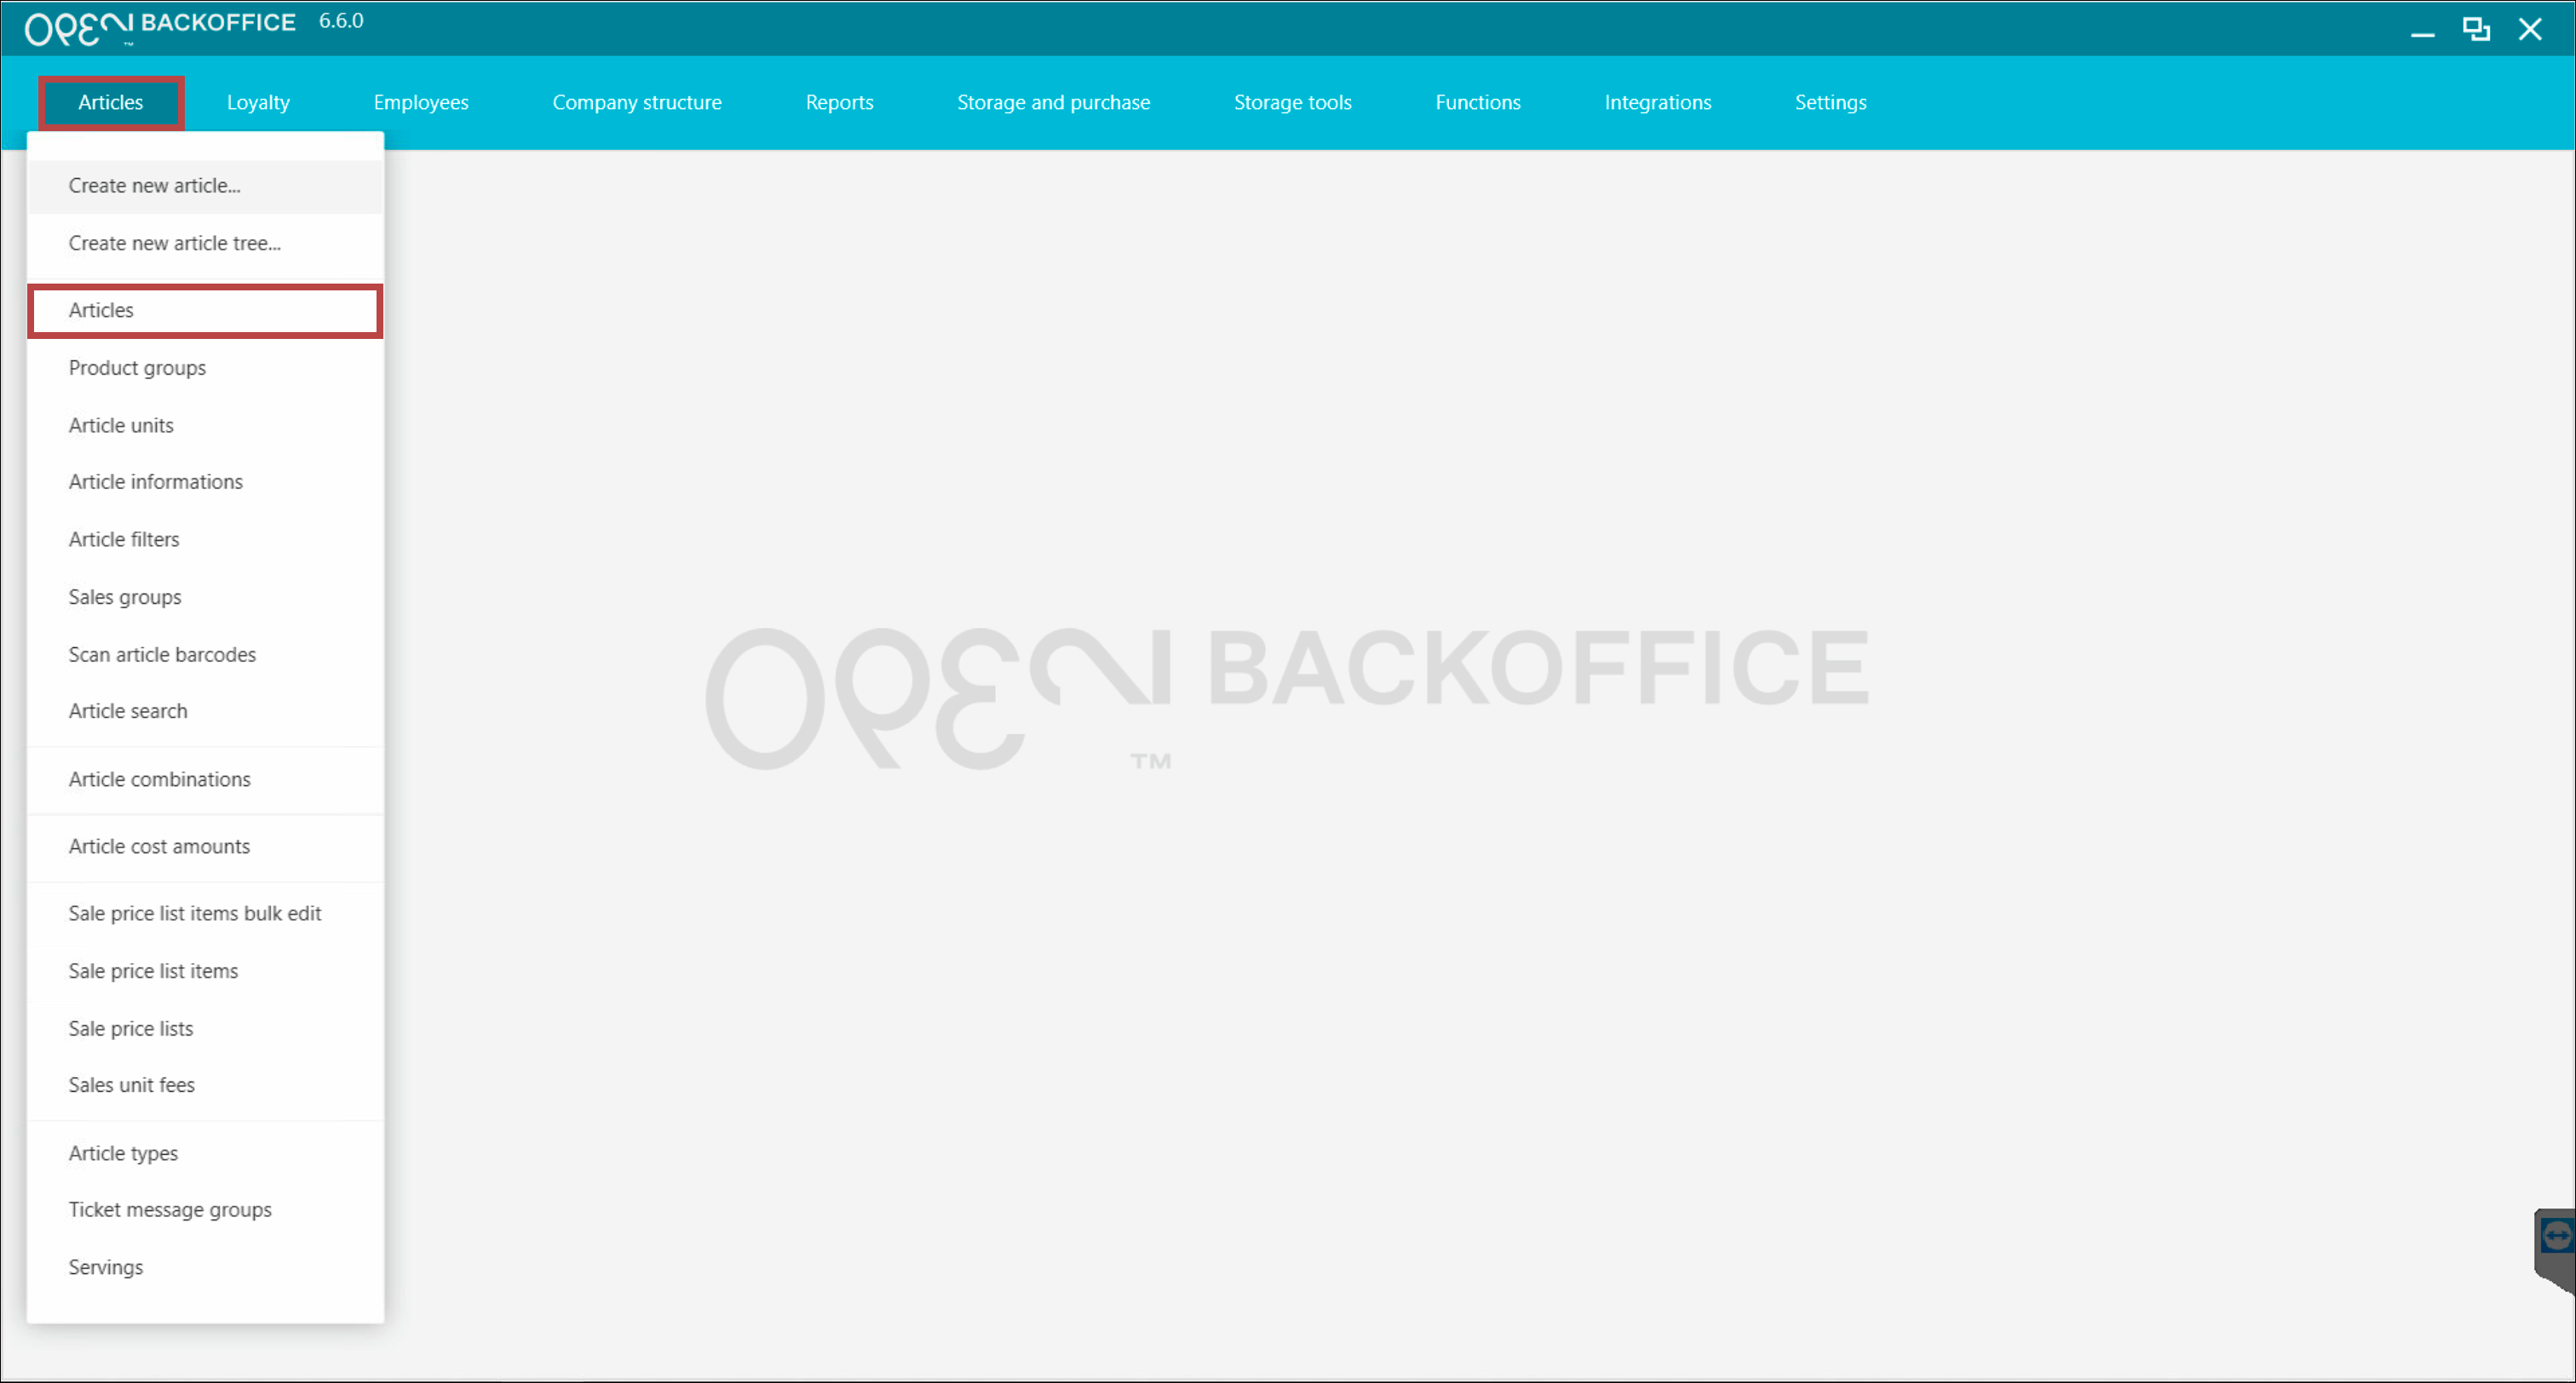
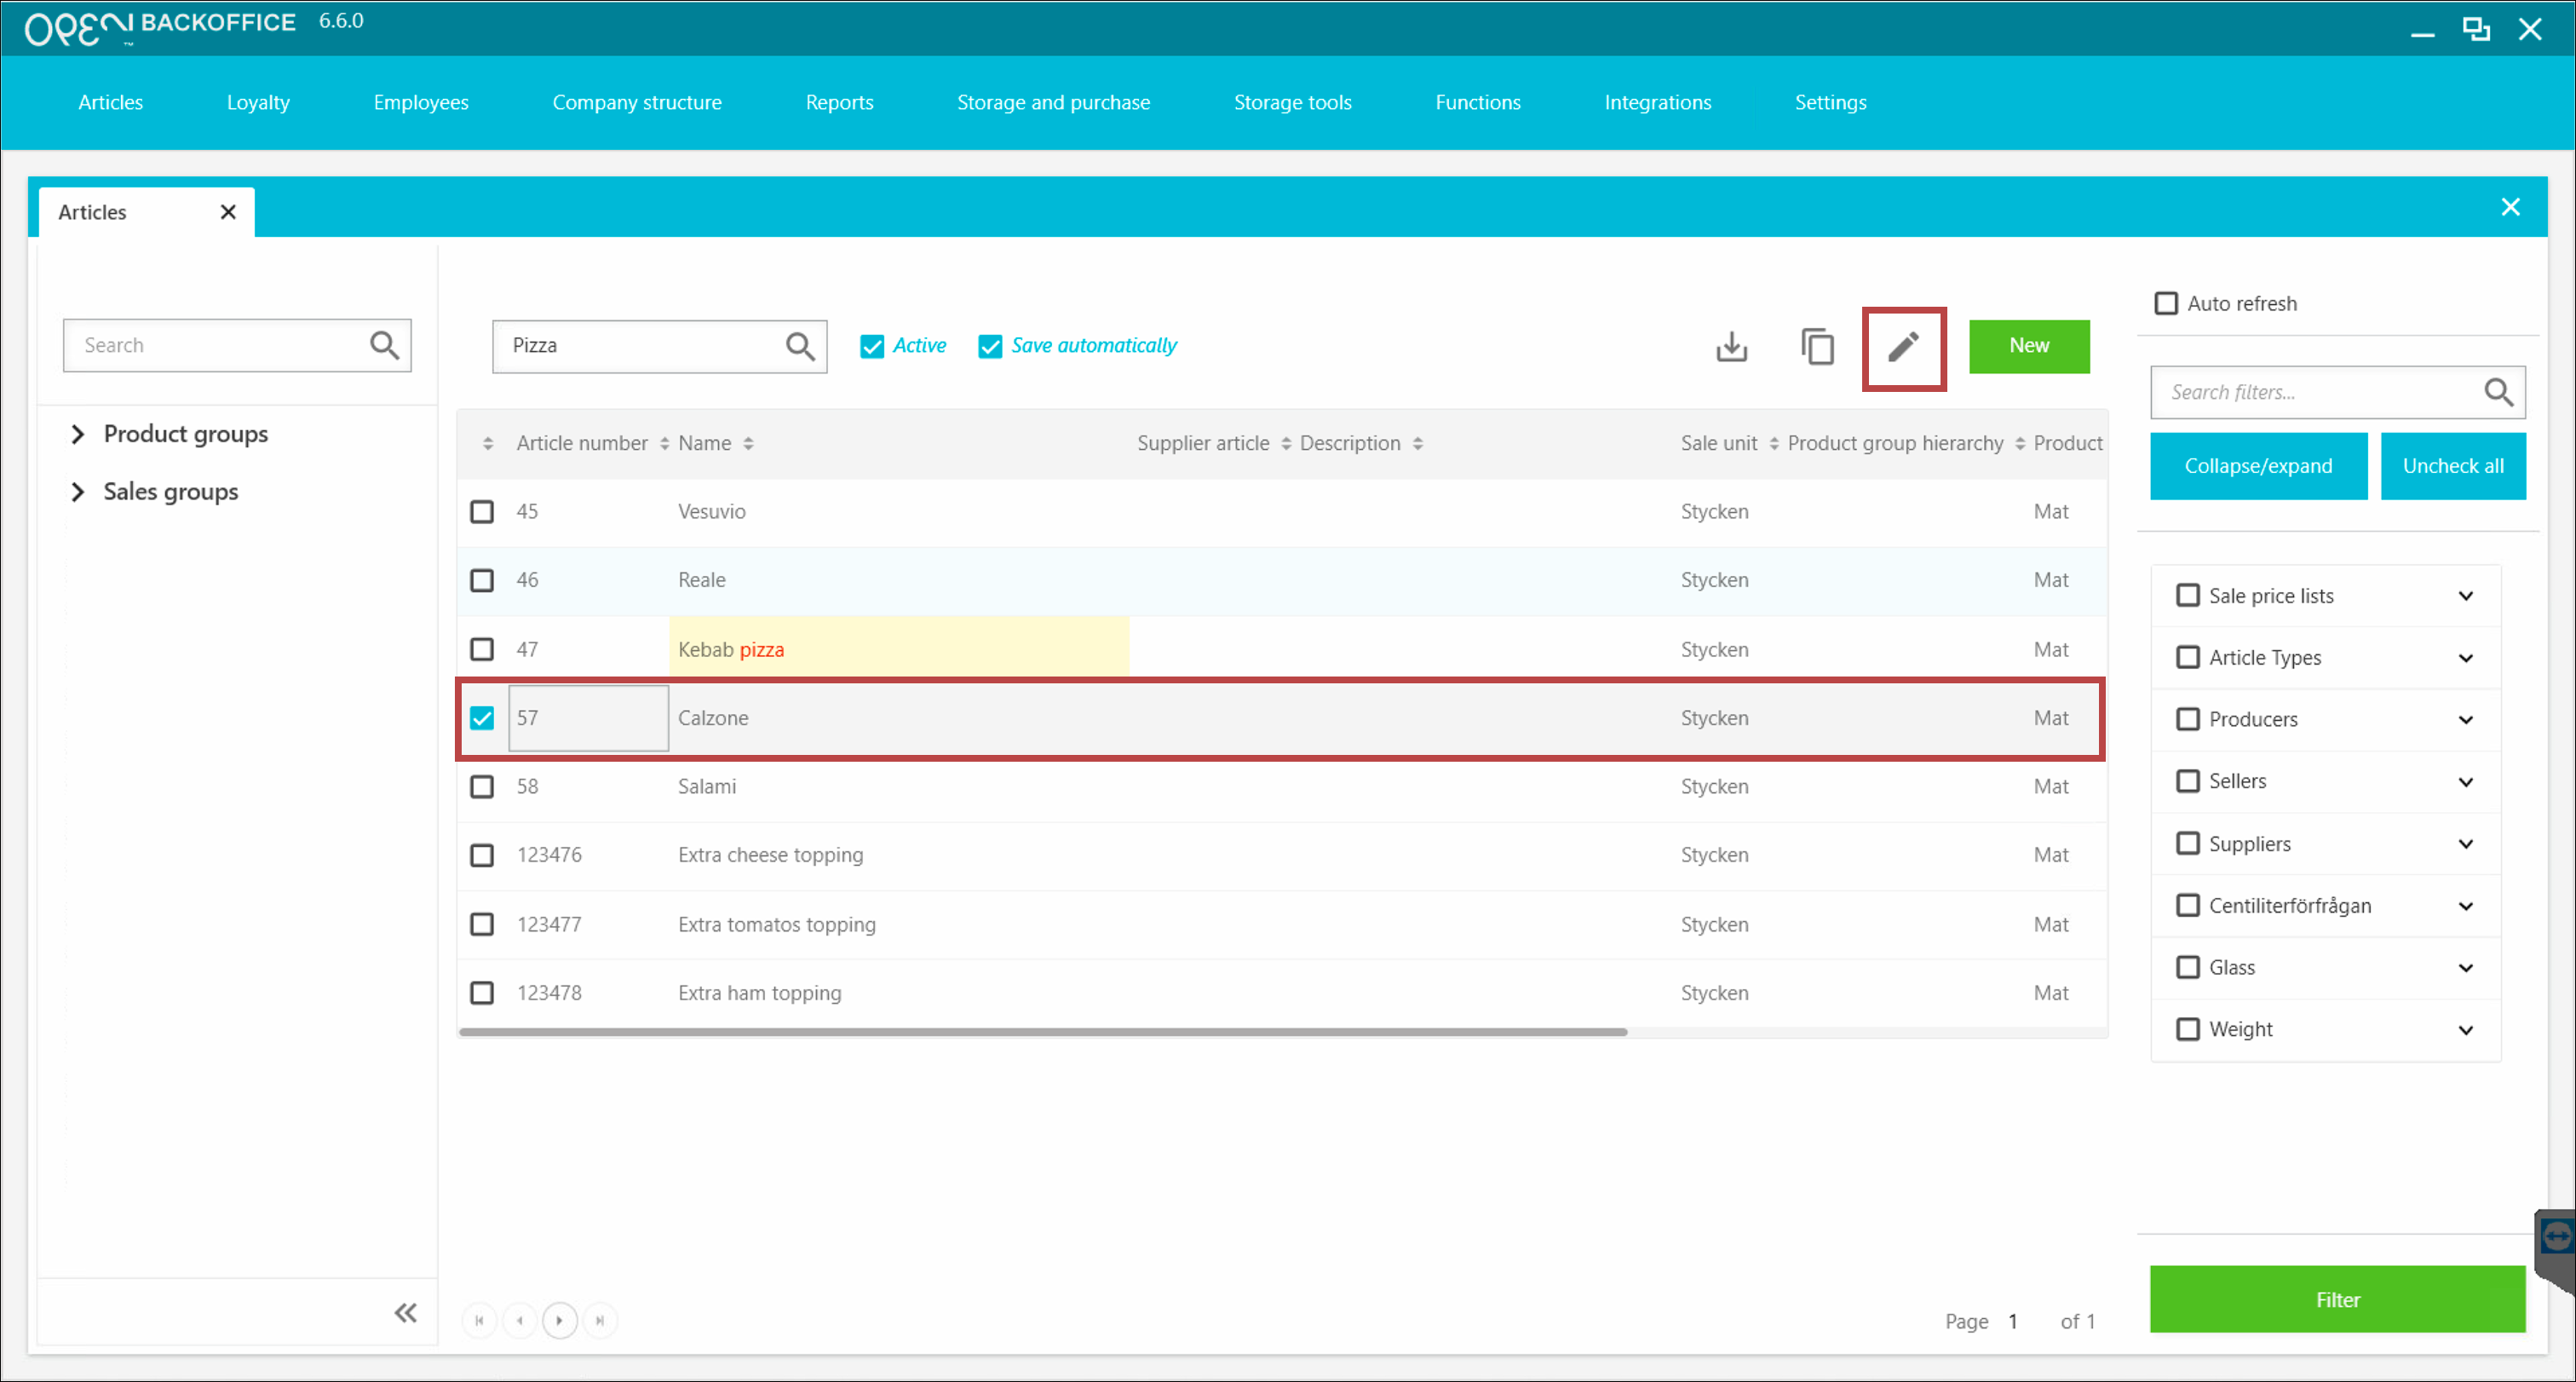
Go to Articles > Articles.
Find the article you want to connect to the add-on group, and click the edit button.
(Example: editing the 'Calzone' article)


In the view that opens:
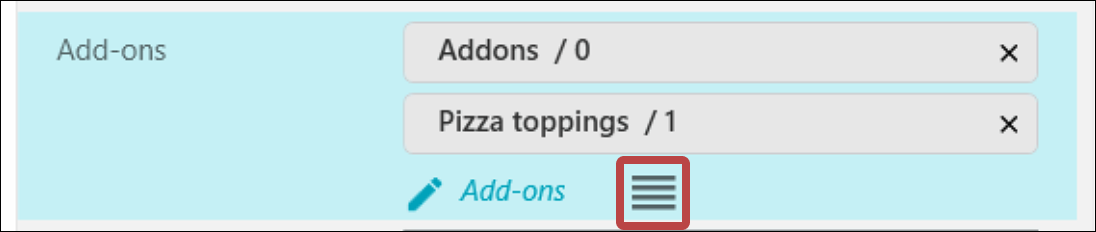
- scroll down to the Add-ons section,
- click 'Edit Add-ons'.

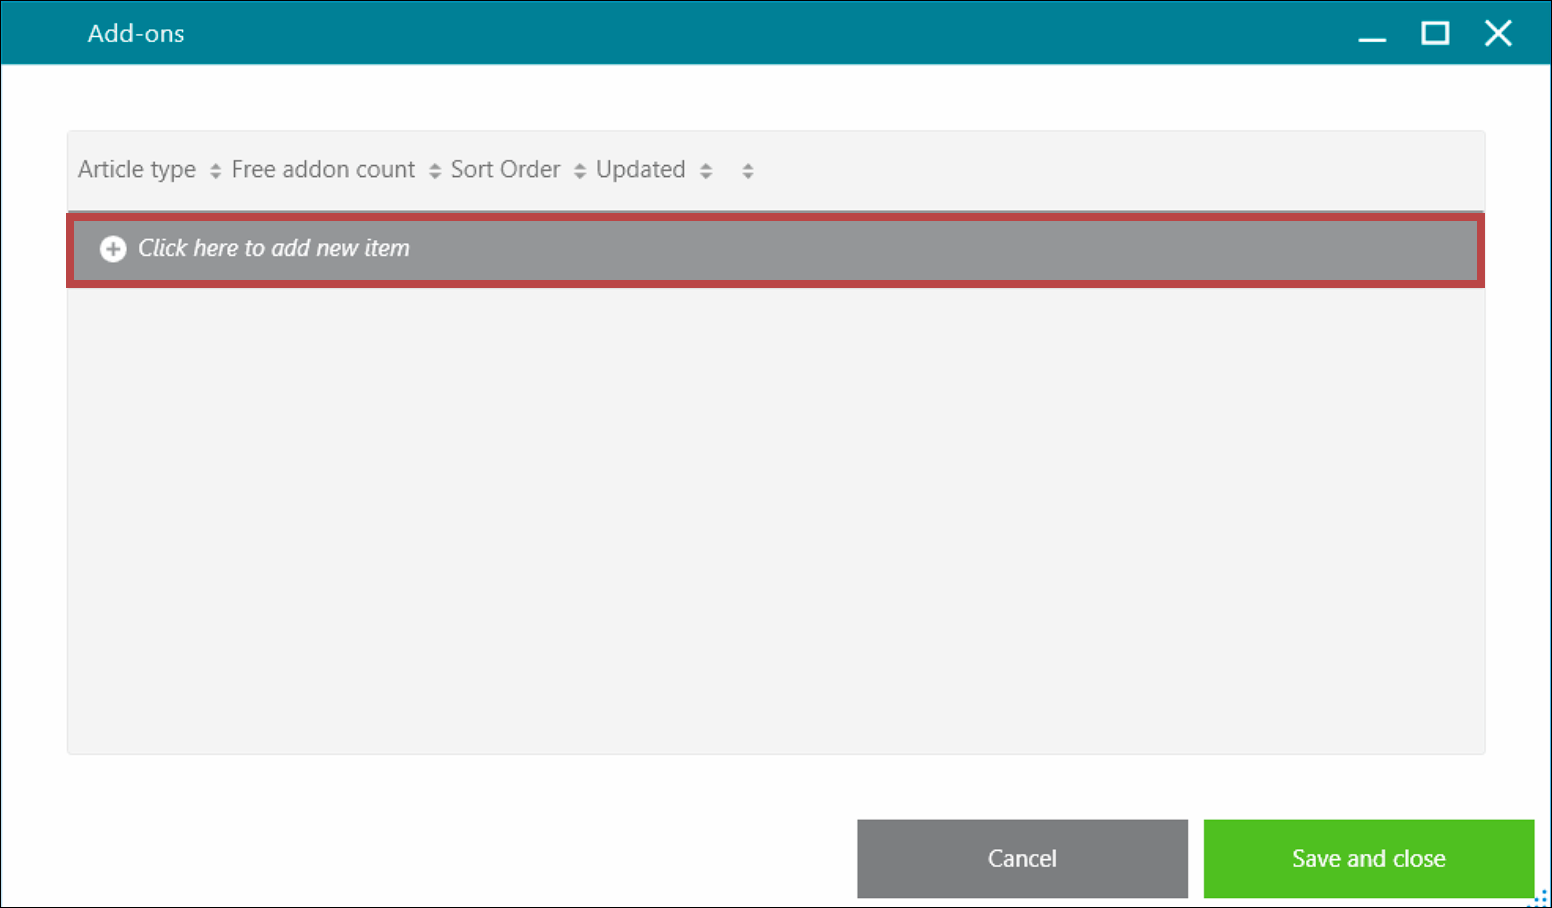
In the dialog that opens:
- Press the button Click here to add new item.
- In Article type, select your add-on group (e.g. Pizza toppings).
- Free add-on count: If one topping should be free, enter 1 under Free add-on count.
- Sort order: Set this if the article has multiple add-ons groups and you want to control the order they appear (lower digit means higher priority).
- Click Save & close.


- You can now see that the add-on group has been connected to the article.

- Save the article.
Sort order for add-on groups
If you have multiple add-on groups connected to an article, you can set the order for how they are displayed from the article dialog.
- Click the 'sort icon' in the add-ons section.
- In the dialog that opens, set the sort order by dragging and dropping your add-on groups to desired position.
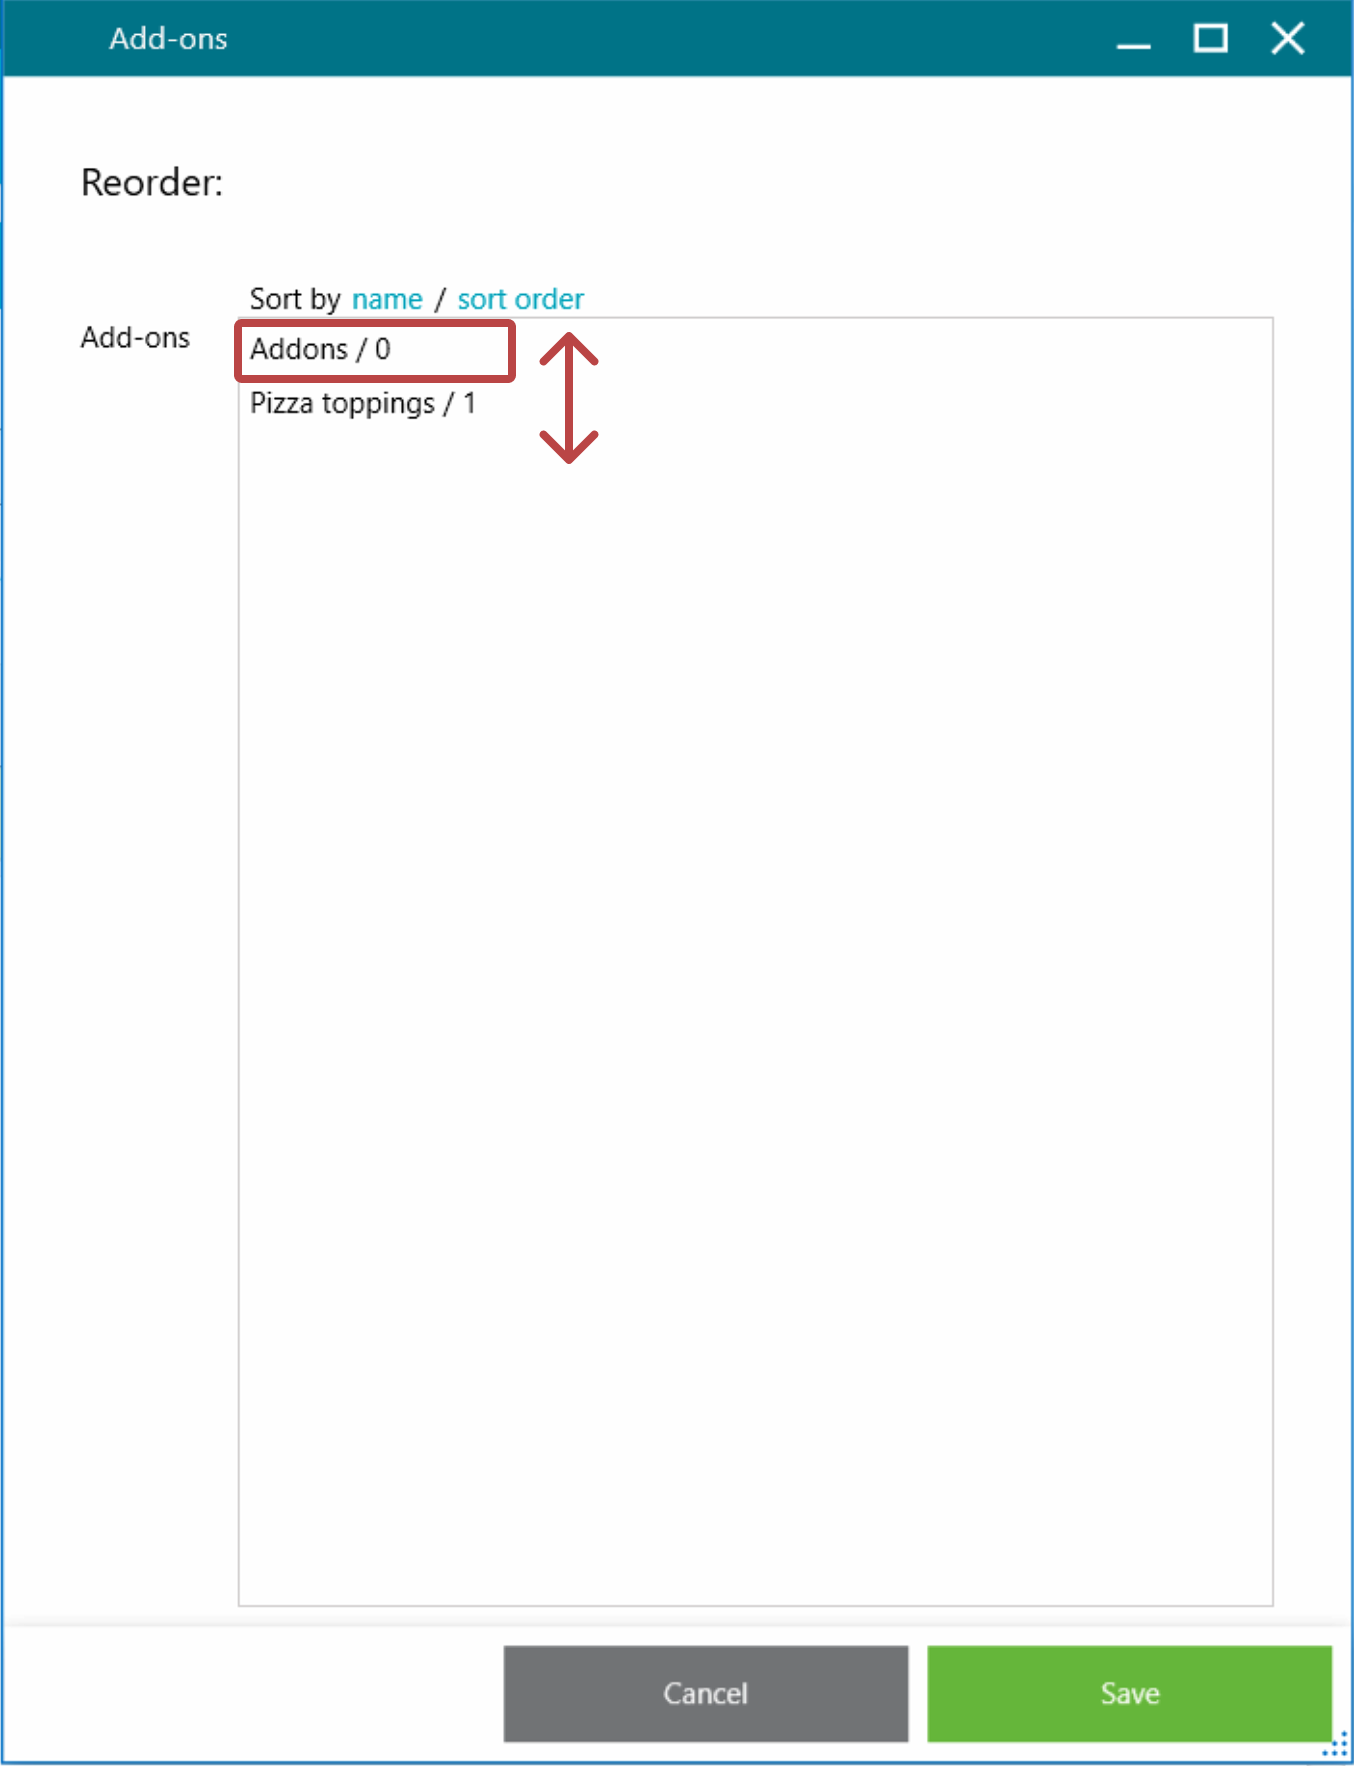
- Save to close the dialog, then save your article changes.


How add-ons appear in your POS
When you add an article with add-ons to the cart (e.g., a pizza), a dialog appears where you can select the customer’s desired add-ons.