Install Star TSP143IV printer (USB-C connection)
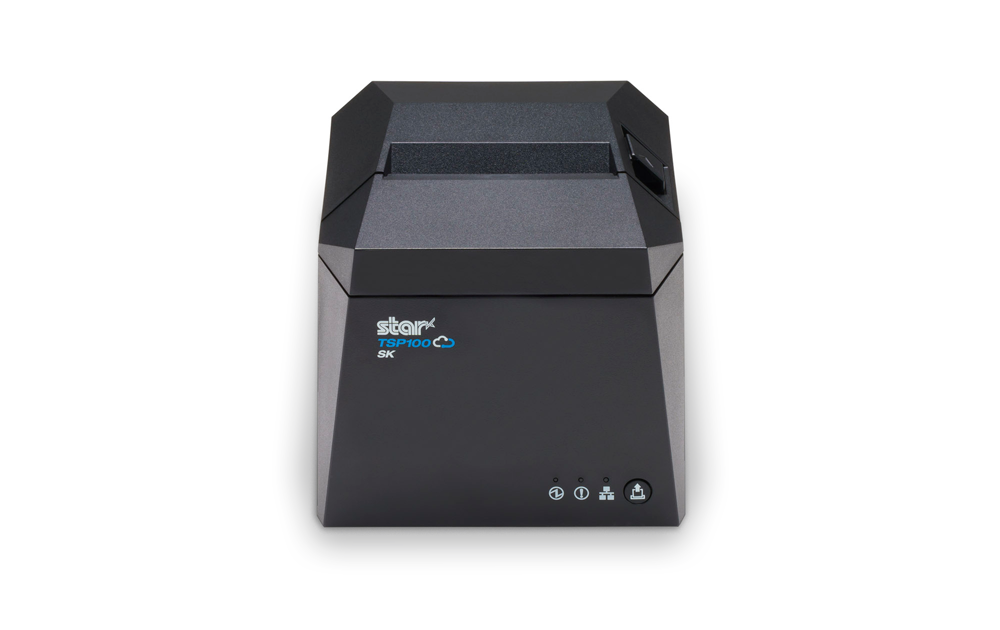
This guide will help you install the Star TSP143IV printer and connect it to a tablet/Elo via USB-C.
This is a recommended setup if you want to use the printer as a receipt printer by the cash register. If you want to use the printer as a stand-alone kitchen printer, go to install via Cloud.
What you'll need
- Star TSP143IV receipt printer
- USB cable (type A-C)
- AC adapter/power cord
- Receipt paper
- Tablet or Elo device with the OPEN Two app installed and activated
Install printer
Unpack the printer and remove the cover on the back.
Prepare a USB cable
Prepare the USB cable (A-C) that is provided with the printer.
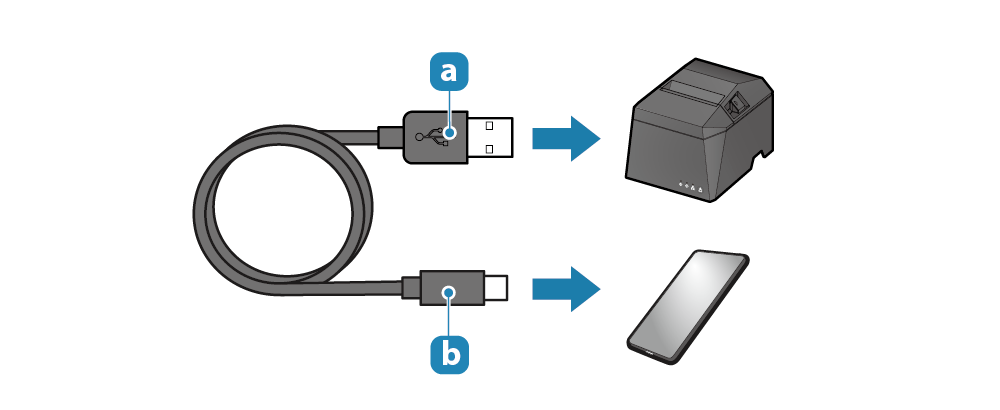
a) Printer-side plug = USB-A
b) Device-side plug = USB-C
Connect the USB cable to the printer
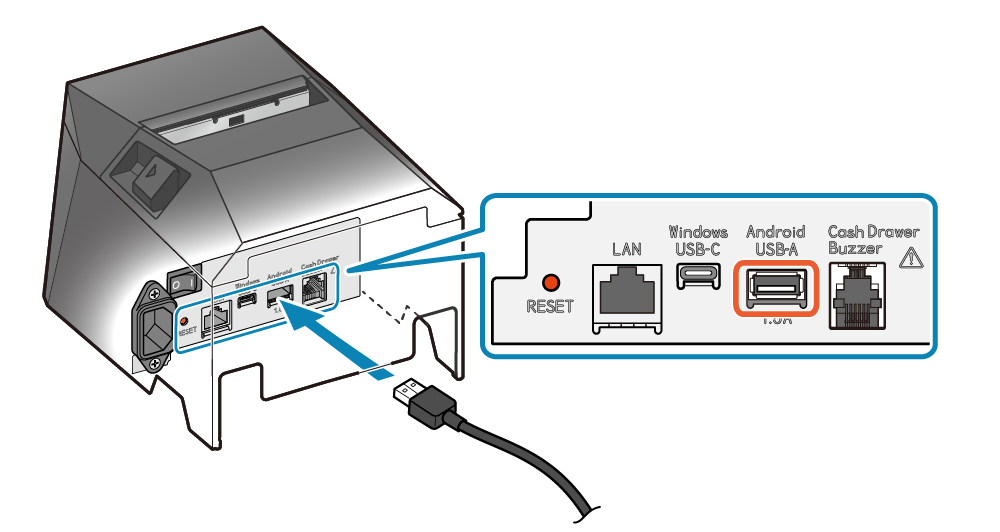
Connect the USB cable to the printer USB-A port (Android USB-A).
Connect the USB cable to the tablet/Elo device
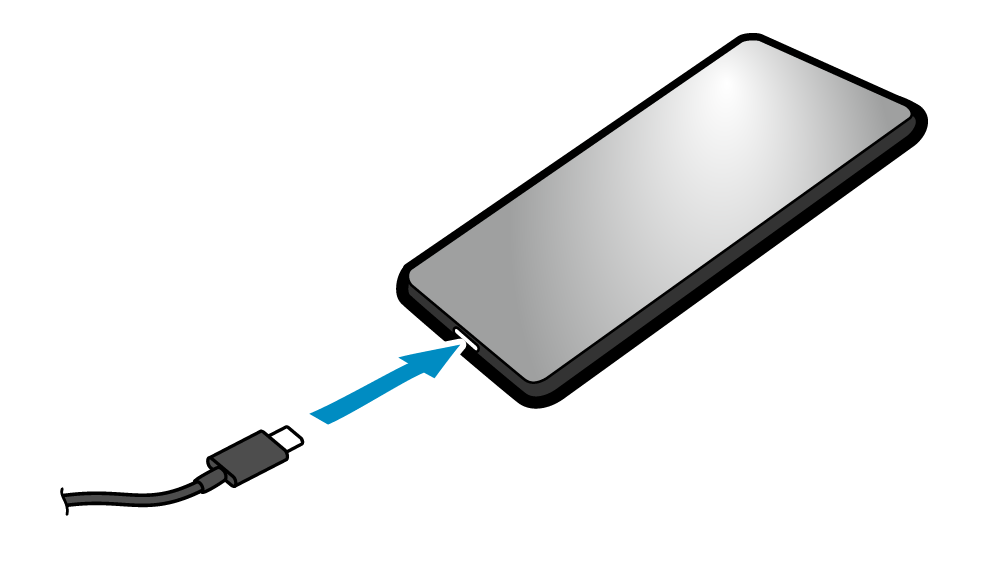
Connect the other plug to the tablet/Elo device (illustrated by a smartphone in the image).
Route the USB cable
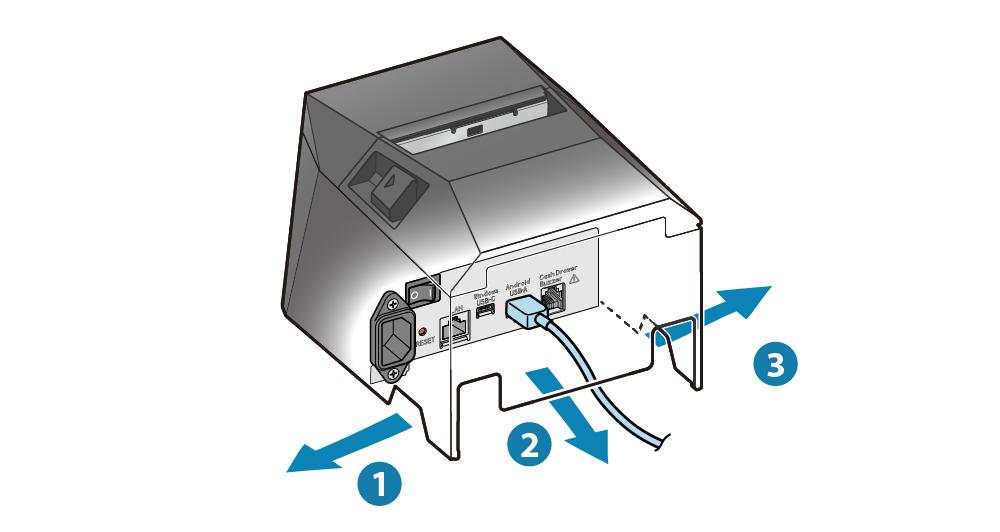
Cable outlets are provided in 3 locations (right, left, and back), and cables can be routed to suit the location where the device is placed.
Connect the power cord
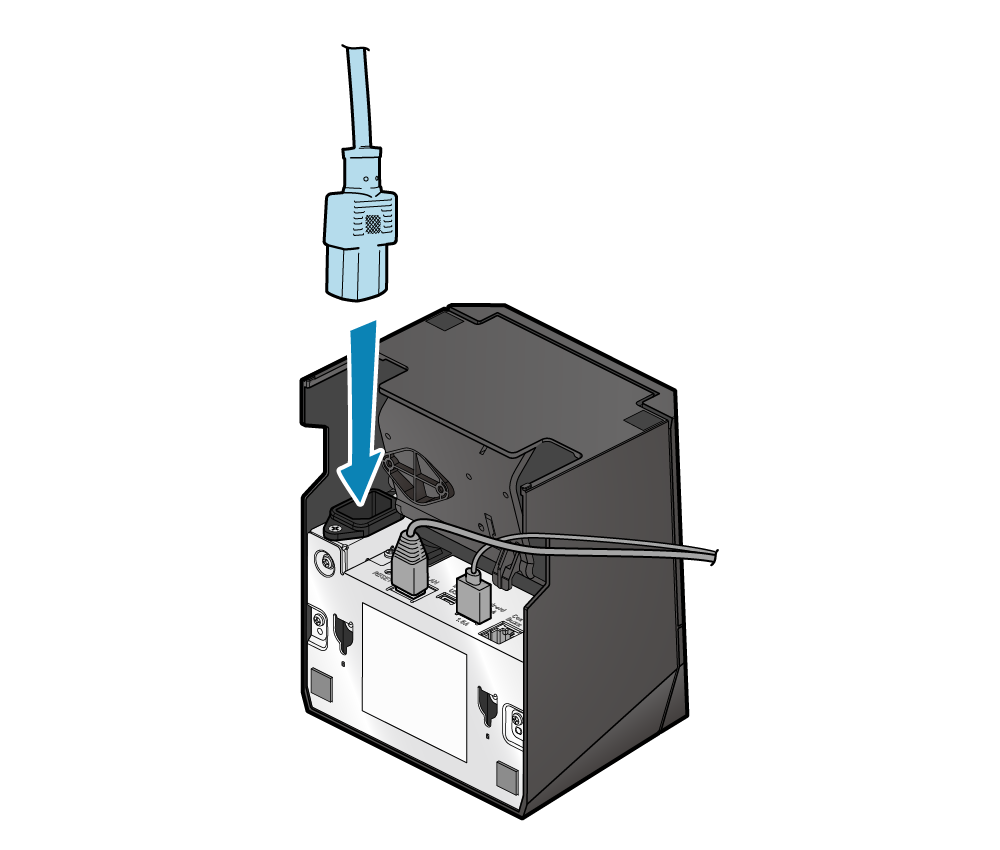
Take note of the direction of the power socket, and connect the power cable.
Route the power cable
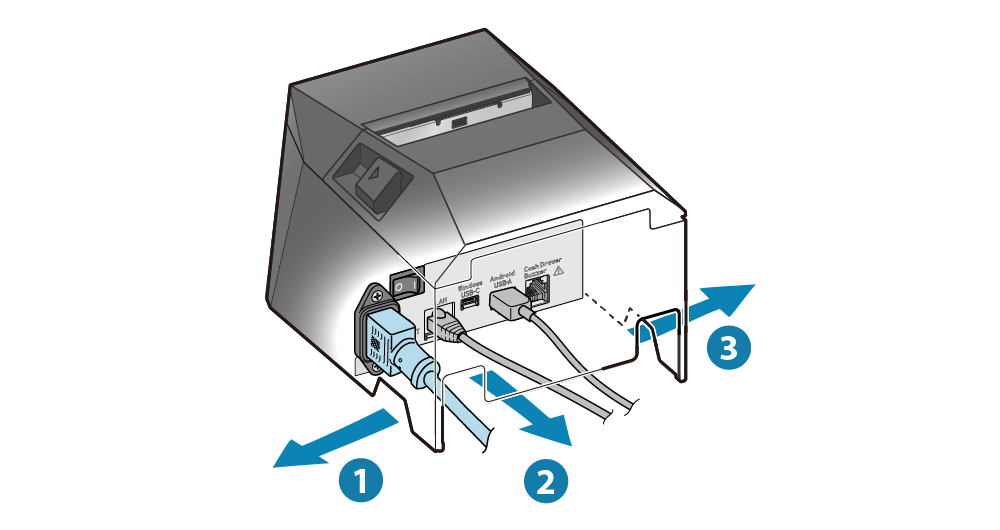
Cable outlets are provided in 3 locations (right, left, and back), and cables can be routed to suit the location where the device is placed.
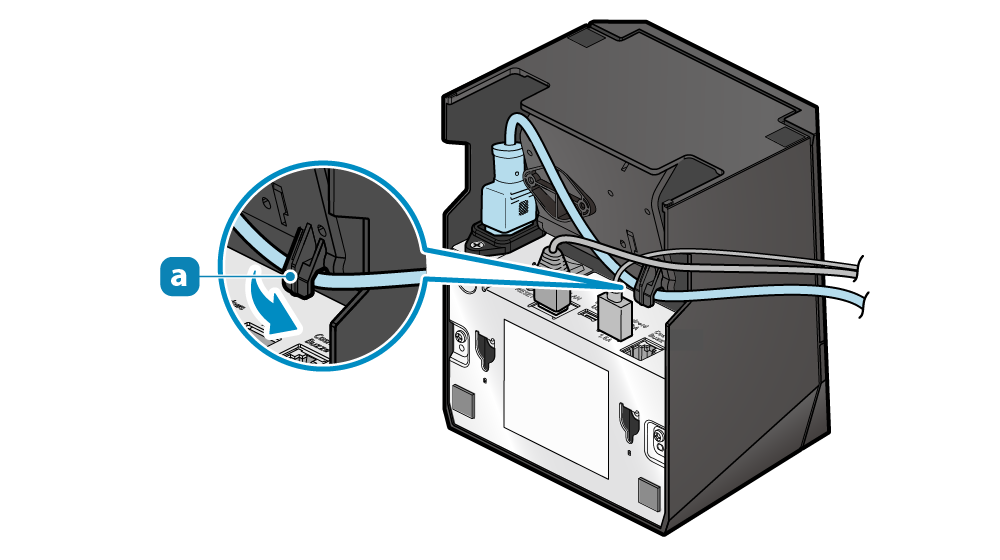
When installing set vertically, make sure the USB cable is routed through the cable hook (a) on the back of the printer so that the device does not become tilted.
Insert the power cable plug into an electrical outlet
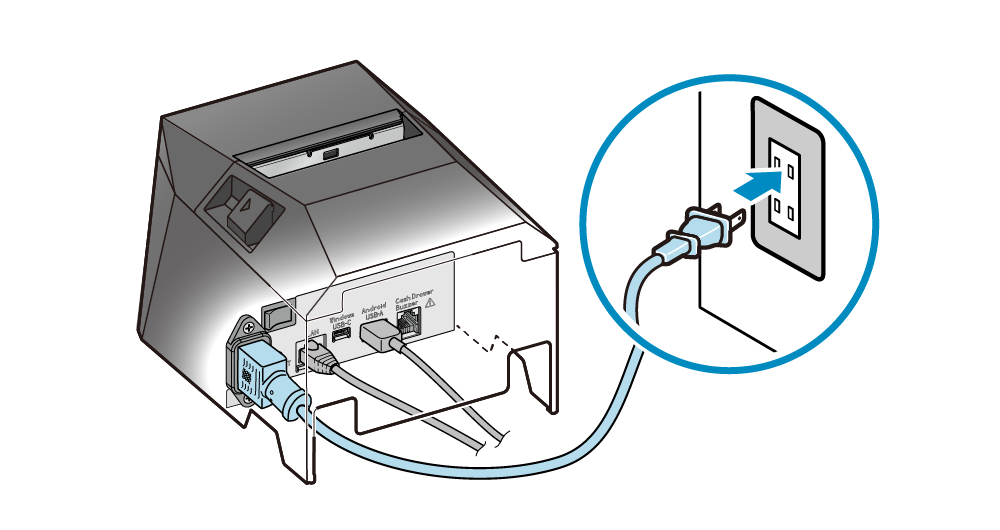
Connect the earth cable to an earth terminal.
Load printer with receipt paper
Turn power on
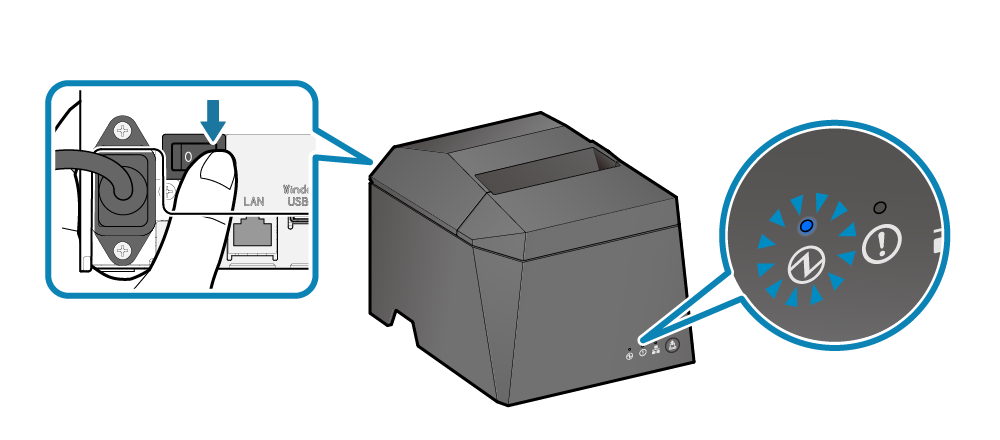
Set paper with the power turned on to automatically feed and cue the paper.
Open printer cover
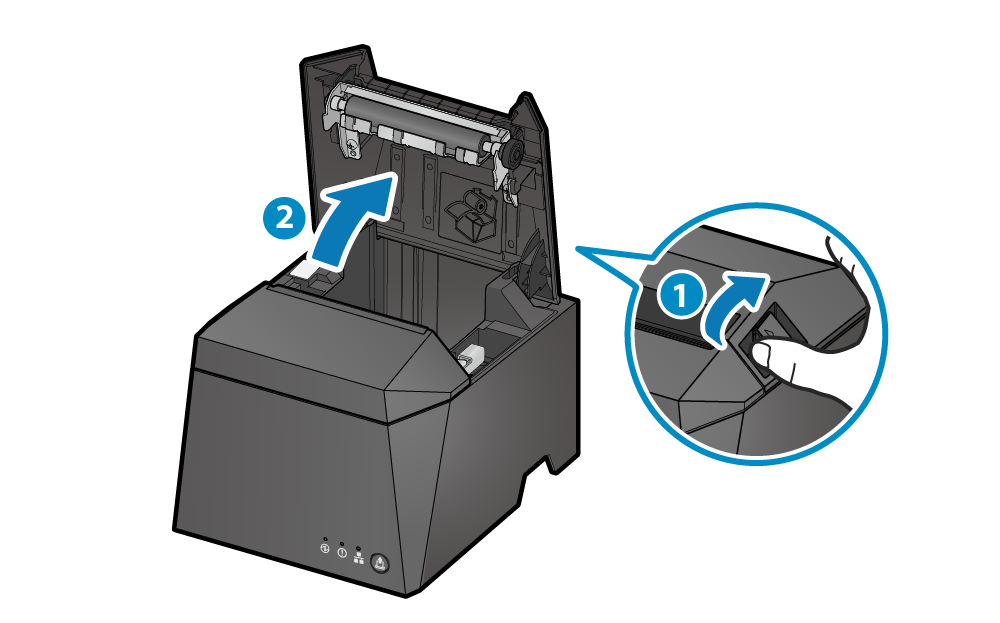
Push the opening lever (1) to open the printer cover (2).
Paper setup
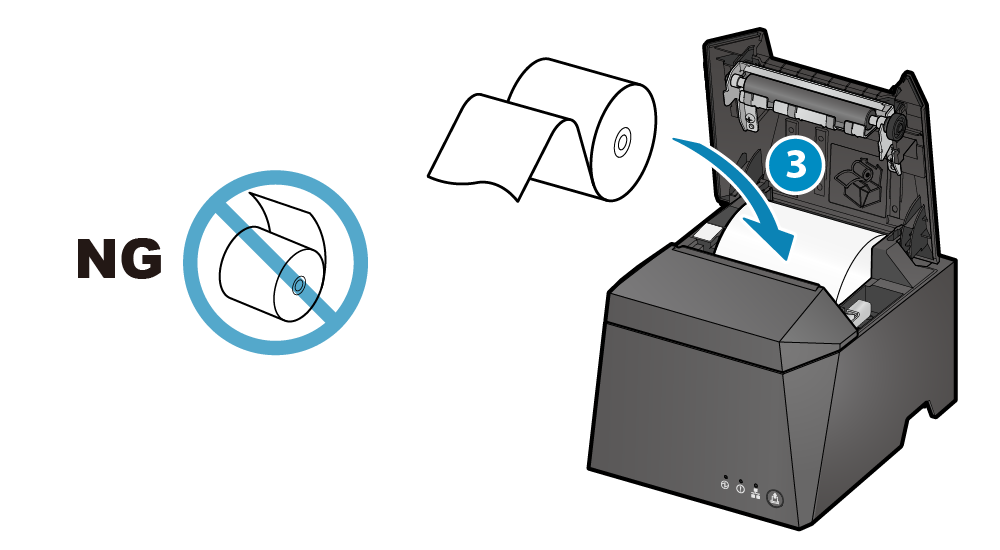
Set the label paper roll in the direction shown in the illustration (3).
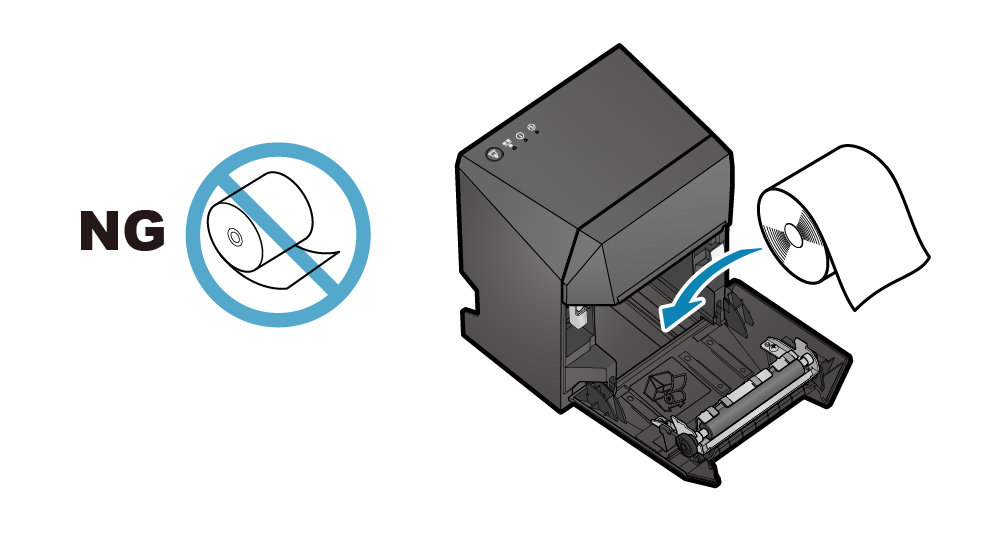
If the unit is set up vertically using the provided rubber feet or the wall-mounting holes, set the label paper roll as shown in the following illustration.
Close printer cover
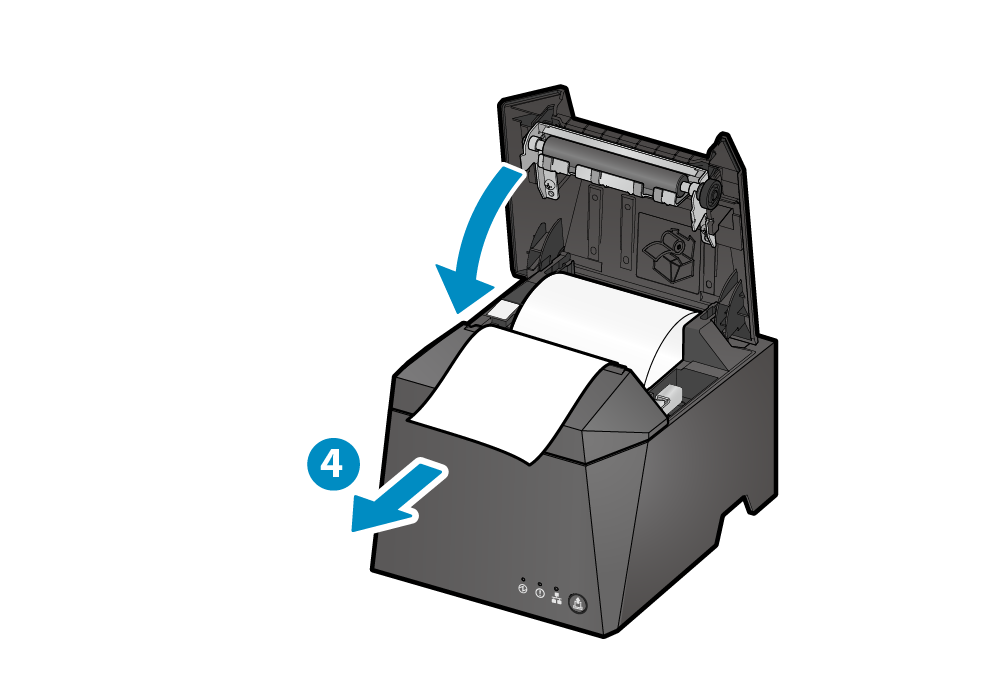
Pull the end of the paper straight out (4), sandwich the paper and close the printer cover. The setting is completed when the paper is cut automatically.
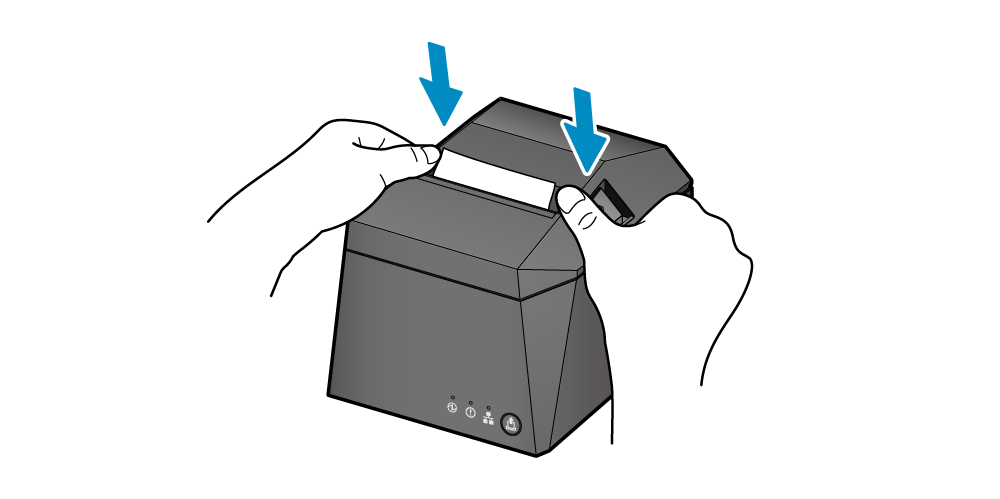
Push both sides as shown in the diagram and close the printer cover.
Select printer in printer settings
1. Go to SETTINGS
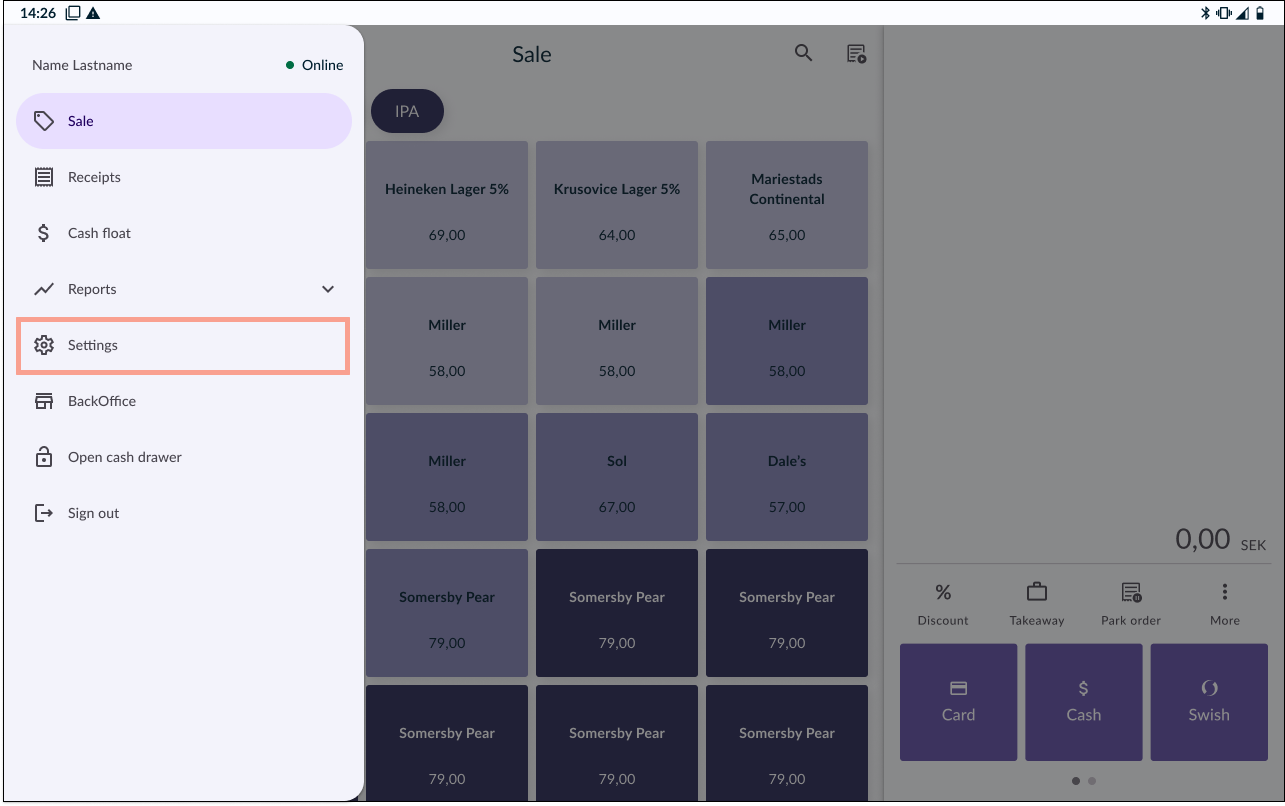
In the OPEN Two app, open the menu and go to SETTINGS.
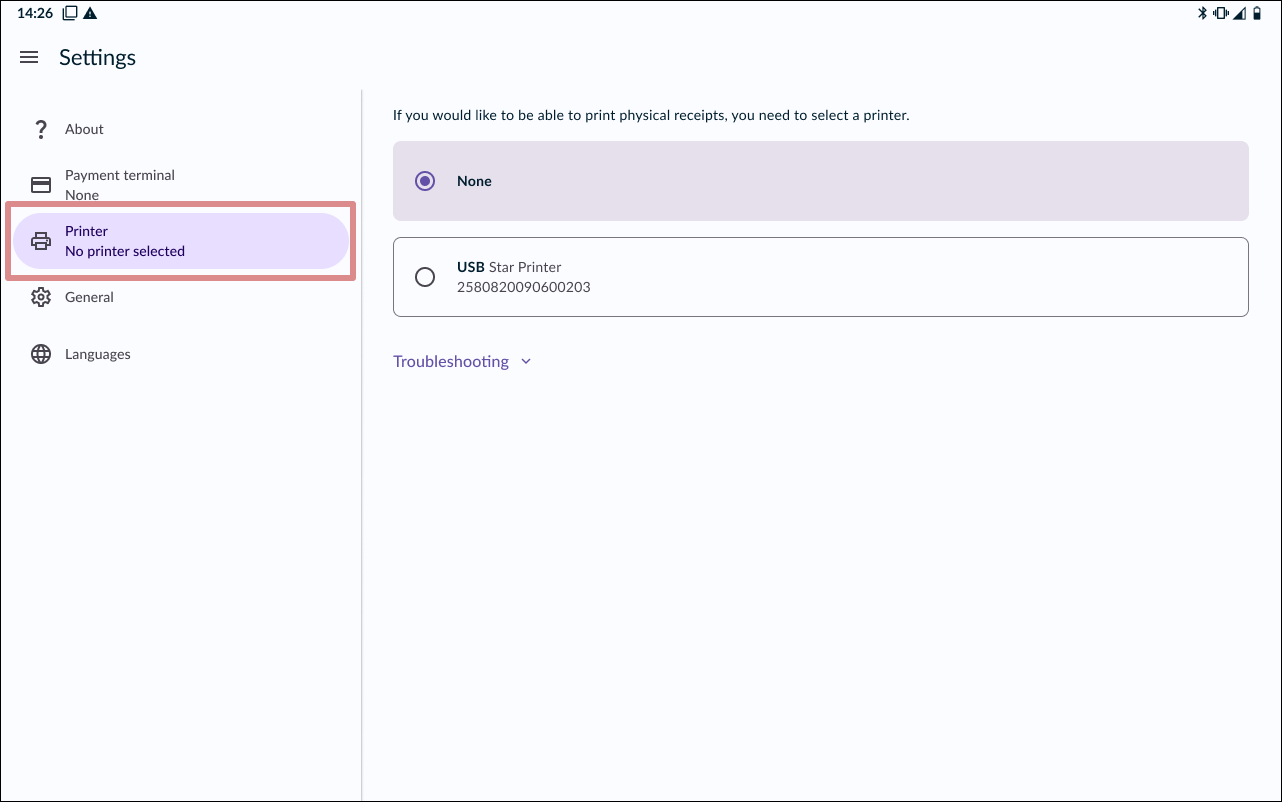
2. Go to PRINTERS.
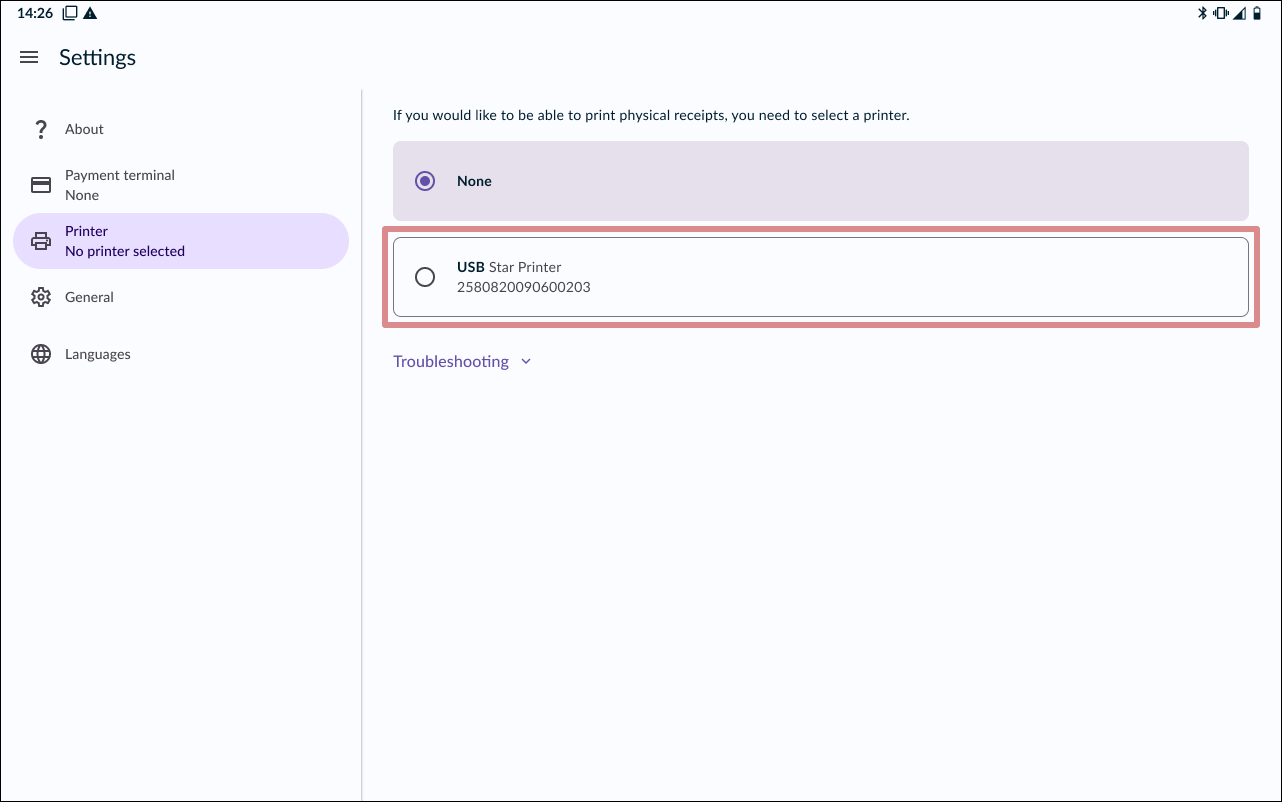
3. Select printer
The printer should now appear in the list, simply tap the card to select the printer.
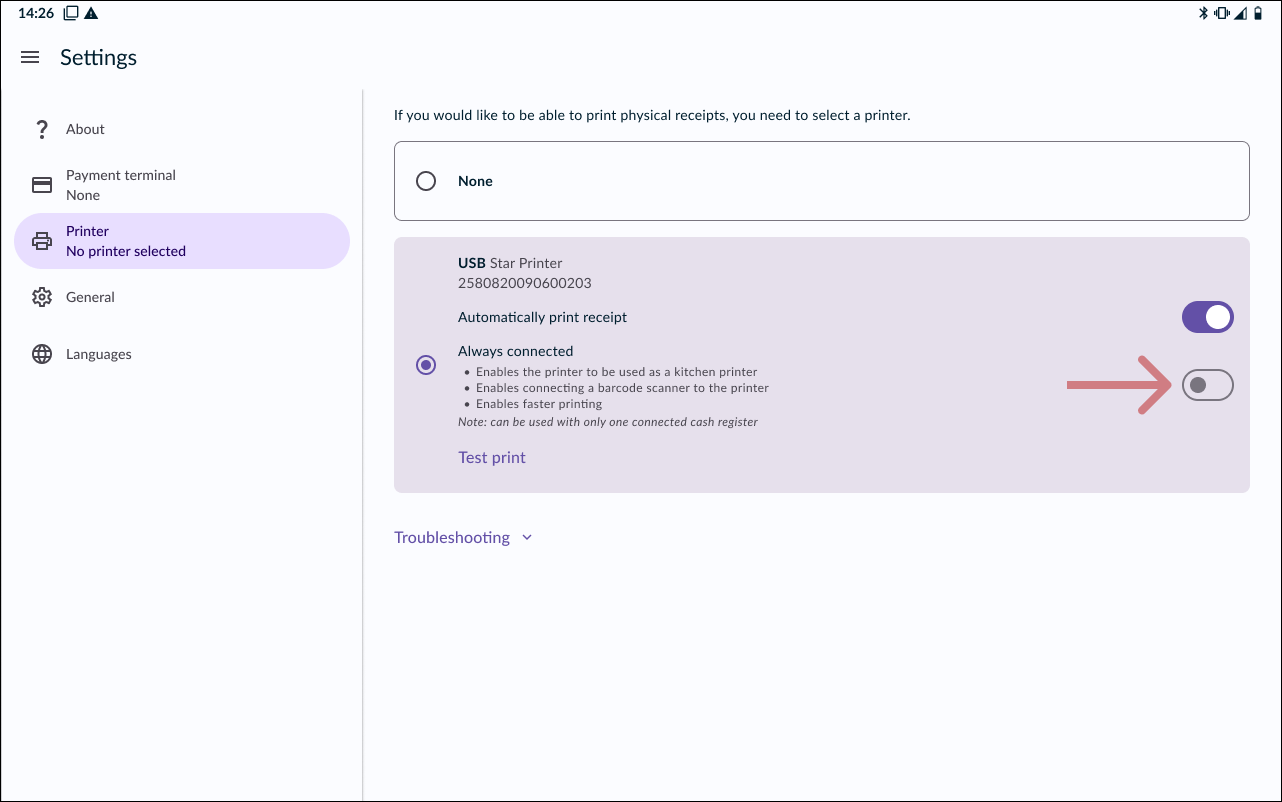
4. Always connected
It’s optional to enable Always connected. This feature provides faster printing, but cannot be used if multiple cash registers are to be connected to the printer.
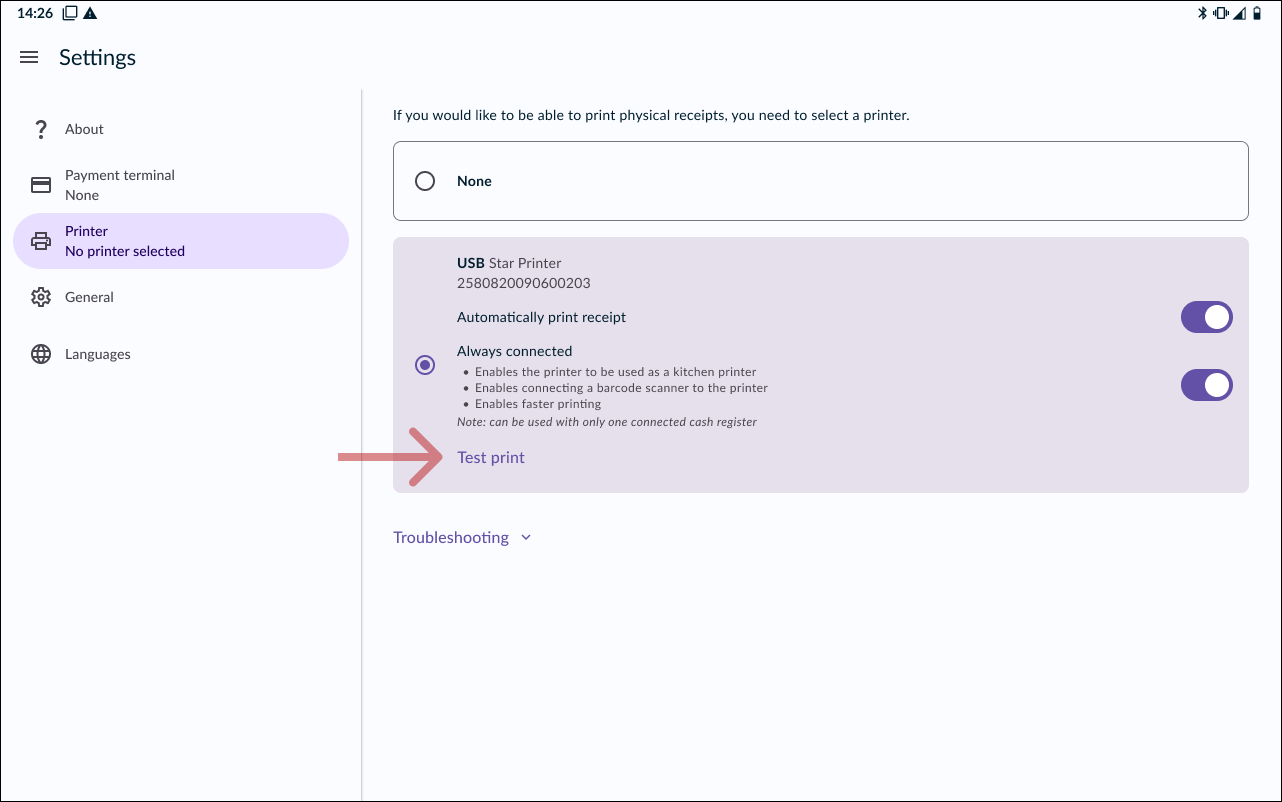
5. Test print
To make sure the printer is working properly, you can print a test receipt by pressing TEST PRINT.