Installation guide for Bixolon printer (SPP-R200II)
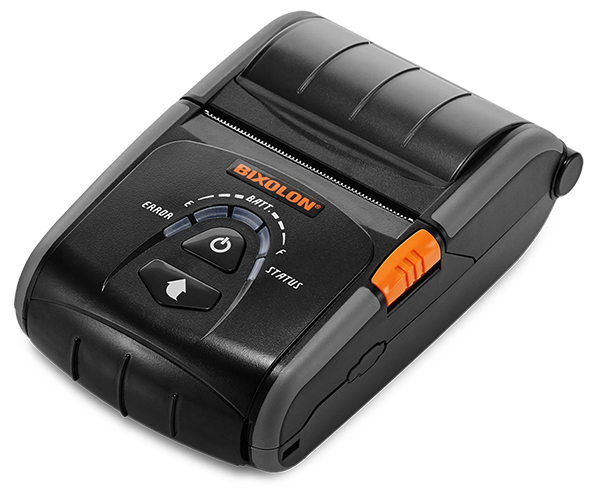
This guide will help you install and charge the battery for a Bixolon printer (SPP-R200II).
What you'll need
- A Bixolon printer (SPP-R200II)
- A battery charger
Preparations
Unpack the printer and all accessories in the box.
Installation
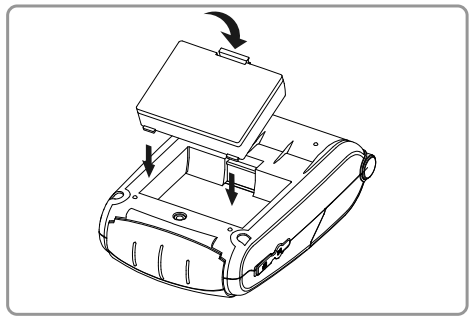
- Insert the battery on the rear side of the printer, aligning the battery hook properly.
- Push the battery into the slot until a snapping sound is heard.
As the battery is not charged at the time of purchase, charge the battery prior to product use. (Use the battery charger)
Battery charging
- Turn off the printer power.
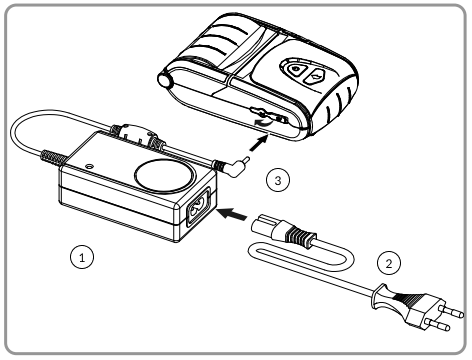
- Connect the power cord ② to the battery charger ①, and then connect AC power.
- Open the small external interface cap in the direction of ③.
- Connect the battery charger to the power connector.
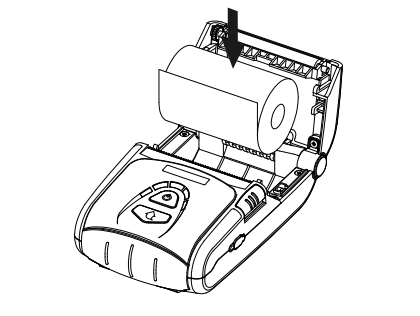
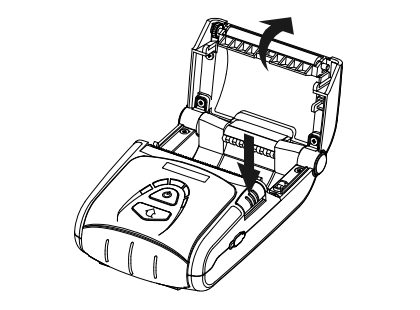
- Insert the paper as shown in the image. (Remove any remaining core of a fully used paper roll.)

- Take care to align the paper correctly.
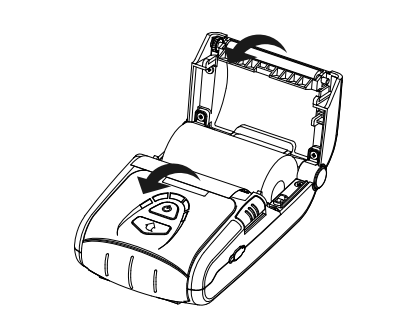
- Pull the paper out as shown in the image and close the paper cover.
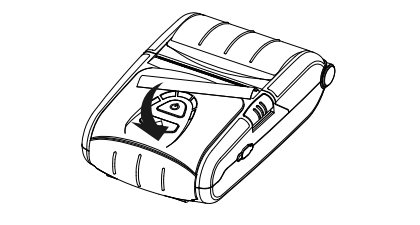
- Tear off any excess paper in the direction of the side of the printer.
