Install Star mc-Print3 printer (USB-C connection)

This guide will help you install the Star mc-Print3 printer and connect it to a tablet/Elo via USB-C.
This is a recommended setup if you want to use the printer as a receipt printer by the cash register. If you prefer to connect the printer to the cash register via Bluetooth (e.g. if you use a smartphone) or use the printer as a stand-alone kitchen printer, go to install via Bluetooth or install via cloud.
What you'll need
- Star mC-Print3 receipt printer
- USB cable (type C-C)
Note
For Elo: USB cable type A-C
- AC adapter/power cord
- Receipt paper
- Tablet or Elo device with the OPEN Two app installed and activated
Install printer
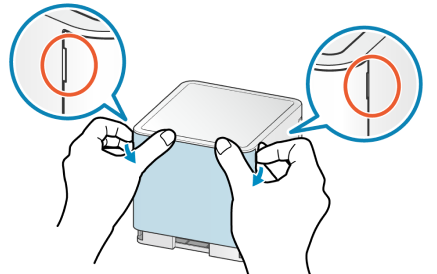
- Unpack the printer and remove the cover on the back.
- Connect the USB-C cable
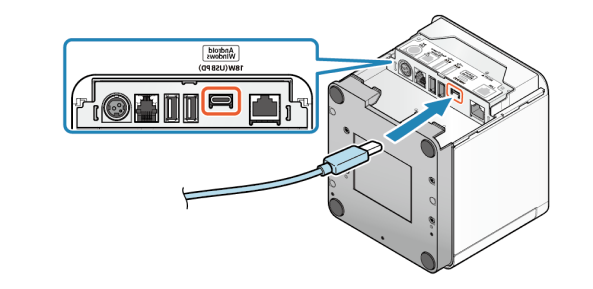
- Connect one end of the USB cable to the USB-C port of the printer.
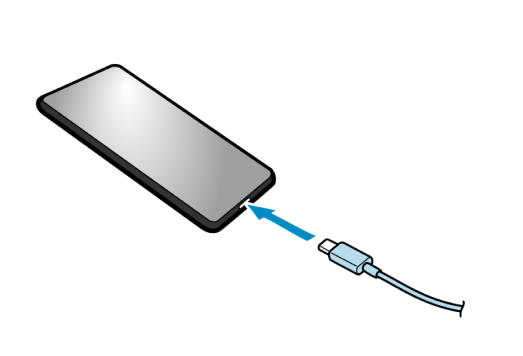
- Connect the other end to the tablet's USB-C port.
Note
For Elo: Connect the other end to the Elo's USB-A port.
- Connect the power cord
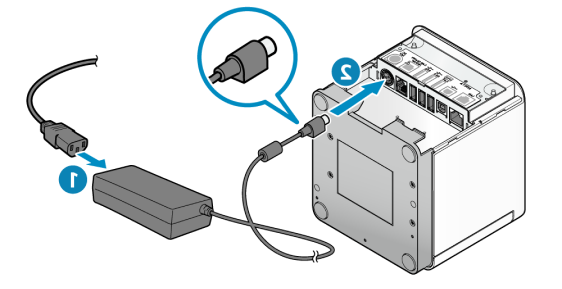
- Connect the power cable to the AC adapter port (1). Connect the power cable, with the correct vertical position, to the printer's input (2).
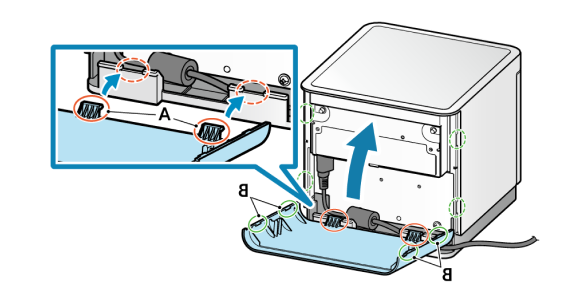
- Reattach the cover to the back of the printer.
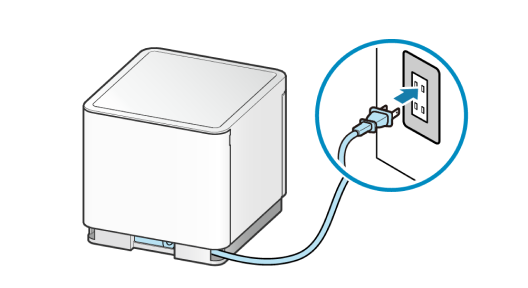
- Connect the power cord to an electrical outlet.
Load printer with receipt paper
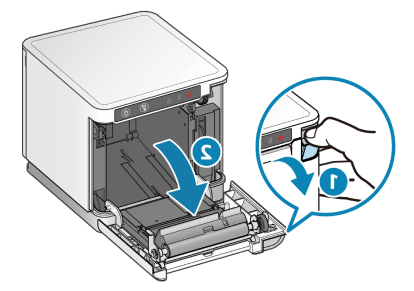
- Pull the lever (1) to open the cover on the front of the printer (2).
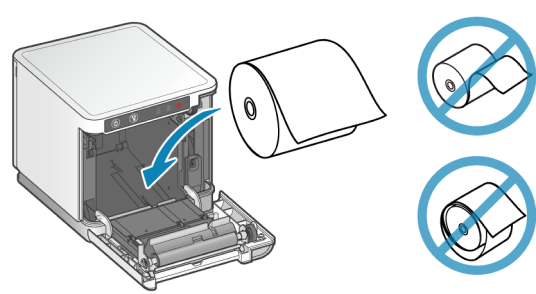
- Insert the receipt roll as shown.
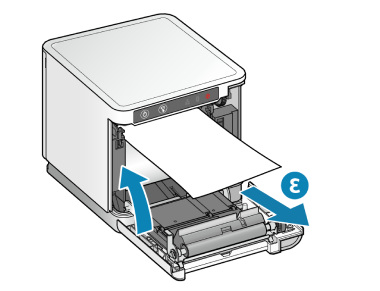
- Adjust the paper by pulling out a piece (3) and close the door.
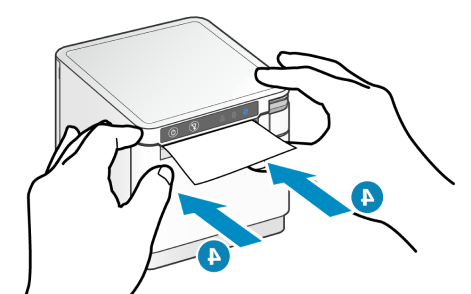
- Close the door by pressing on both sides as shown. The printer confirms successful receipt paper installation by automatically feeding out and cutting off the excess paper.
Optional: connect cash drawer
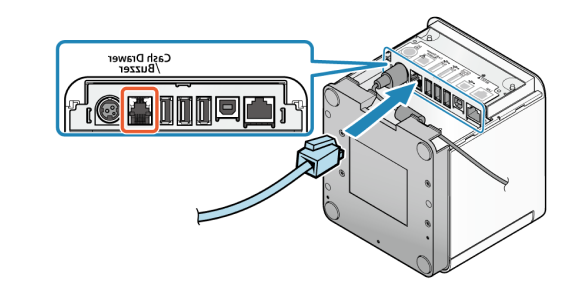
Connect the cash drawer cable to the "Cash Drawer/Buzzer" port on the printer.
Select printer in printer settings
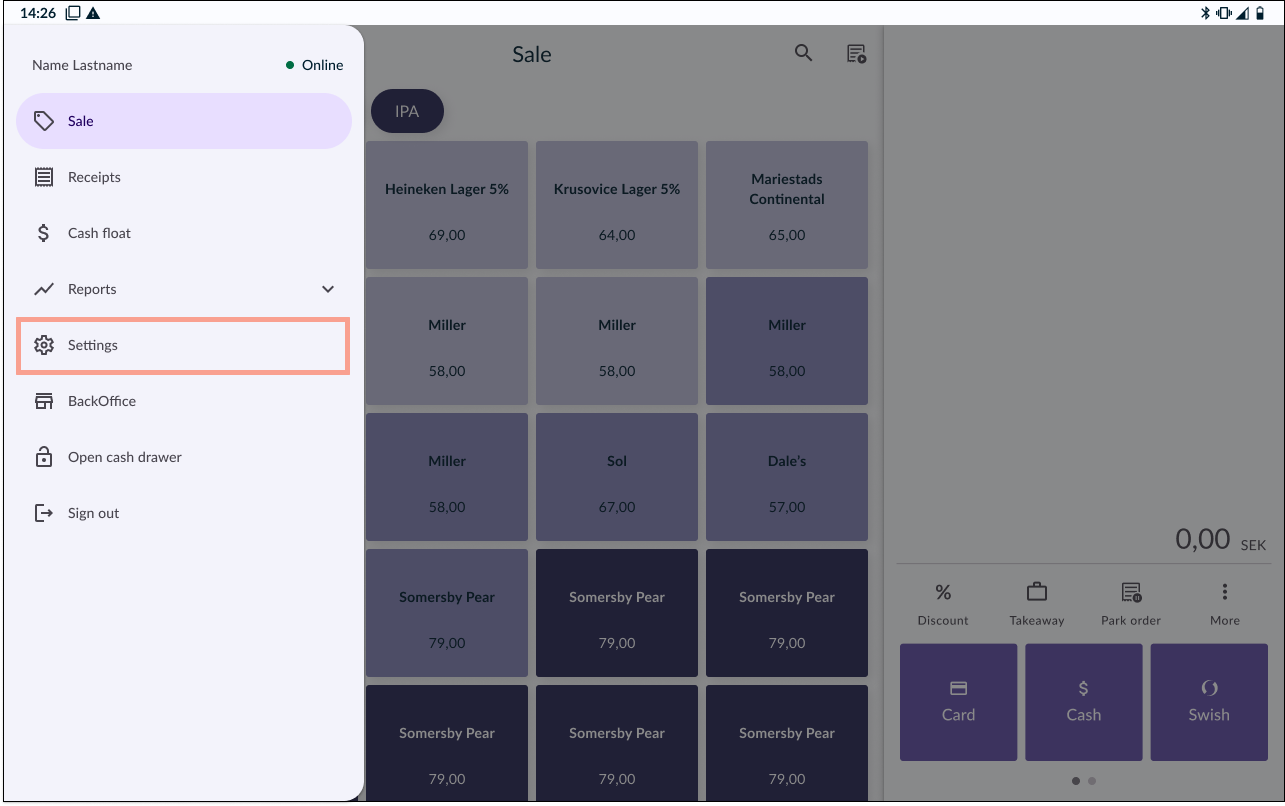
1. Go to SETTINGS
In the OPEN Two app, open the menu and go to SETTINGS.
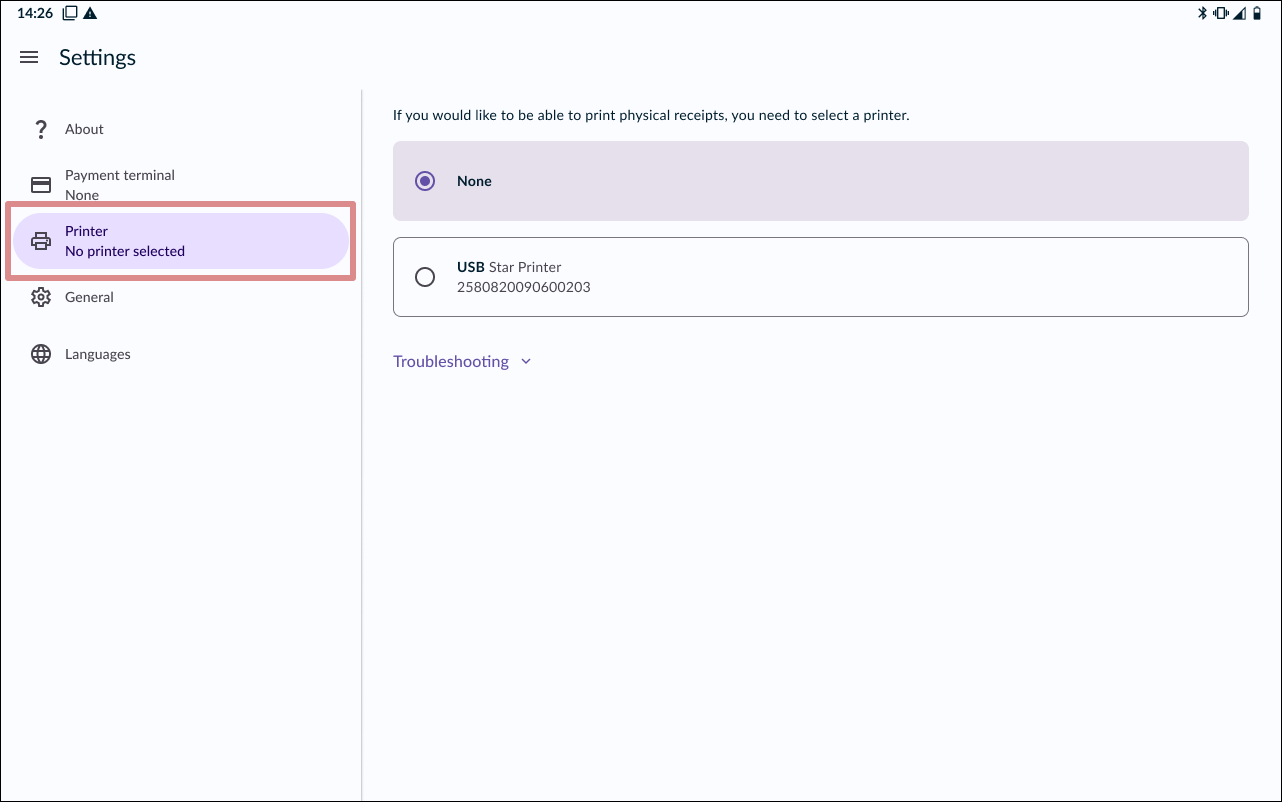
2. Go to PRINTERS.
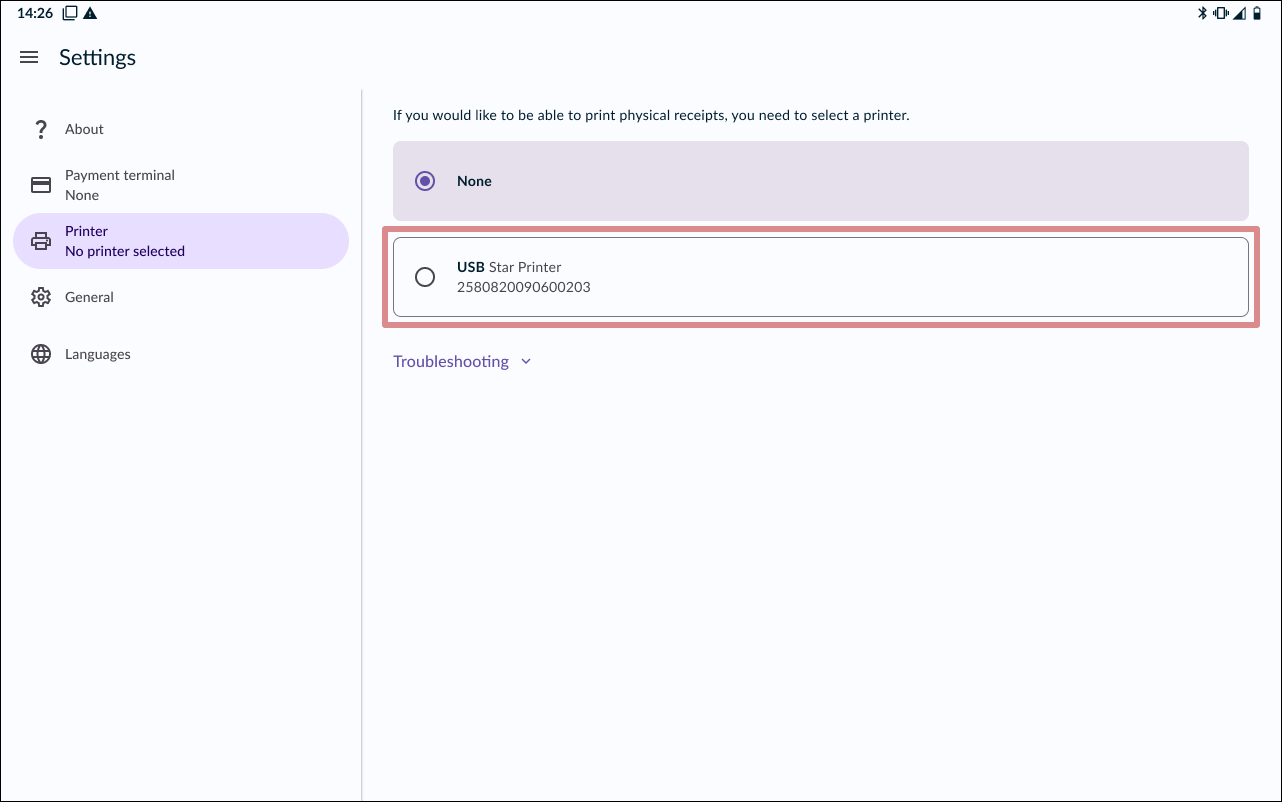
3. Select printer
The printer should now appear in the list, simply tap the card to select the printer.
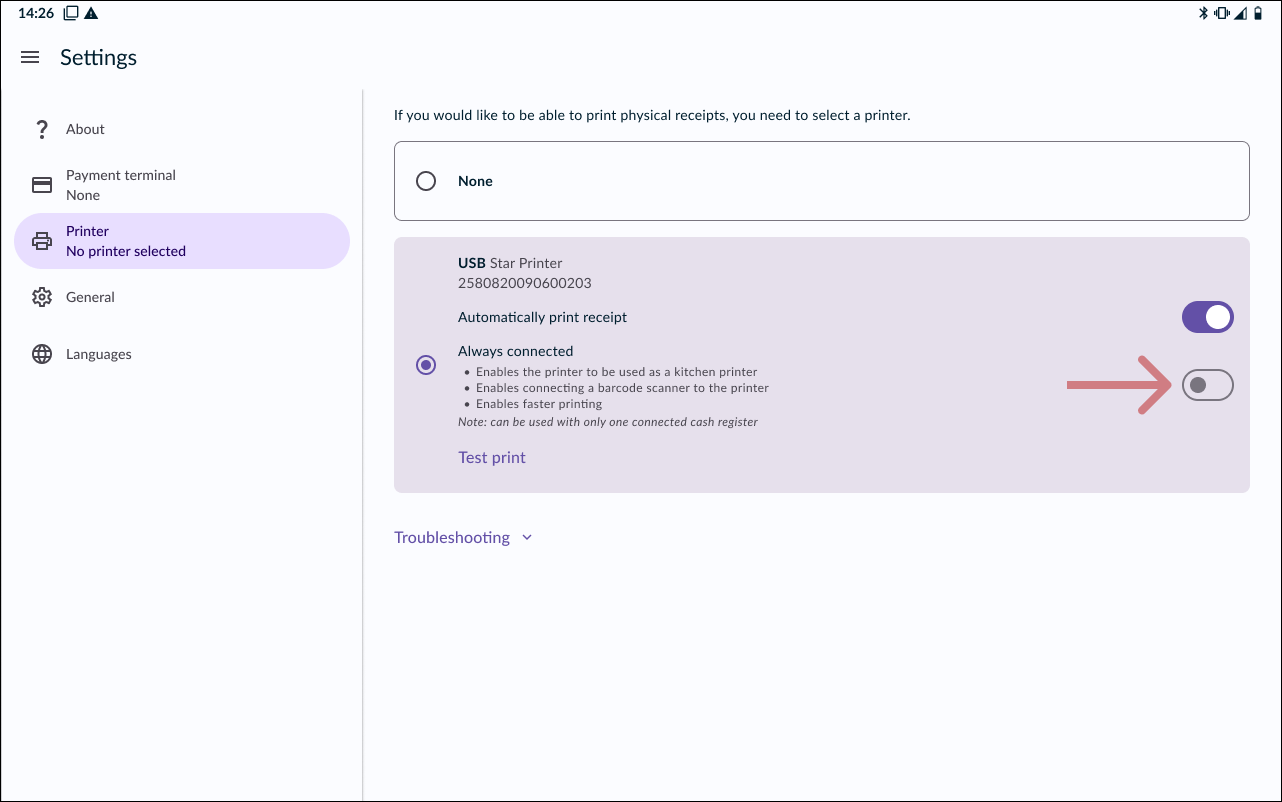
4. Always connected
It’s optional to enable Always connected. This feature provides faster printing, but cannot be used if multiple cash registers are to be connected to the printer.
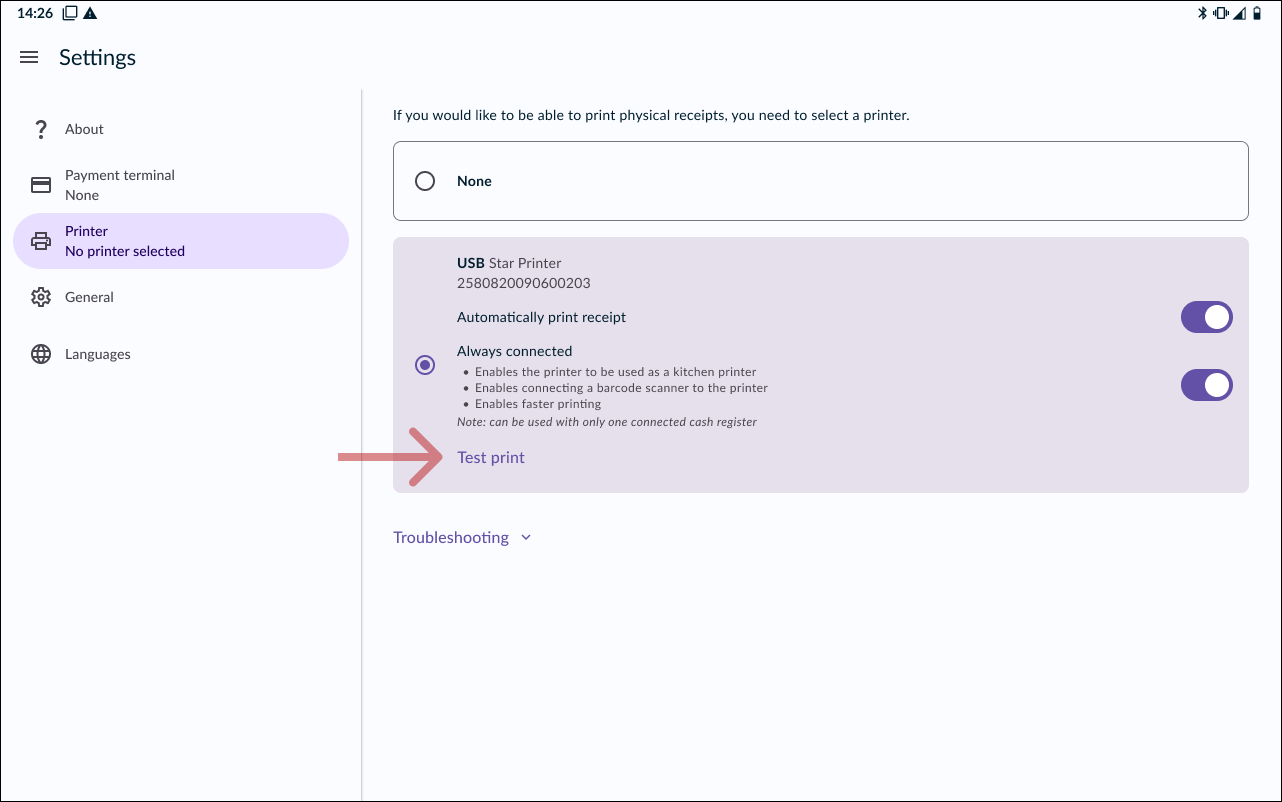
5. Test print
To make sure the printer is working properly, you can print a test receipt by pressing TEST PRINT.