Invoice via Fortnox
Fortnox offers a seamless integration for both accounting and invoicing, ideal for companies that want to manage these functions in one place. Here are the key advantages:
- The integration with Fortnox allows you to manage both accounting and invoicing in one service.
- Ability to create consolidated invoices.
If you are looking for a guide on accounting, go to Accounting via Fortnox.
Requirements for using Fortnox invoice
To use invoicing via Fortnox, you also need to use Fortnox for your accounting. This is because the accounting for the invoices will be handled through Fortnox.
You also need to have a Fortnox package that includes invoicing.
Getting started with invoice via Fortnox
Activate the Fortnox Integration:
- Select both Accounting & Invoicing (follow the steps in the guide Activate the Fortnox integration with accounting & invoicing below).
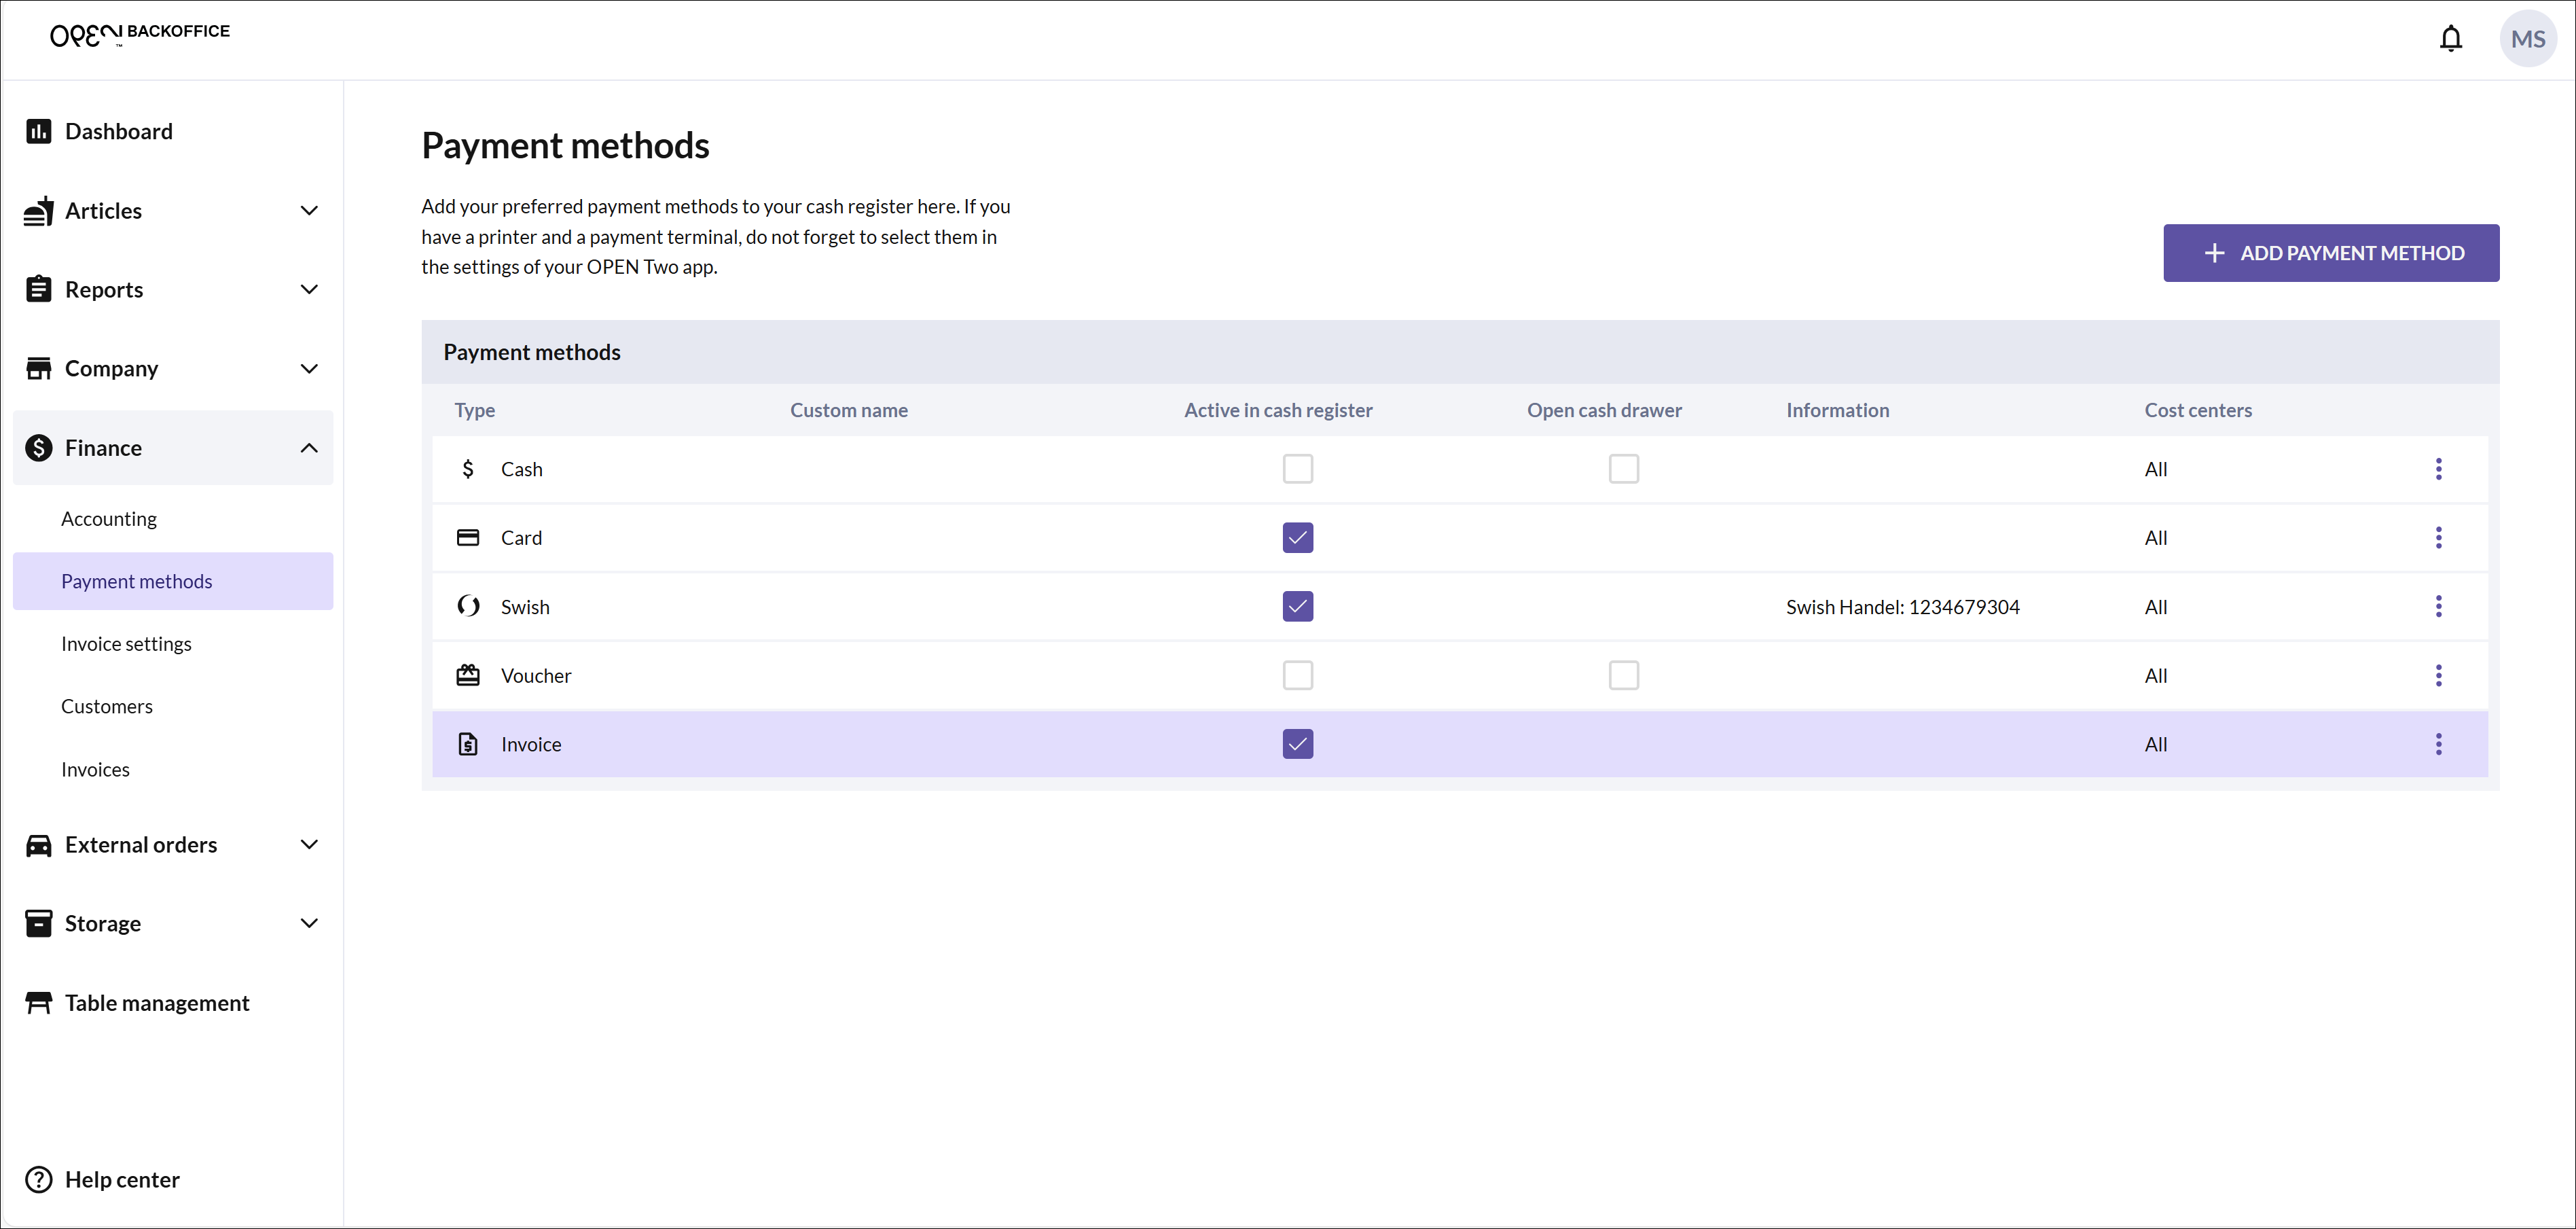
Activate the invoice payment method:
The invoice payment method is automatically activated at all cost centers. This can be changed on the Payment methods page in BackOffice.
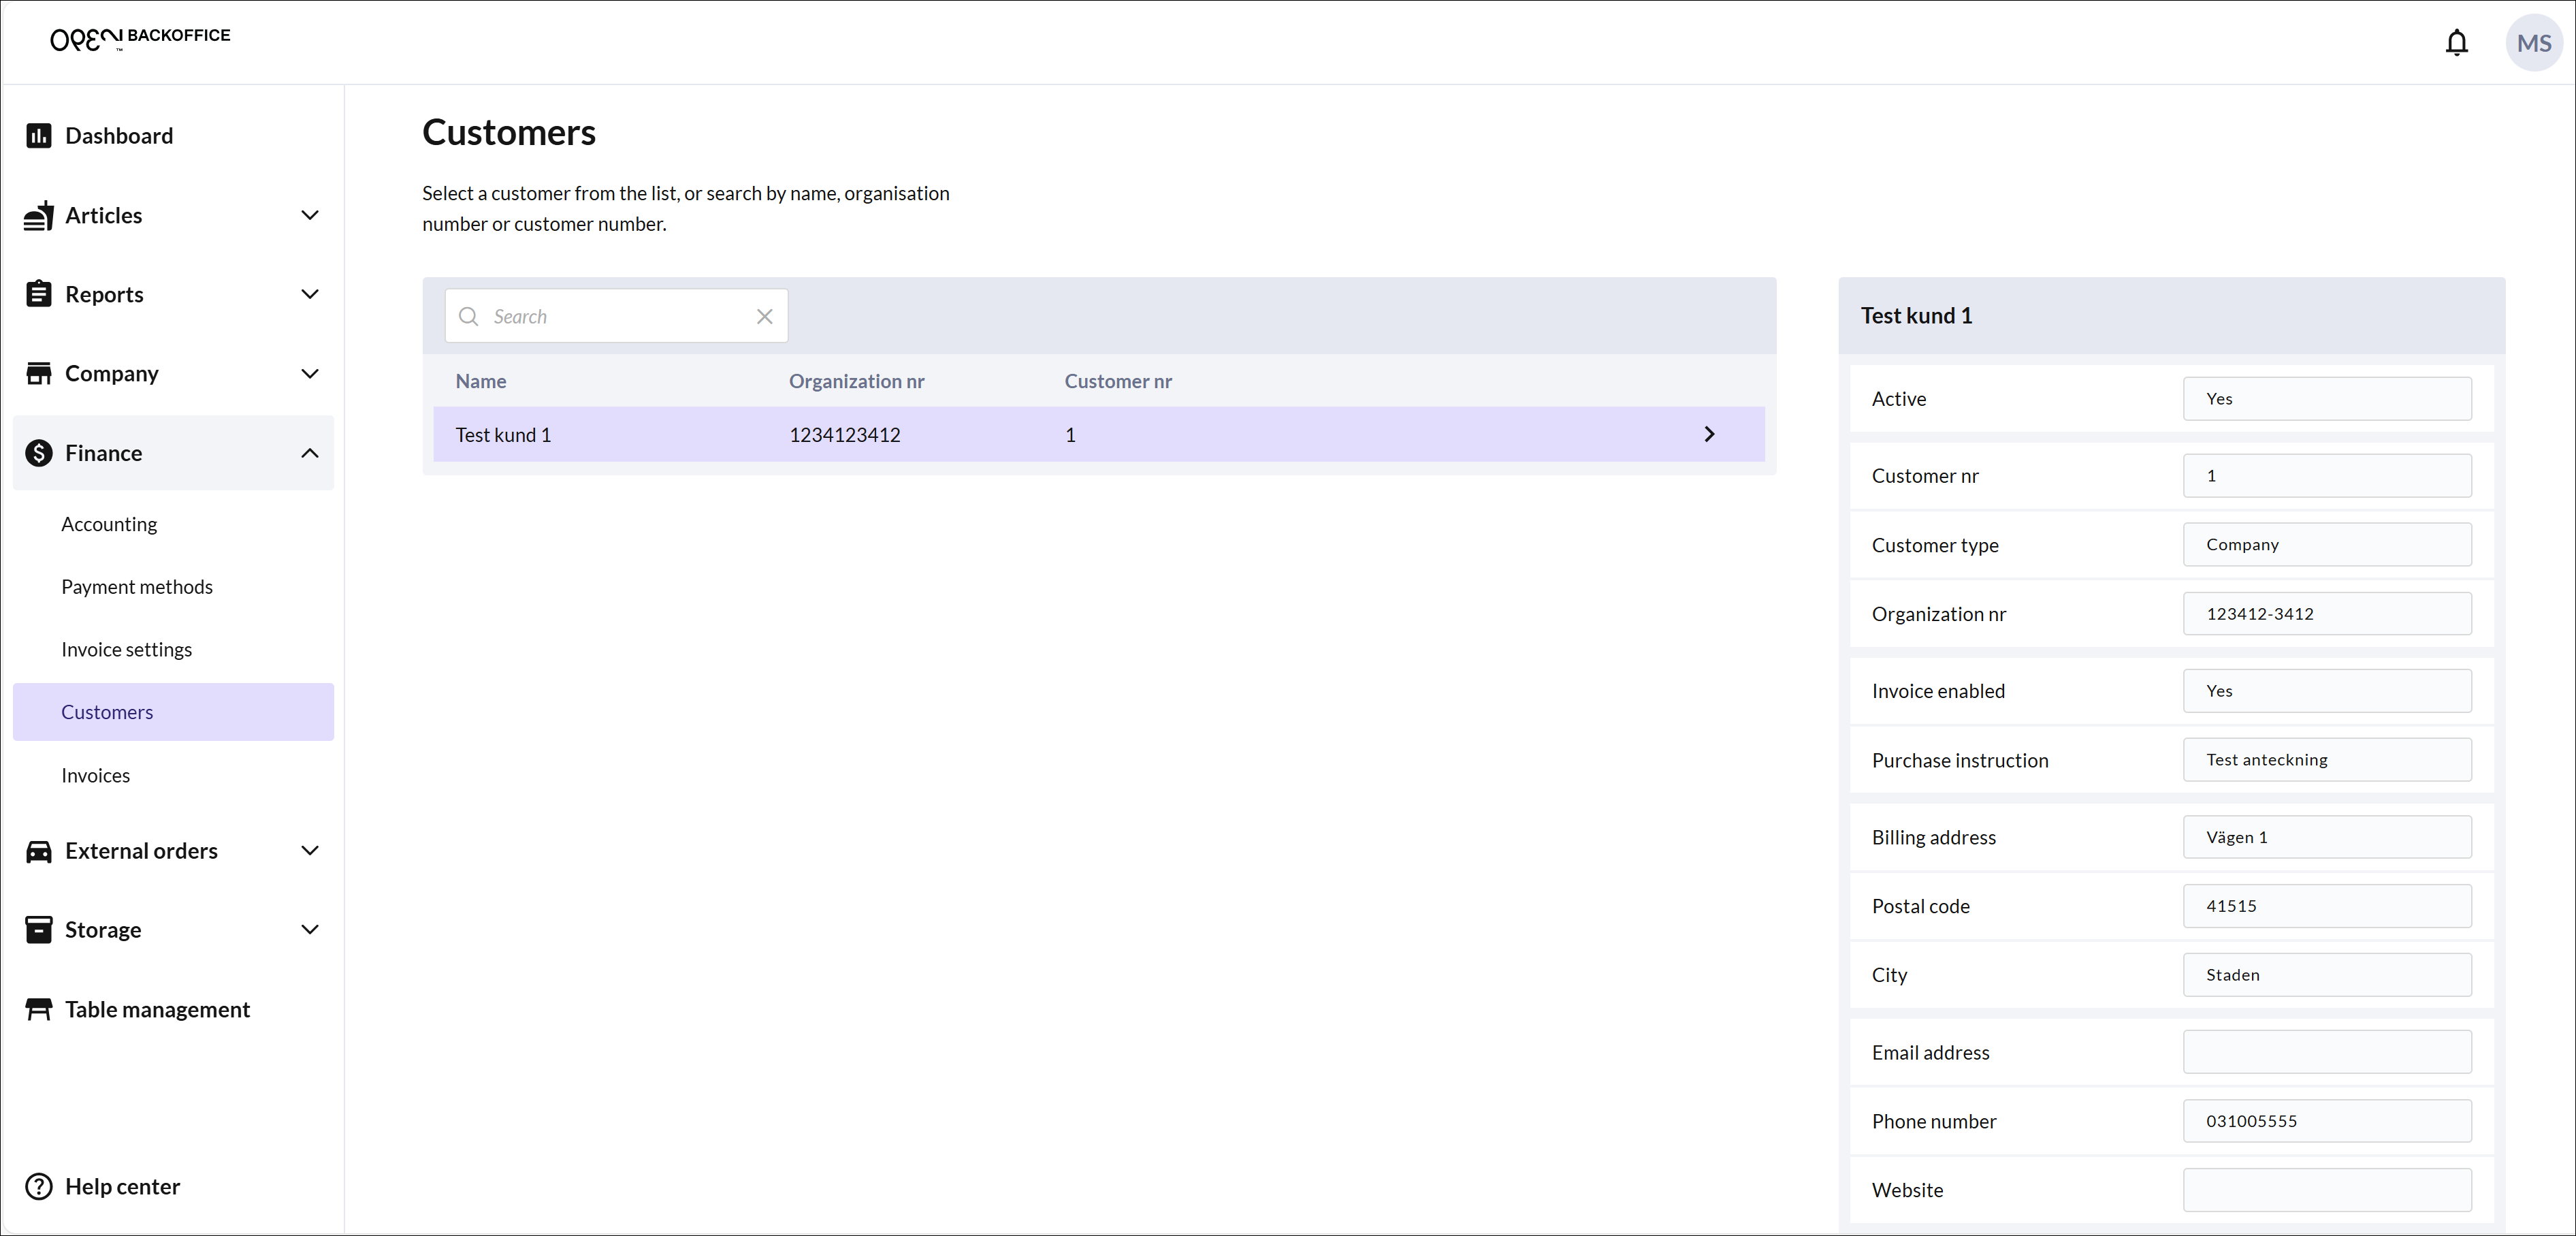
Access your customers:
You can now access your customers on the Customers page in BackOffice and from the cash register. Please note that you create your customers in Fortnox.
Charge via invoice:
- From the cash register, you can now invoice your customers.
Activate the Fortnox integration with accounting & invoicing
In BackOffice, select COMPANY from the menu and go to the INTEGRATIONS page.
In the Fortnox card, click the ACTIVATE button.
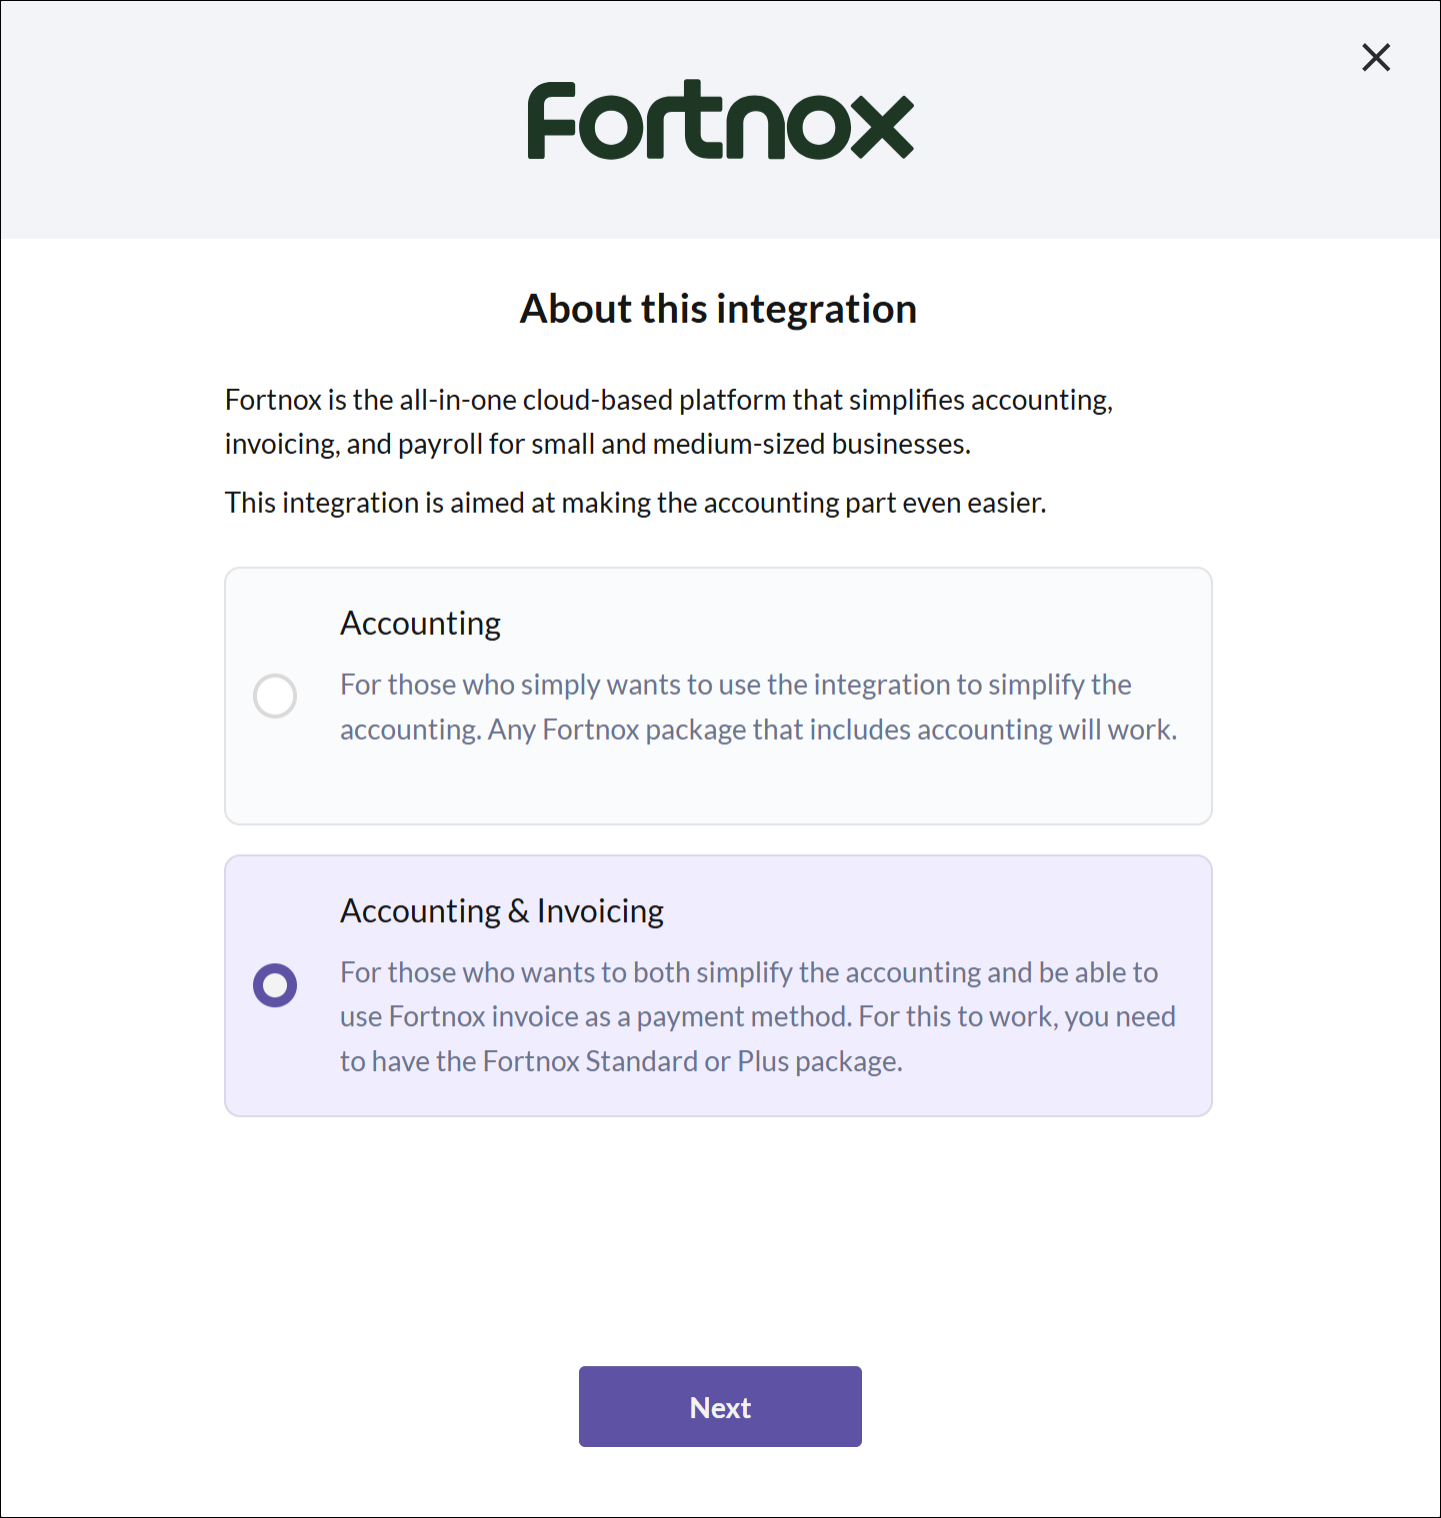
- In the dialog that opens, you will receive a brief introduction to the purpose of the integration. Select ACCOUNTING & INVOICING and click NEXT.
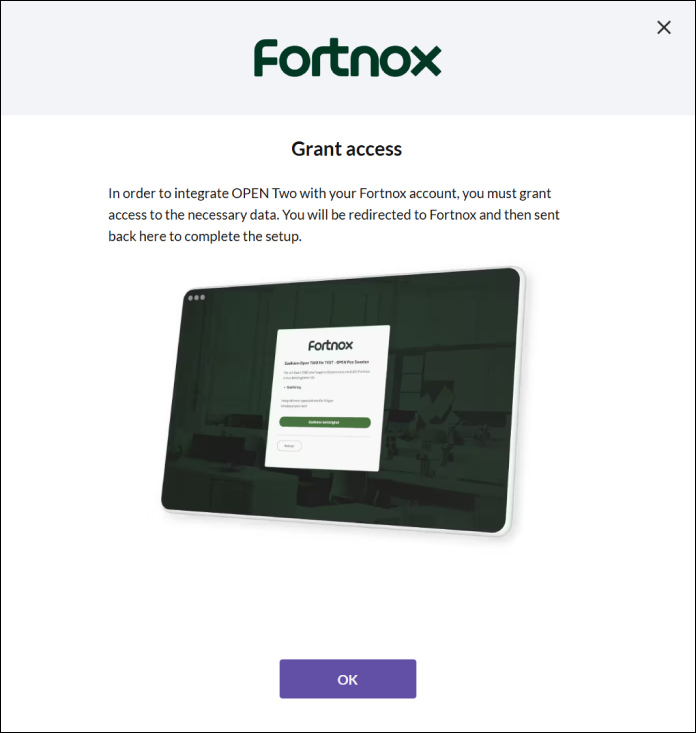
- You now need to grant OPEN Two access to the necessary data in Fortnox. Click OK and you will be redirected to Fortnox.
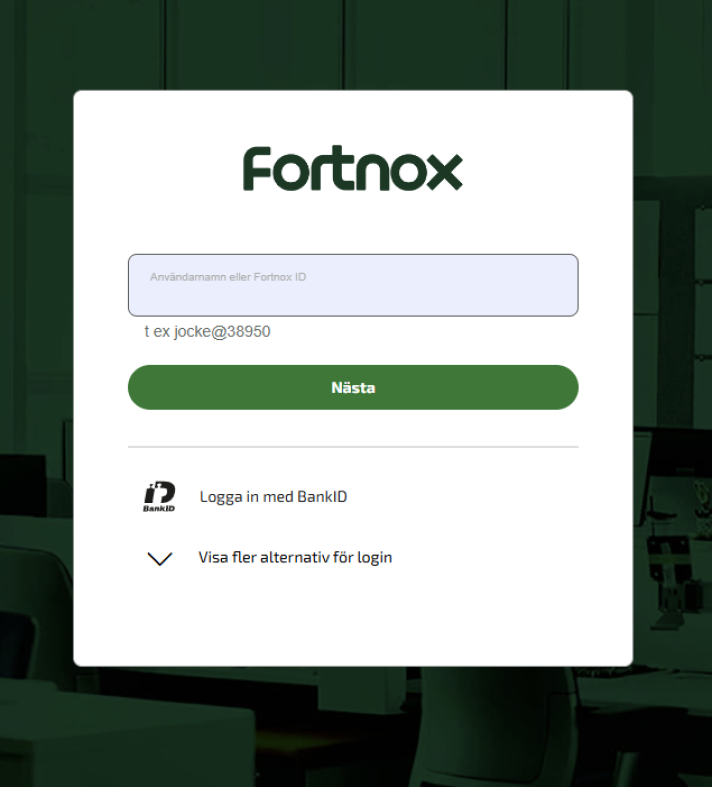
- Log in with your credentials and authorize OPEN Two to access the necessary data in Fortnox.
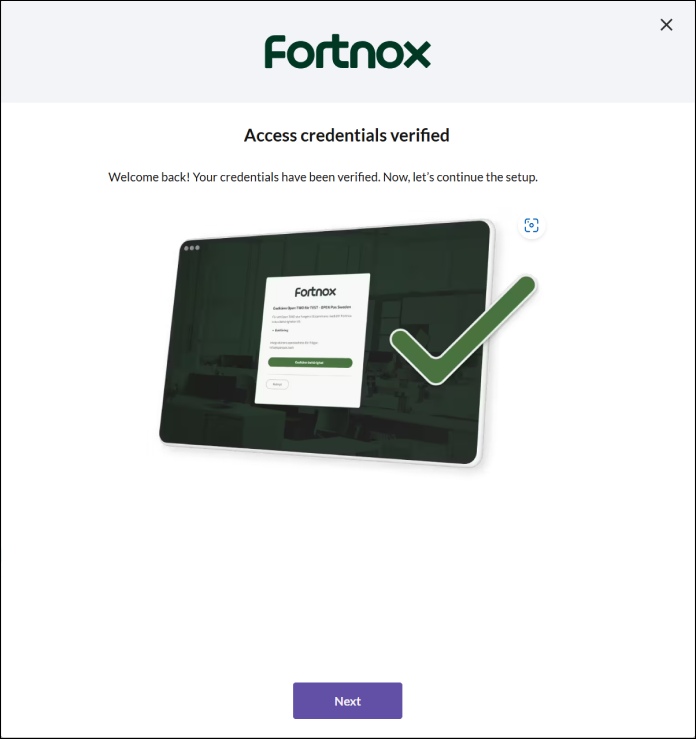
- Once the access credentials are verified, click NEXT.
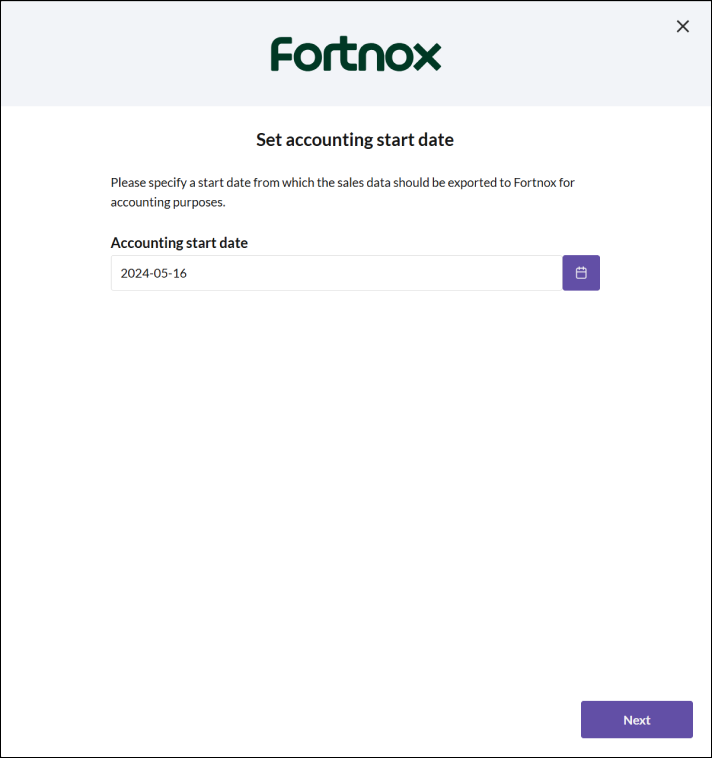
- Enter the start date from which your sales data should be exported to Fortnox for accounting. Then click NEXT.
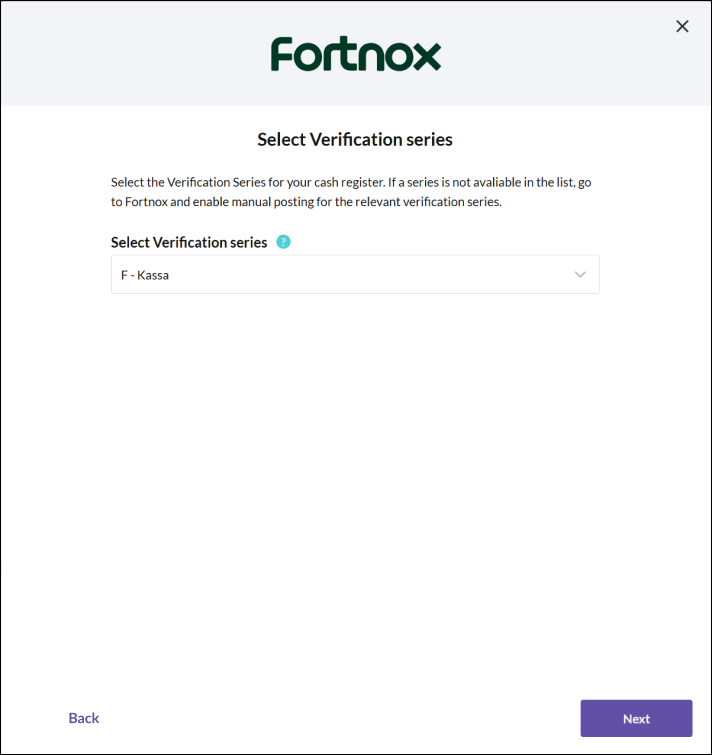
- Select the verification series for the register and then click NEXT.
Select bookkeeping accounts
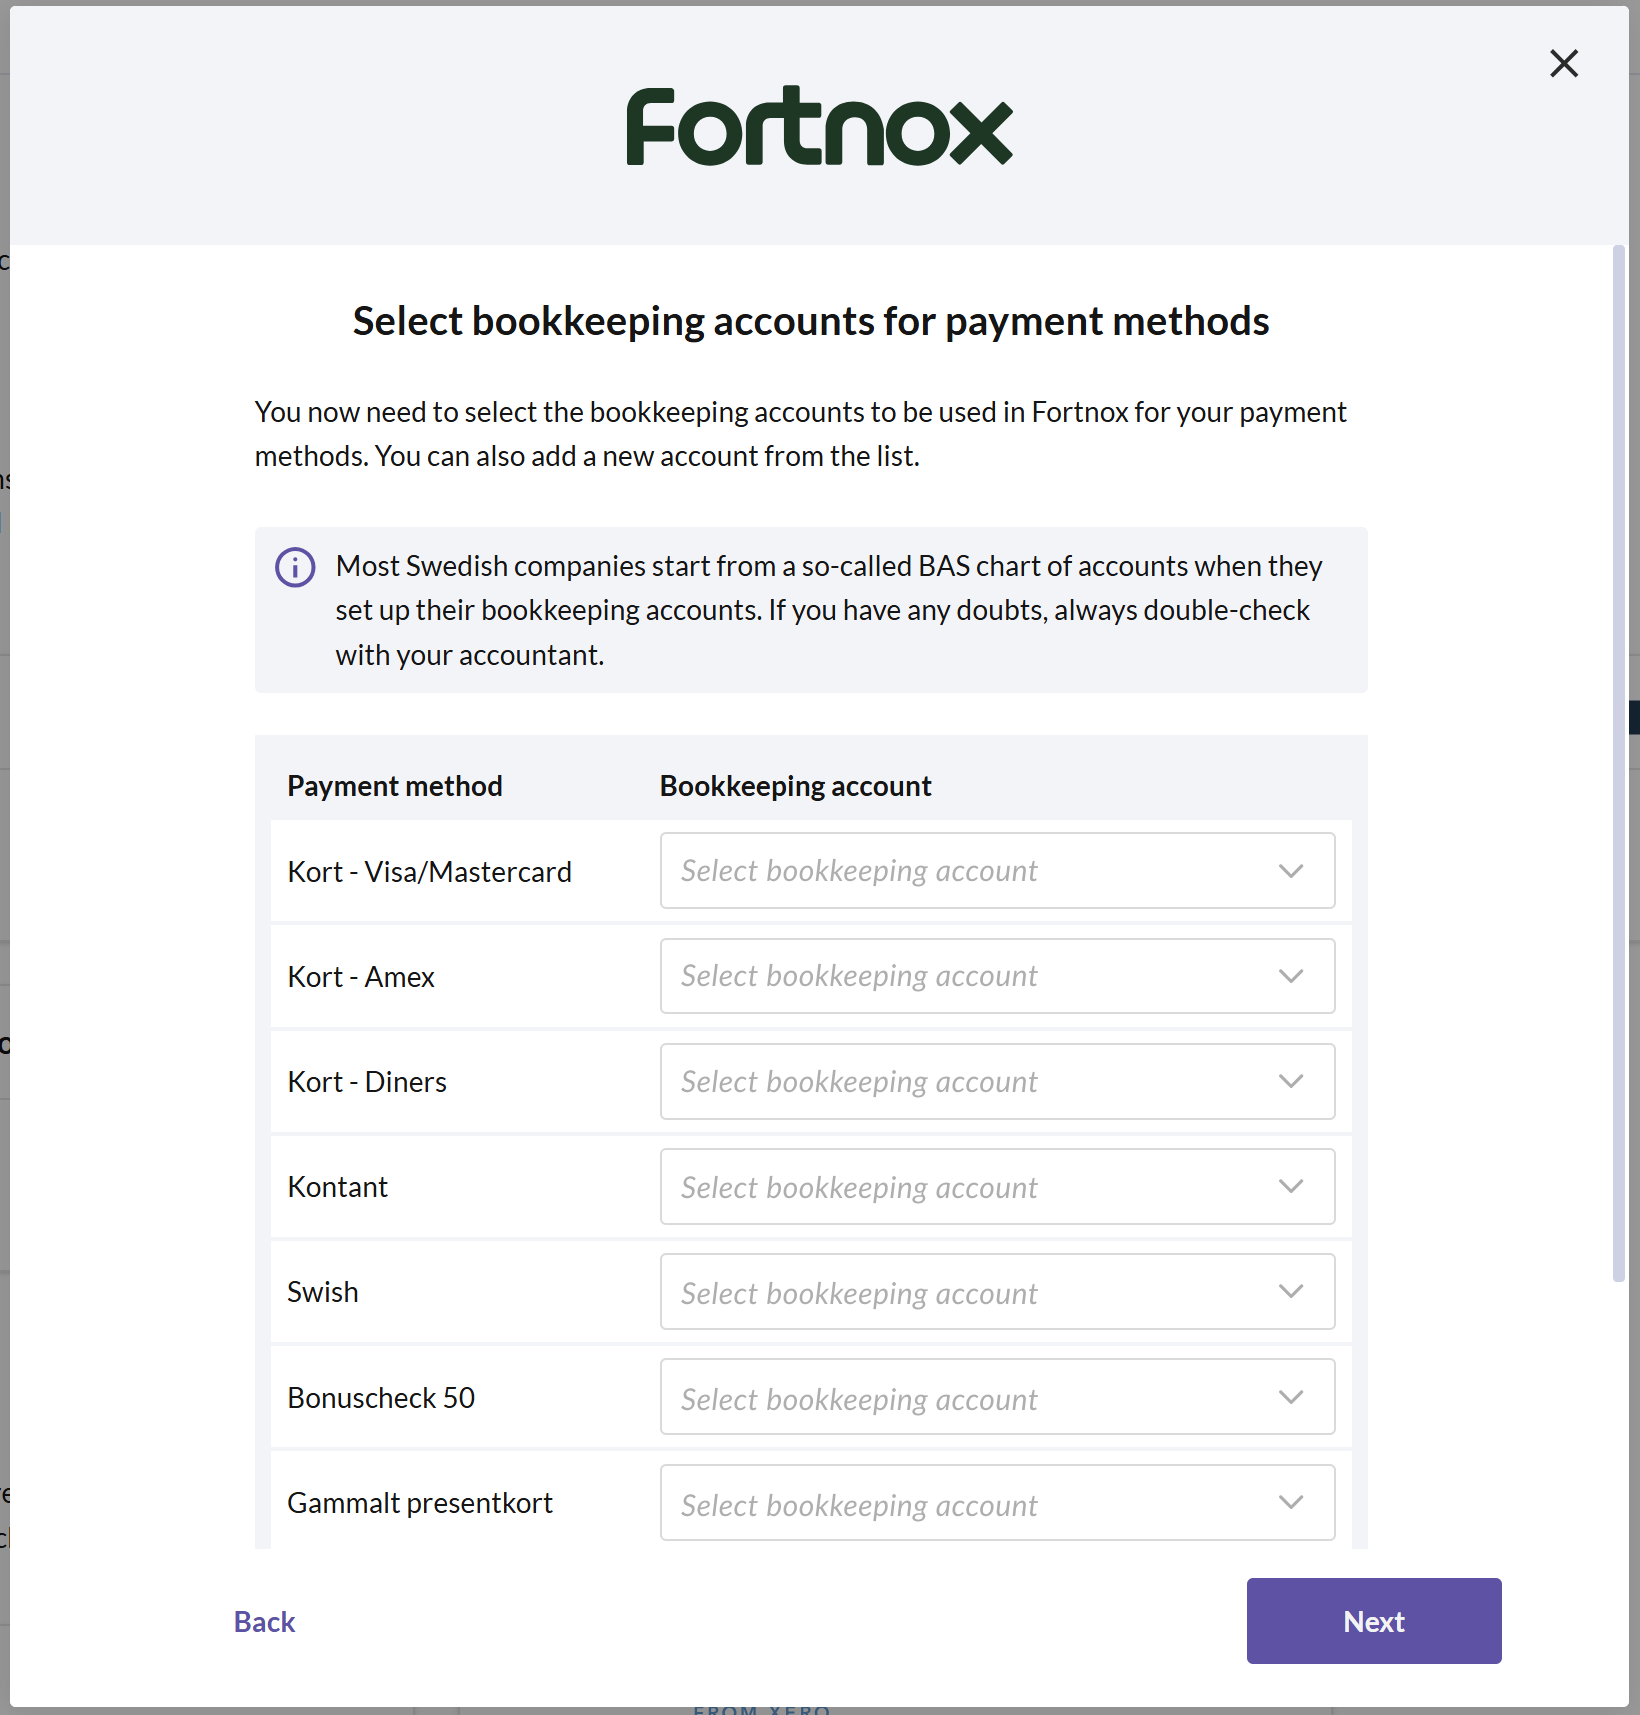
Select accounts for payment methods
Choose the accounts to be used in Fortnox for your various payment methods. You can also add a new account from the list. Then click NEXT.
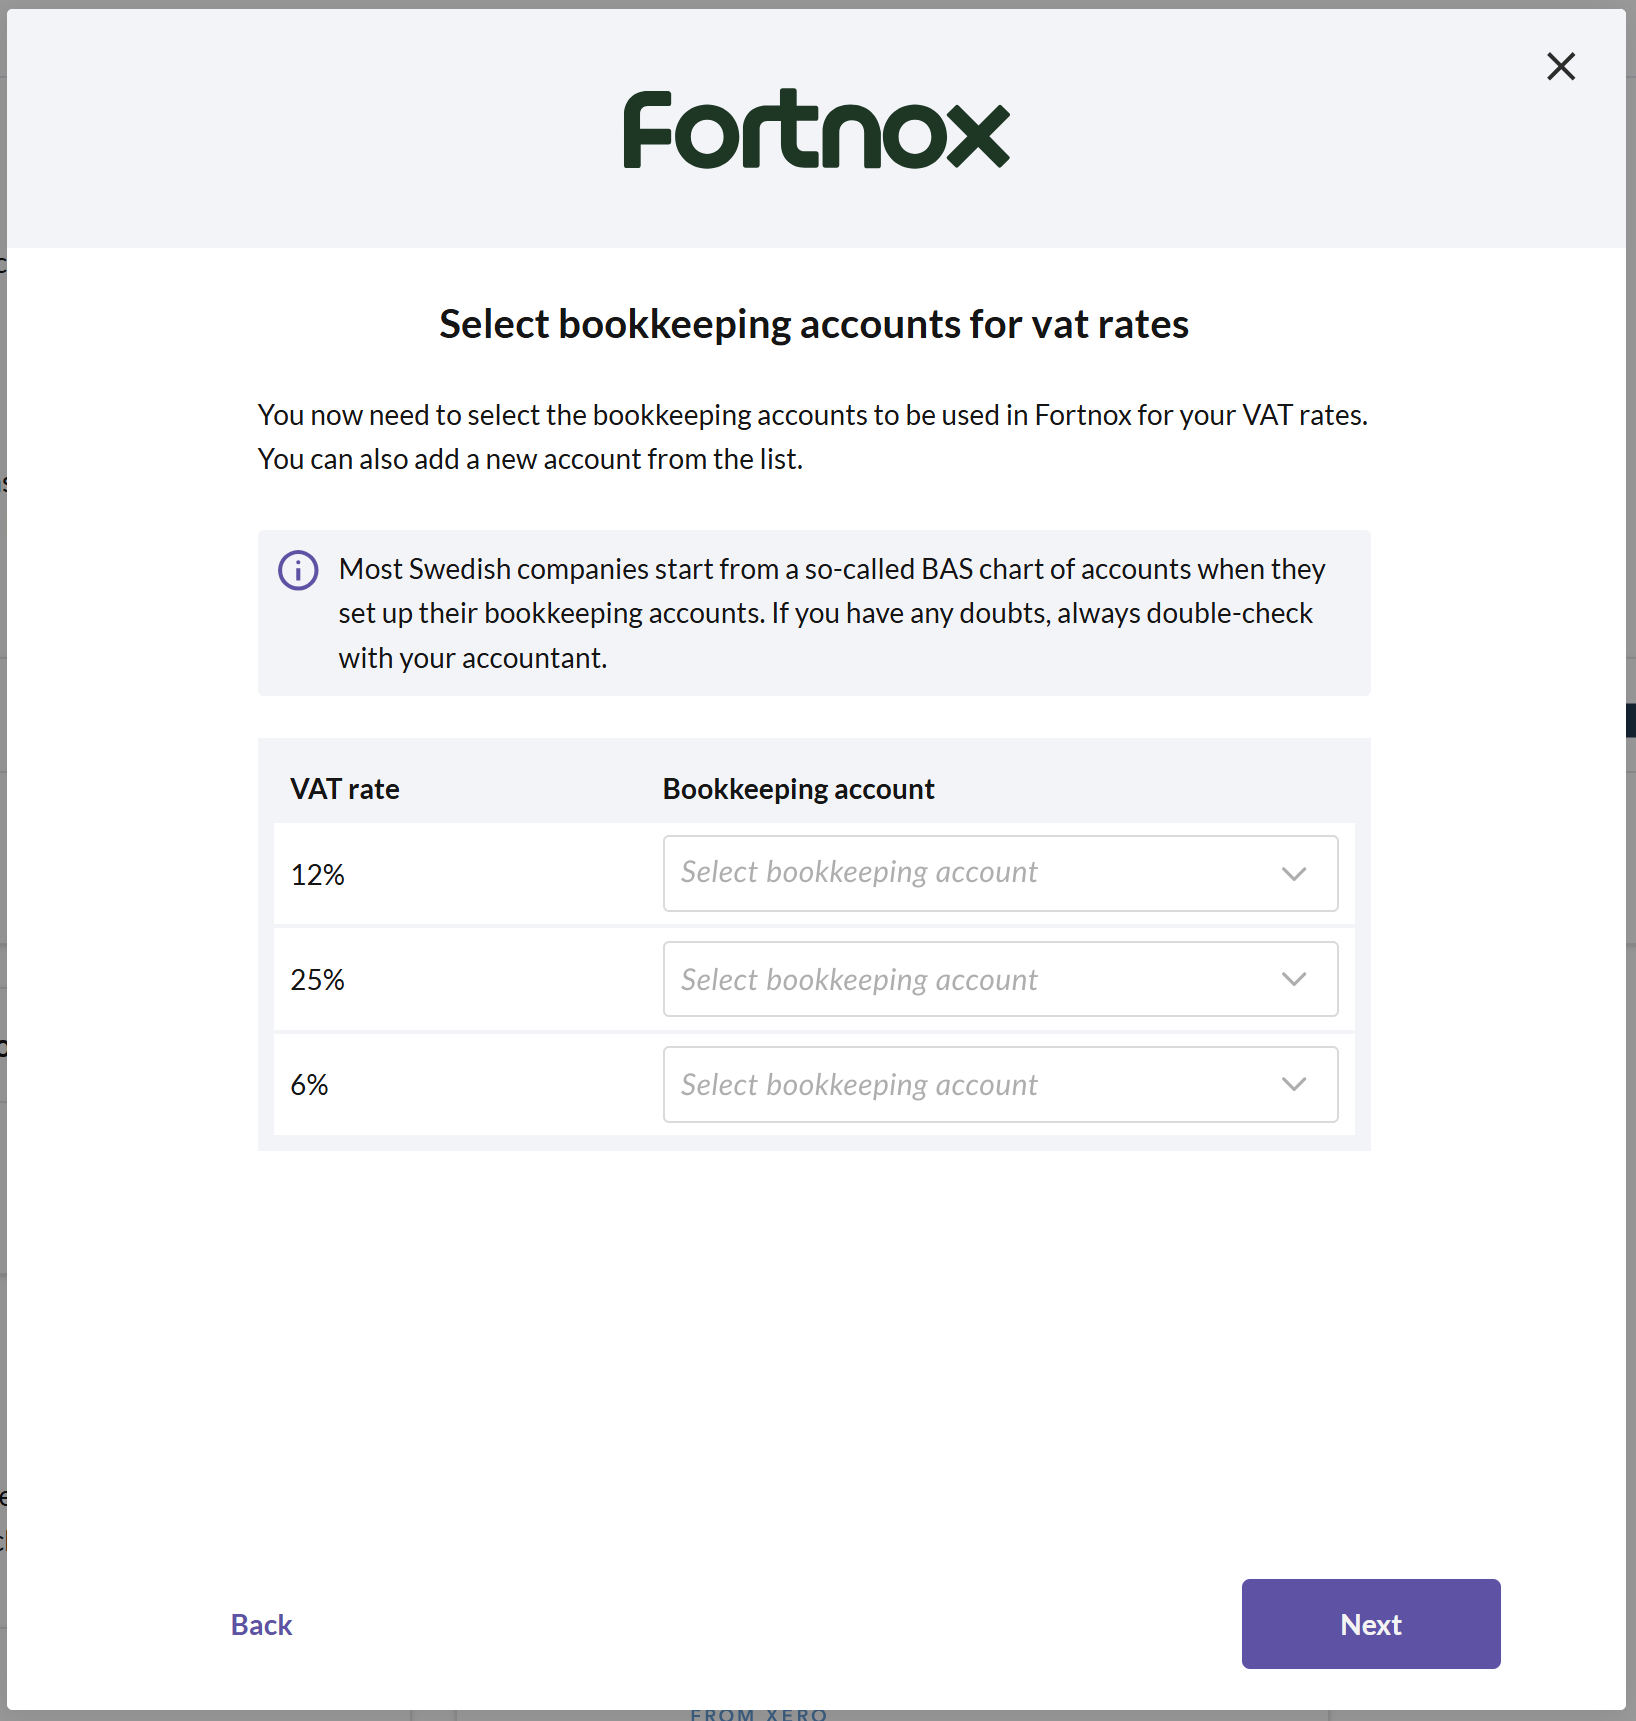
Select bookkeeping accounts for VAT rates
Choose the accounts to be used in Fortnox for your different product groups. You can also add a new account from the list. Then click NEXT.
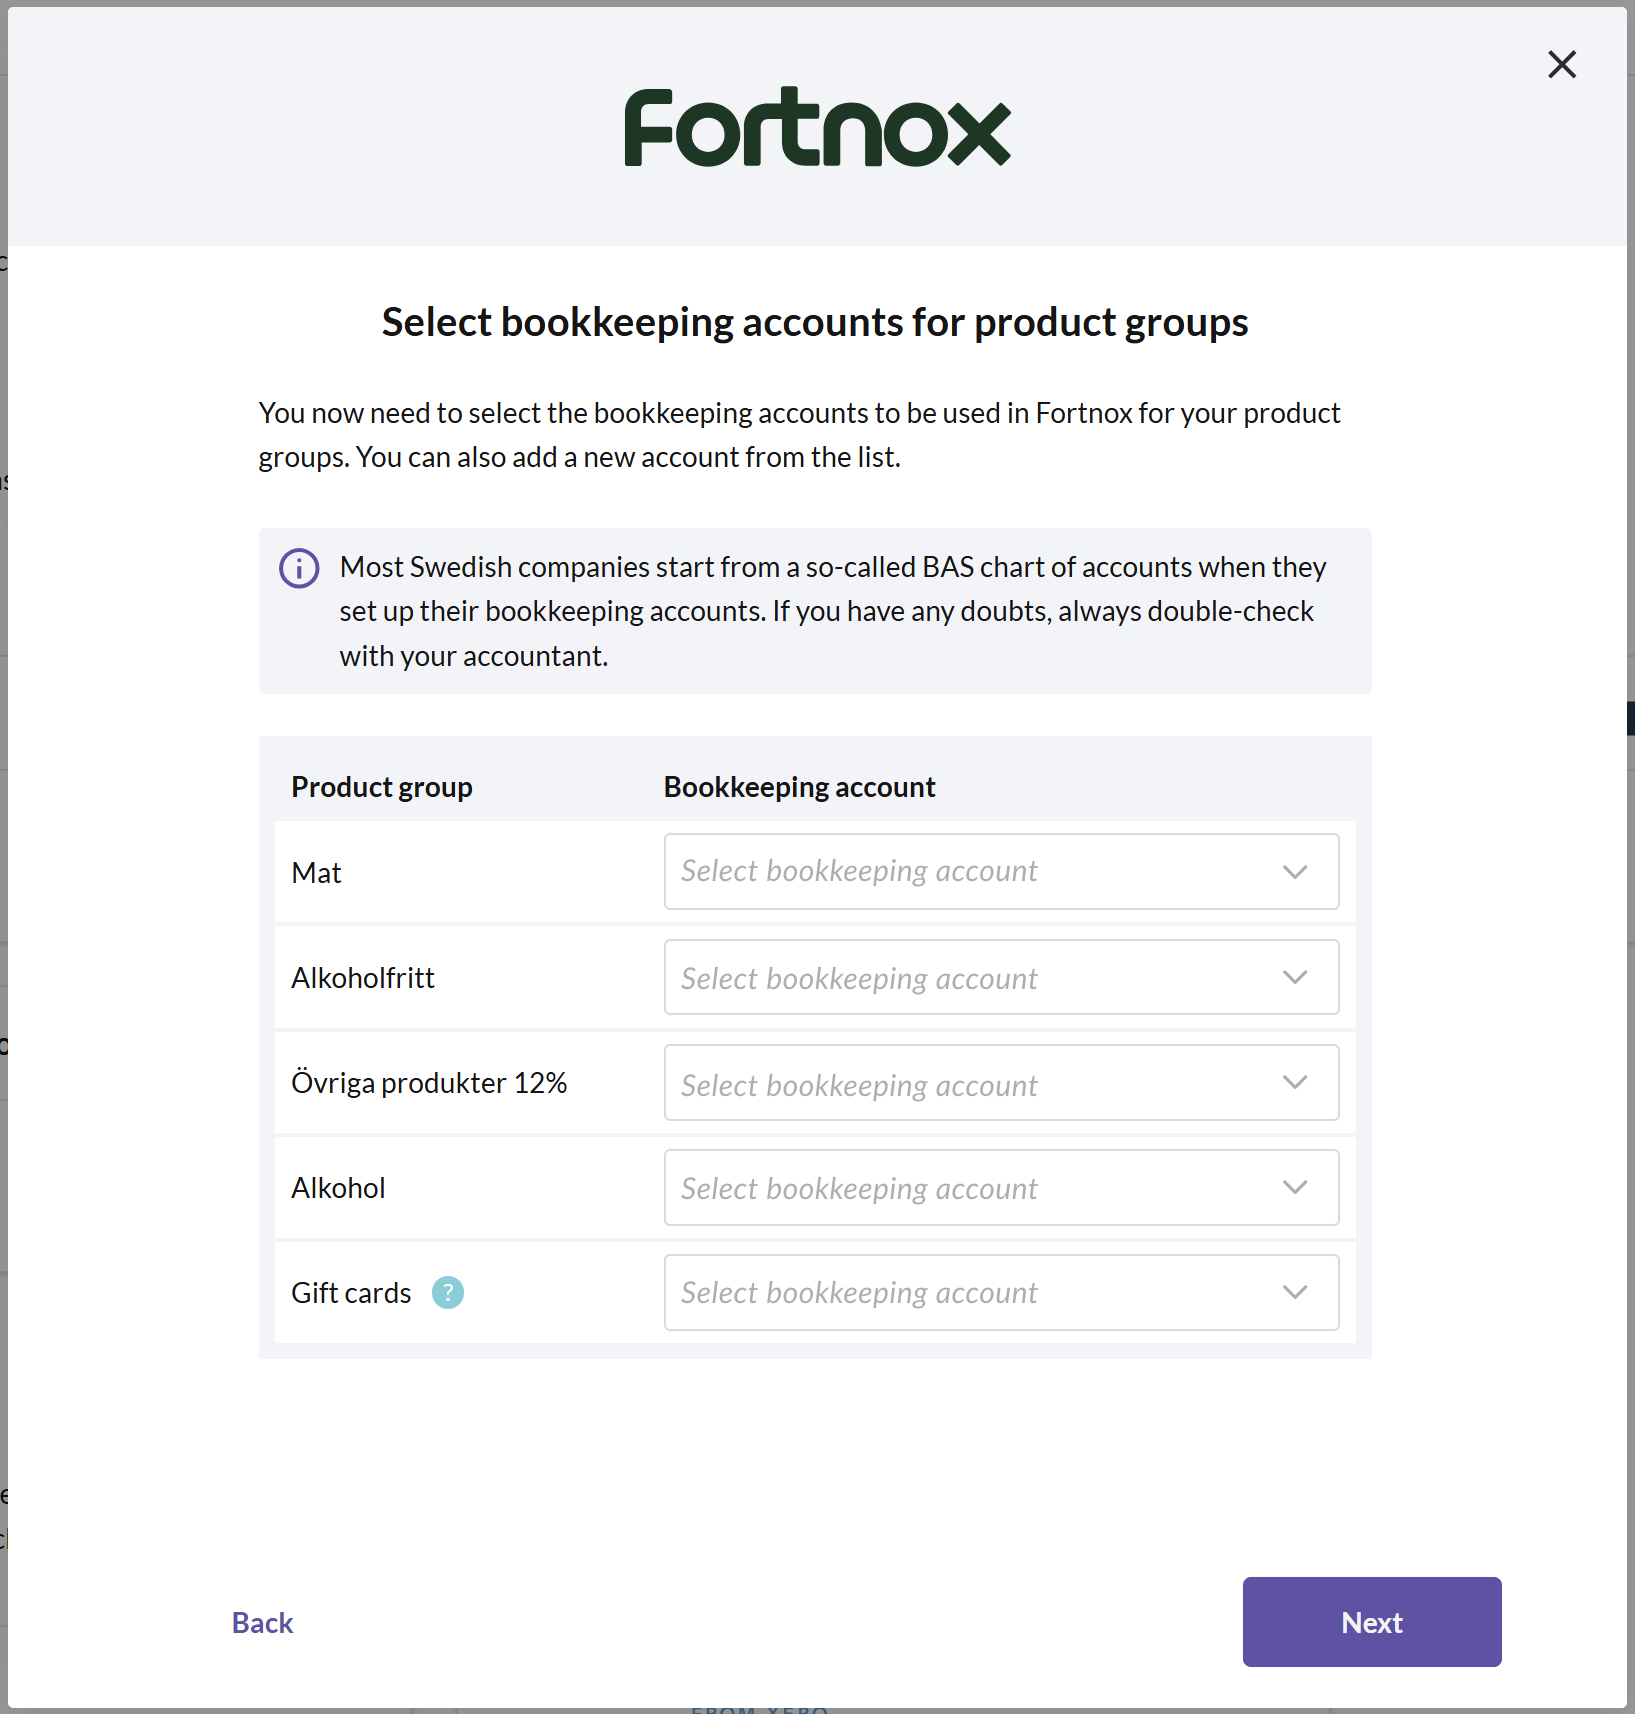
Select bookkeeping accounts for product groups
Choose the accounts to be used in Fortnox for your different product groups. You can also add a new account from the list. Then click NEXT.
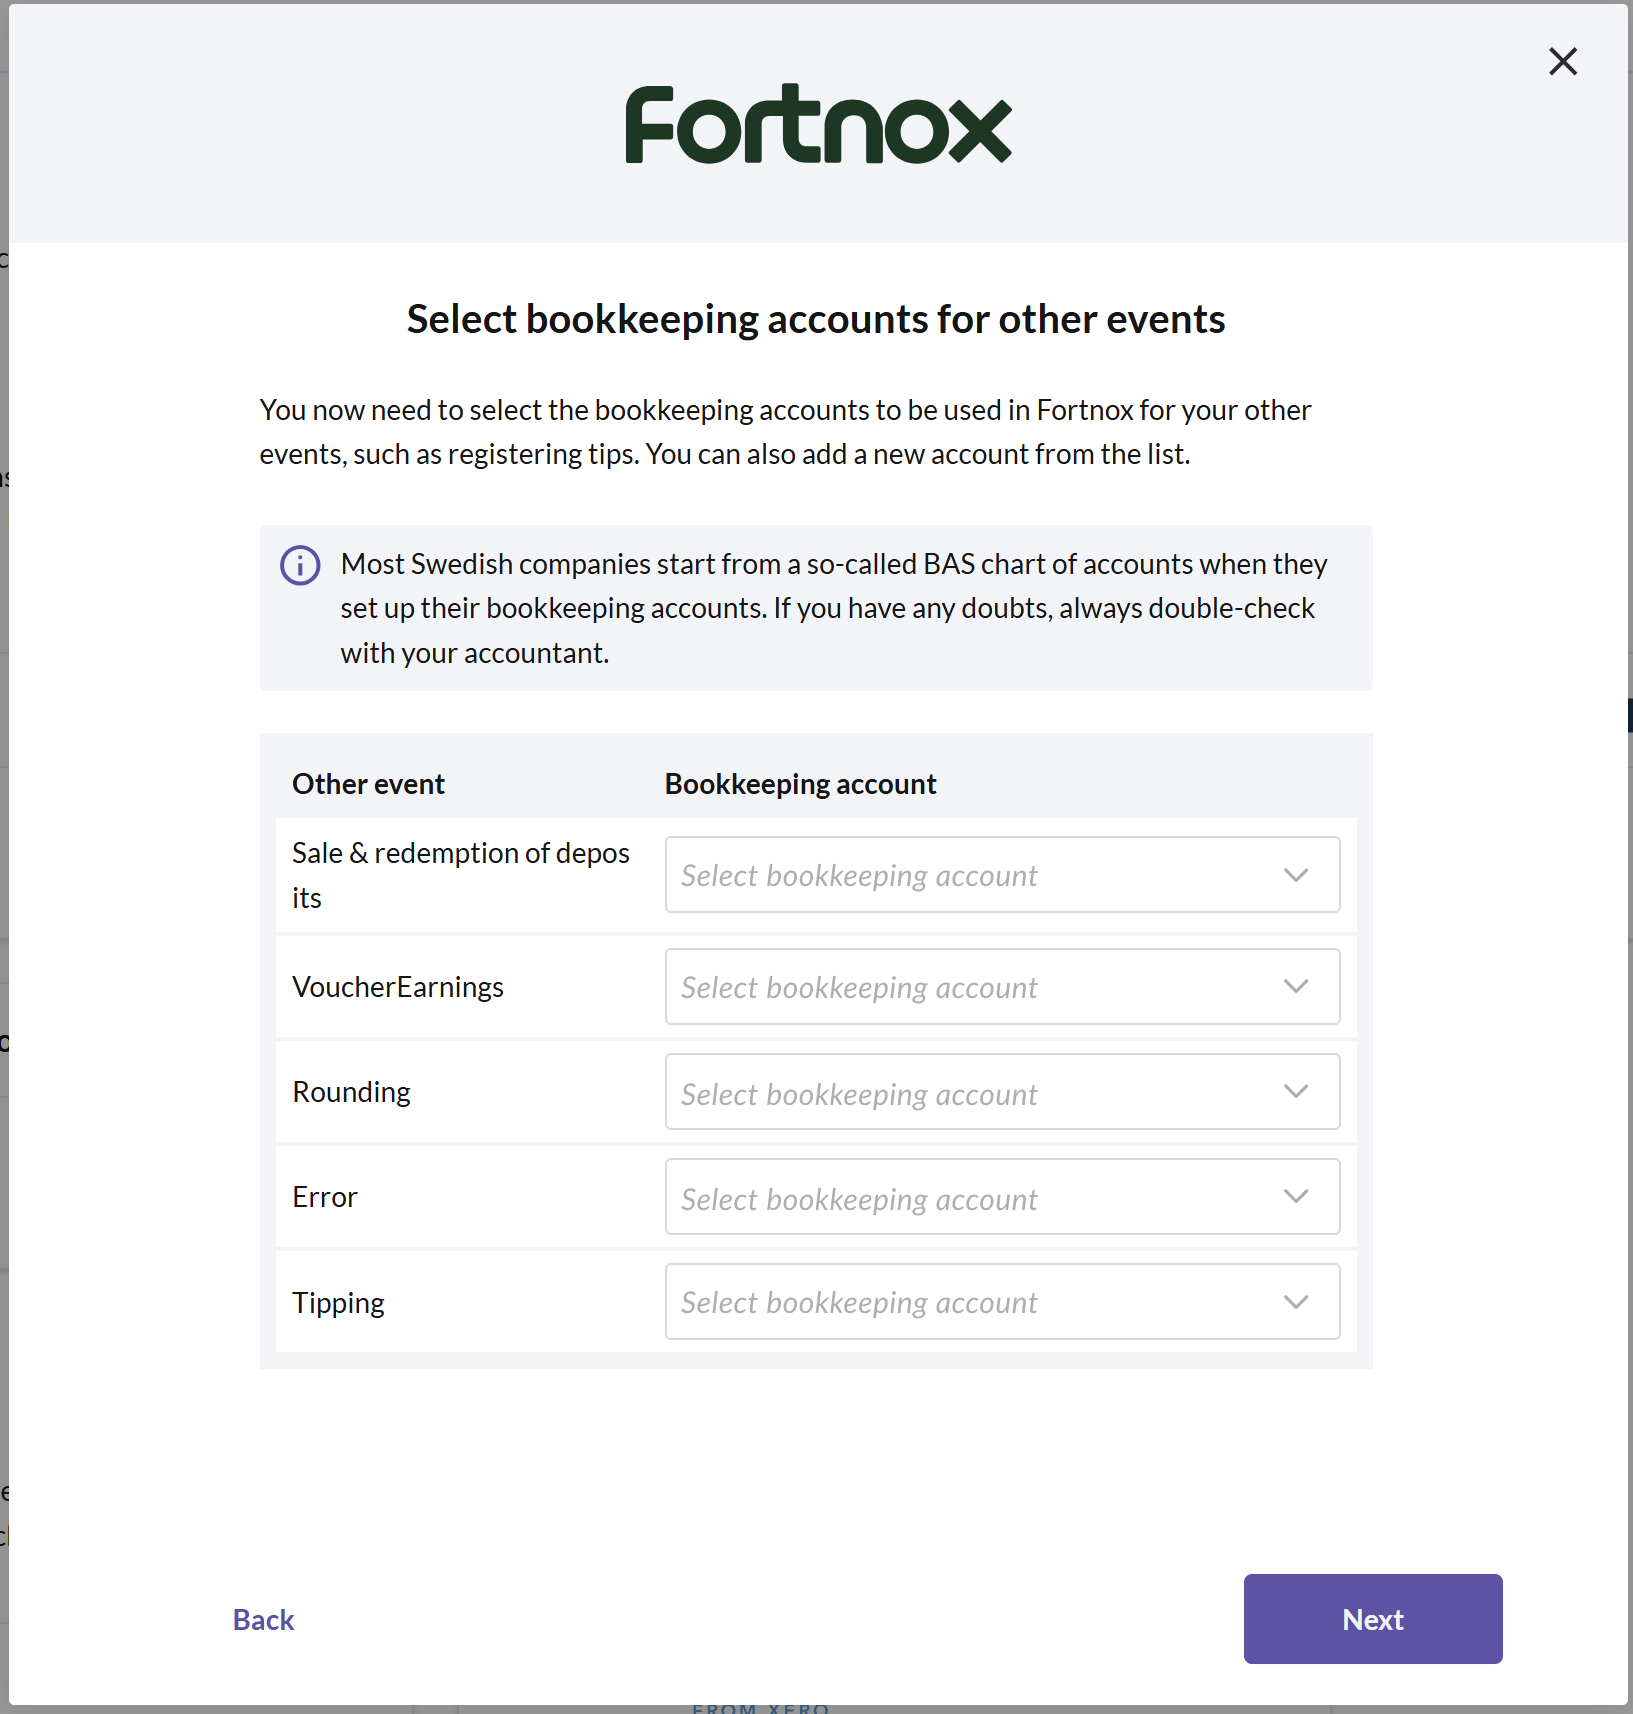
Select accounts for other events
Choose the accounts to be used in Fortnox for other events, such as accounting for tips. You can also add a new account from the list.
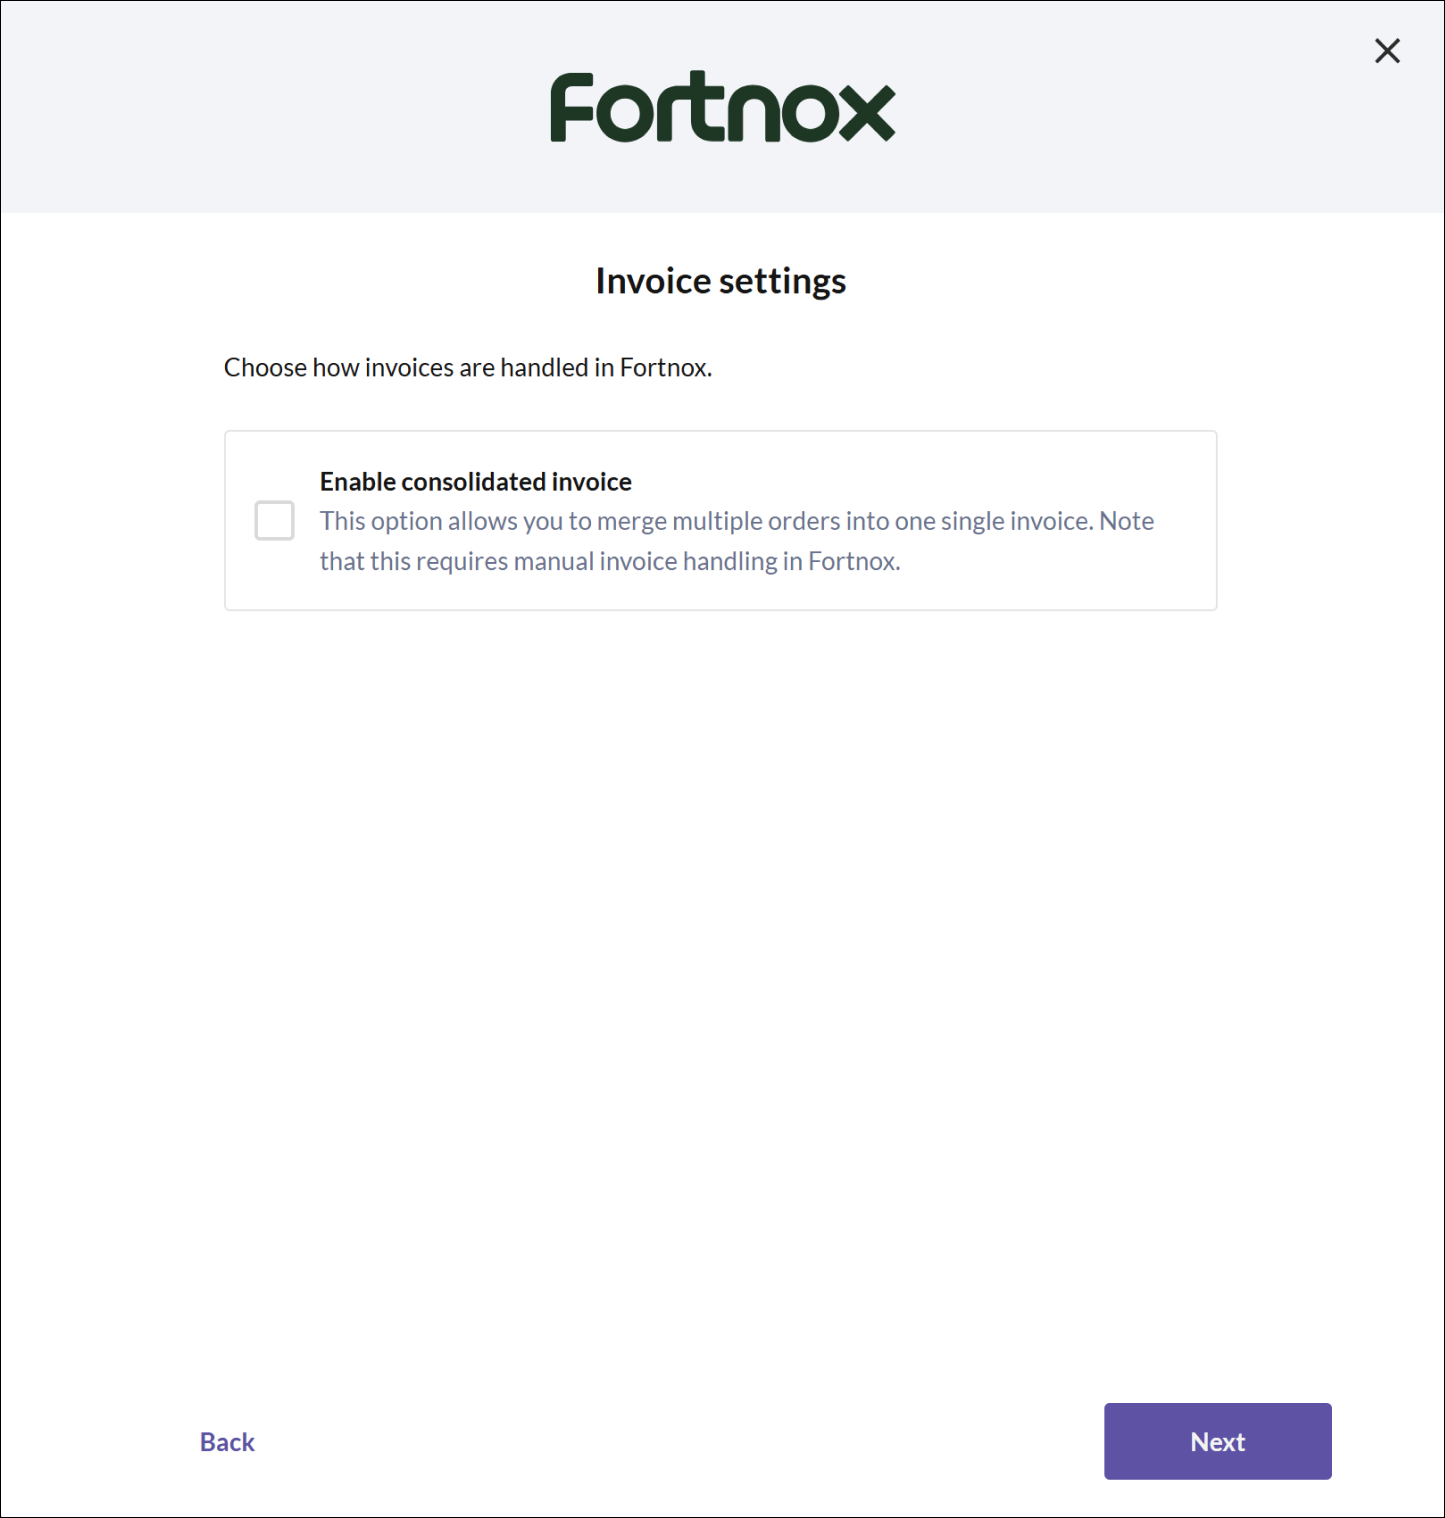
Check the box for Enable consolidated invoice if you want to be able to create collective invoices in Fortnox.
Please note that this requires manual invoice management in Fortnox.
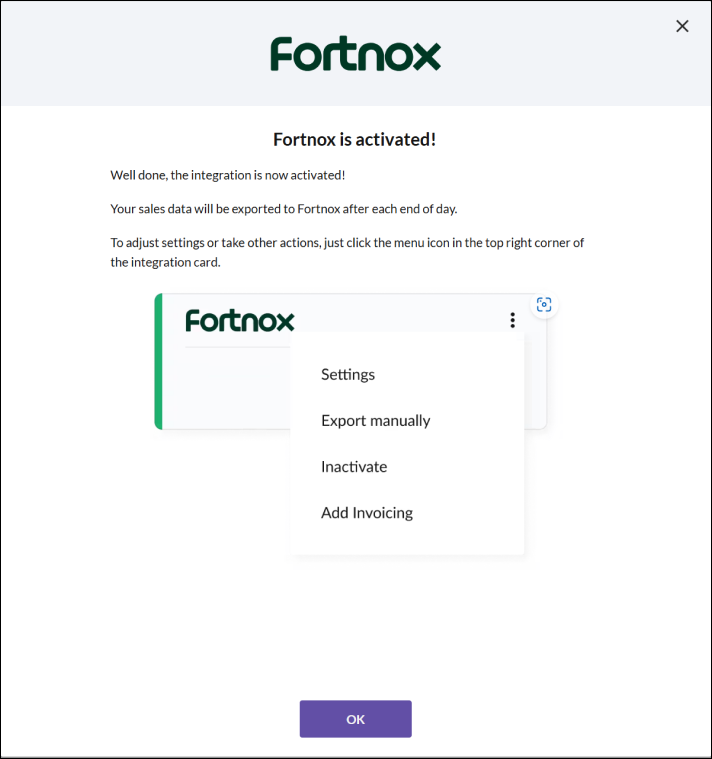
- Now the Fortnox integration is activated. Click OK to close the dialog.
How to manage customers
Customer management is handled in Fortnox, where you can create new customers, edit, or delete them. Minor adjustments, such as changing billing addresses, can however be made directly from the cash register.
How to manage invoices
All invoice management is handled in Fortnox.
How to charge via invoice
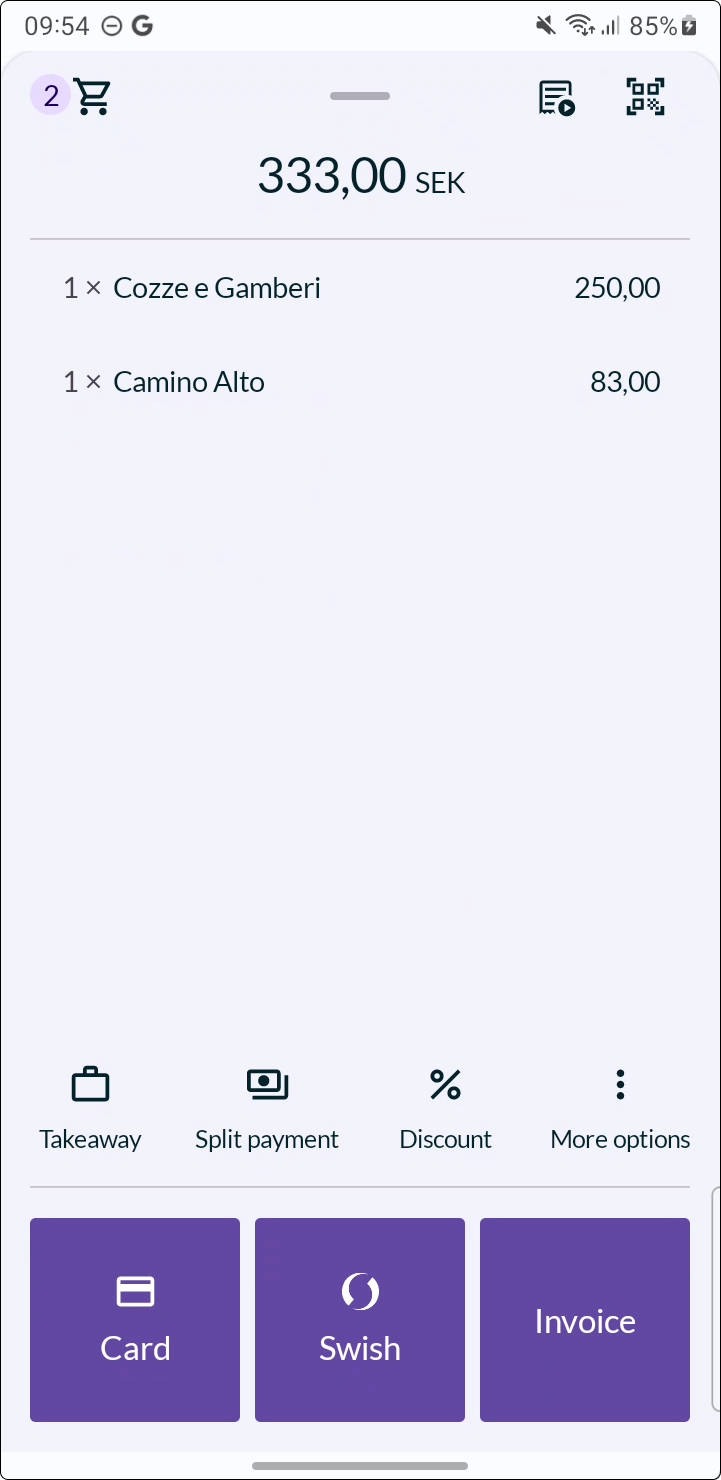
Ring up the articles as usual at the cash register.
Select the payment method "invoice".
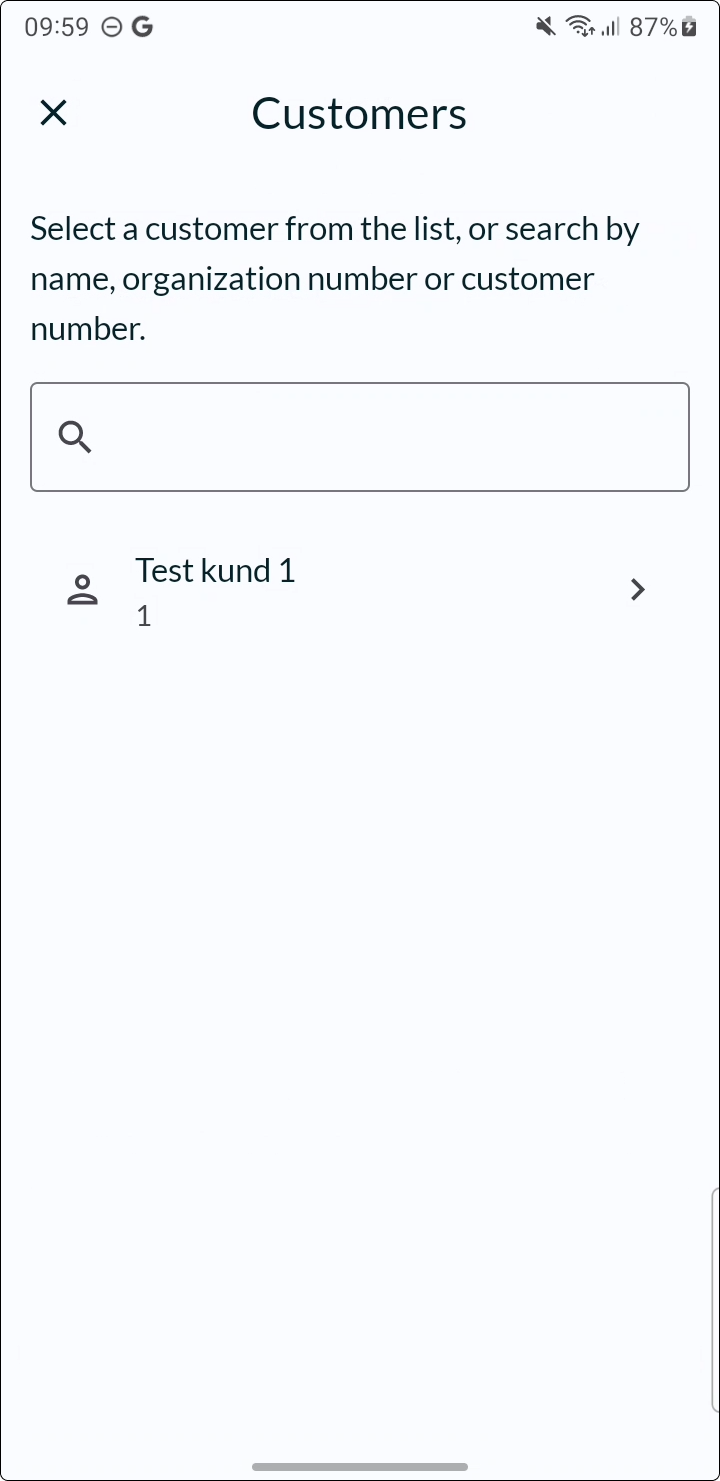
- Find the customer. You can either browse through the list or search by name, organization number, or customer nr.
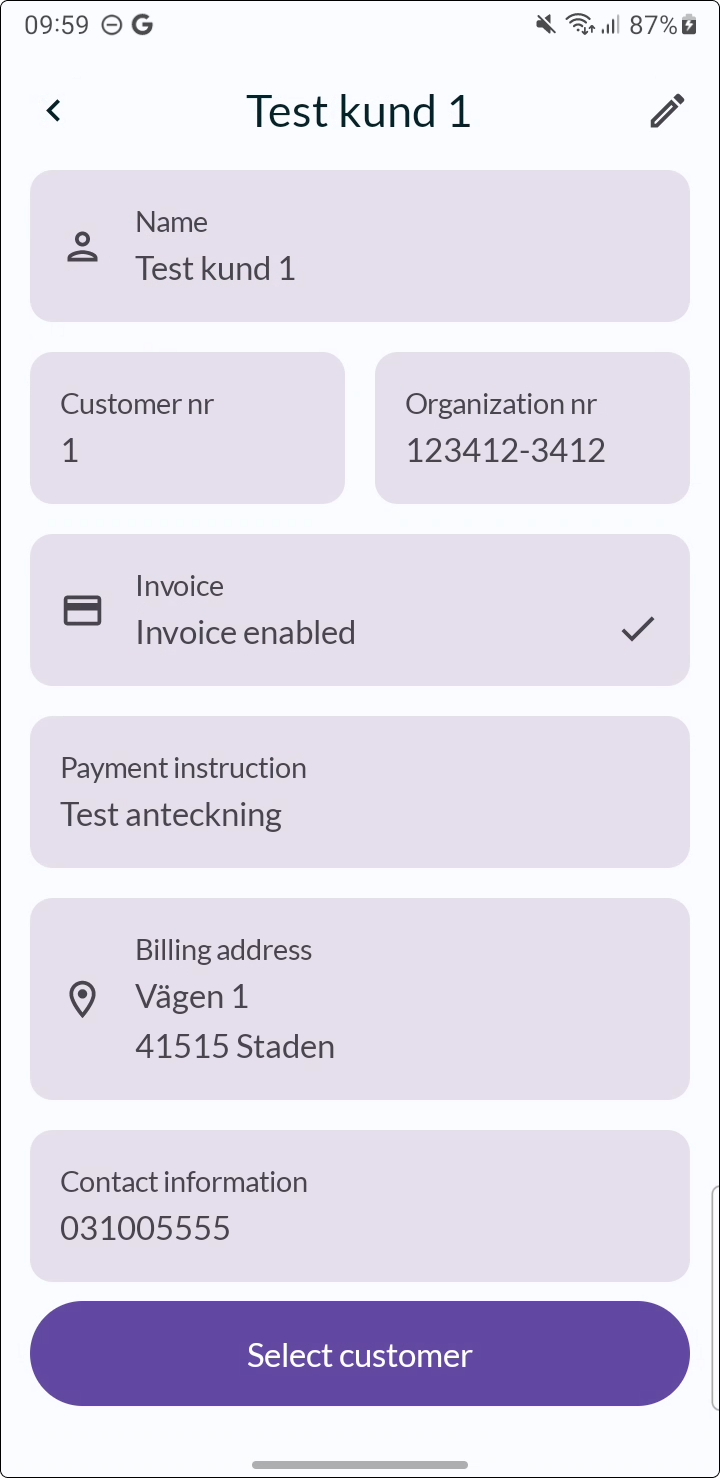
- Select the customer.
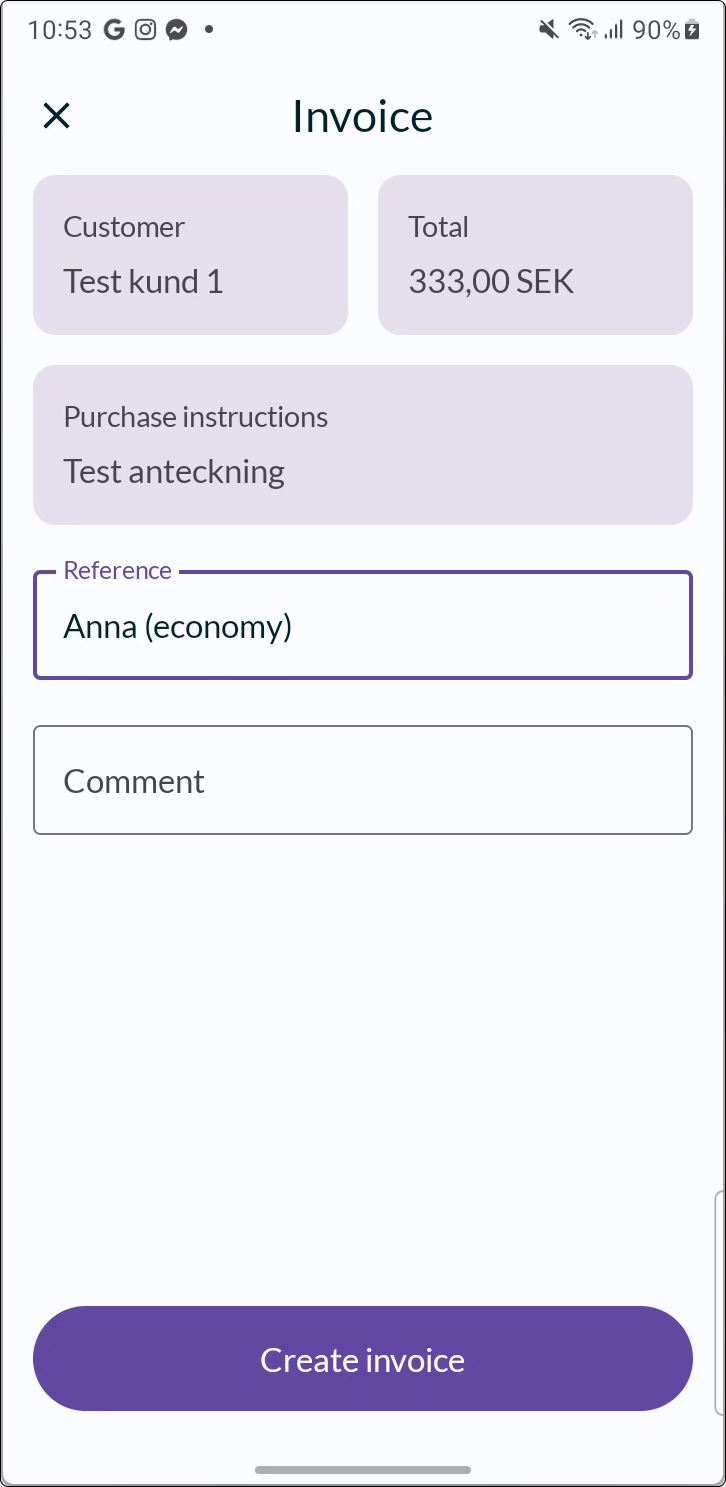
- Enter any reference and comment, and then create the invoice.
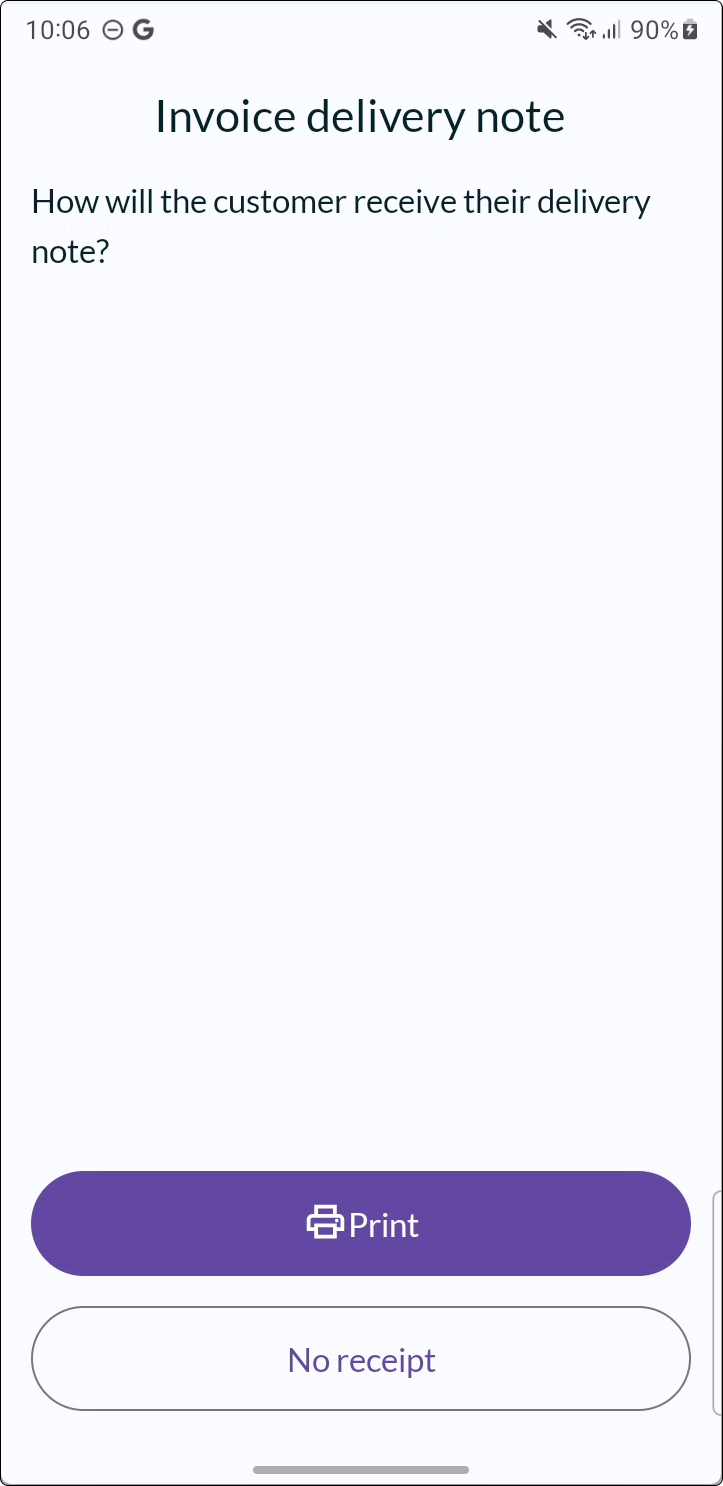
- As a last step you have the opportunity to print a delivery note (optional).
- All further invoice management is handled in Fortnox.