BackOffice onboarding
Get started quickly to set up your devices, configure settings, and start using your cash register system.
Dashboard starting view: Activate devices
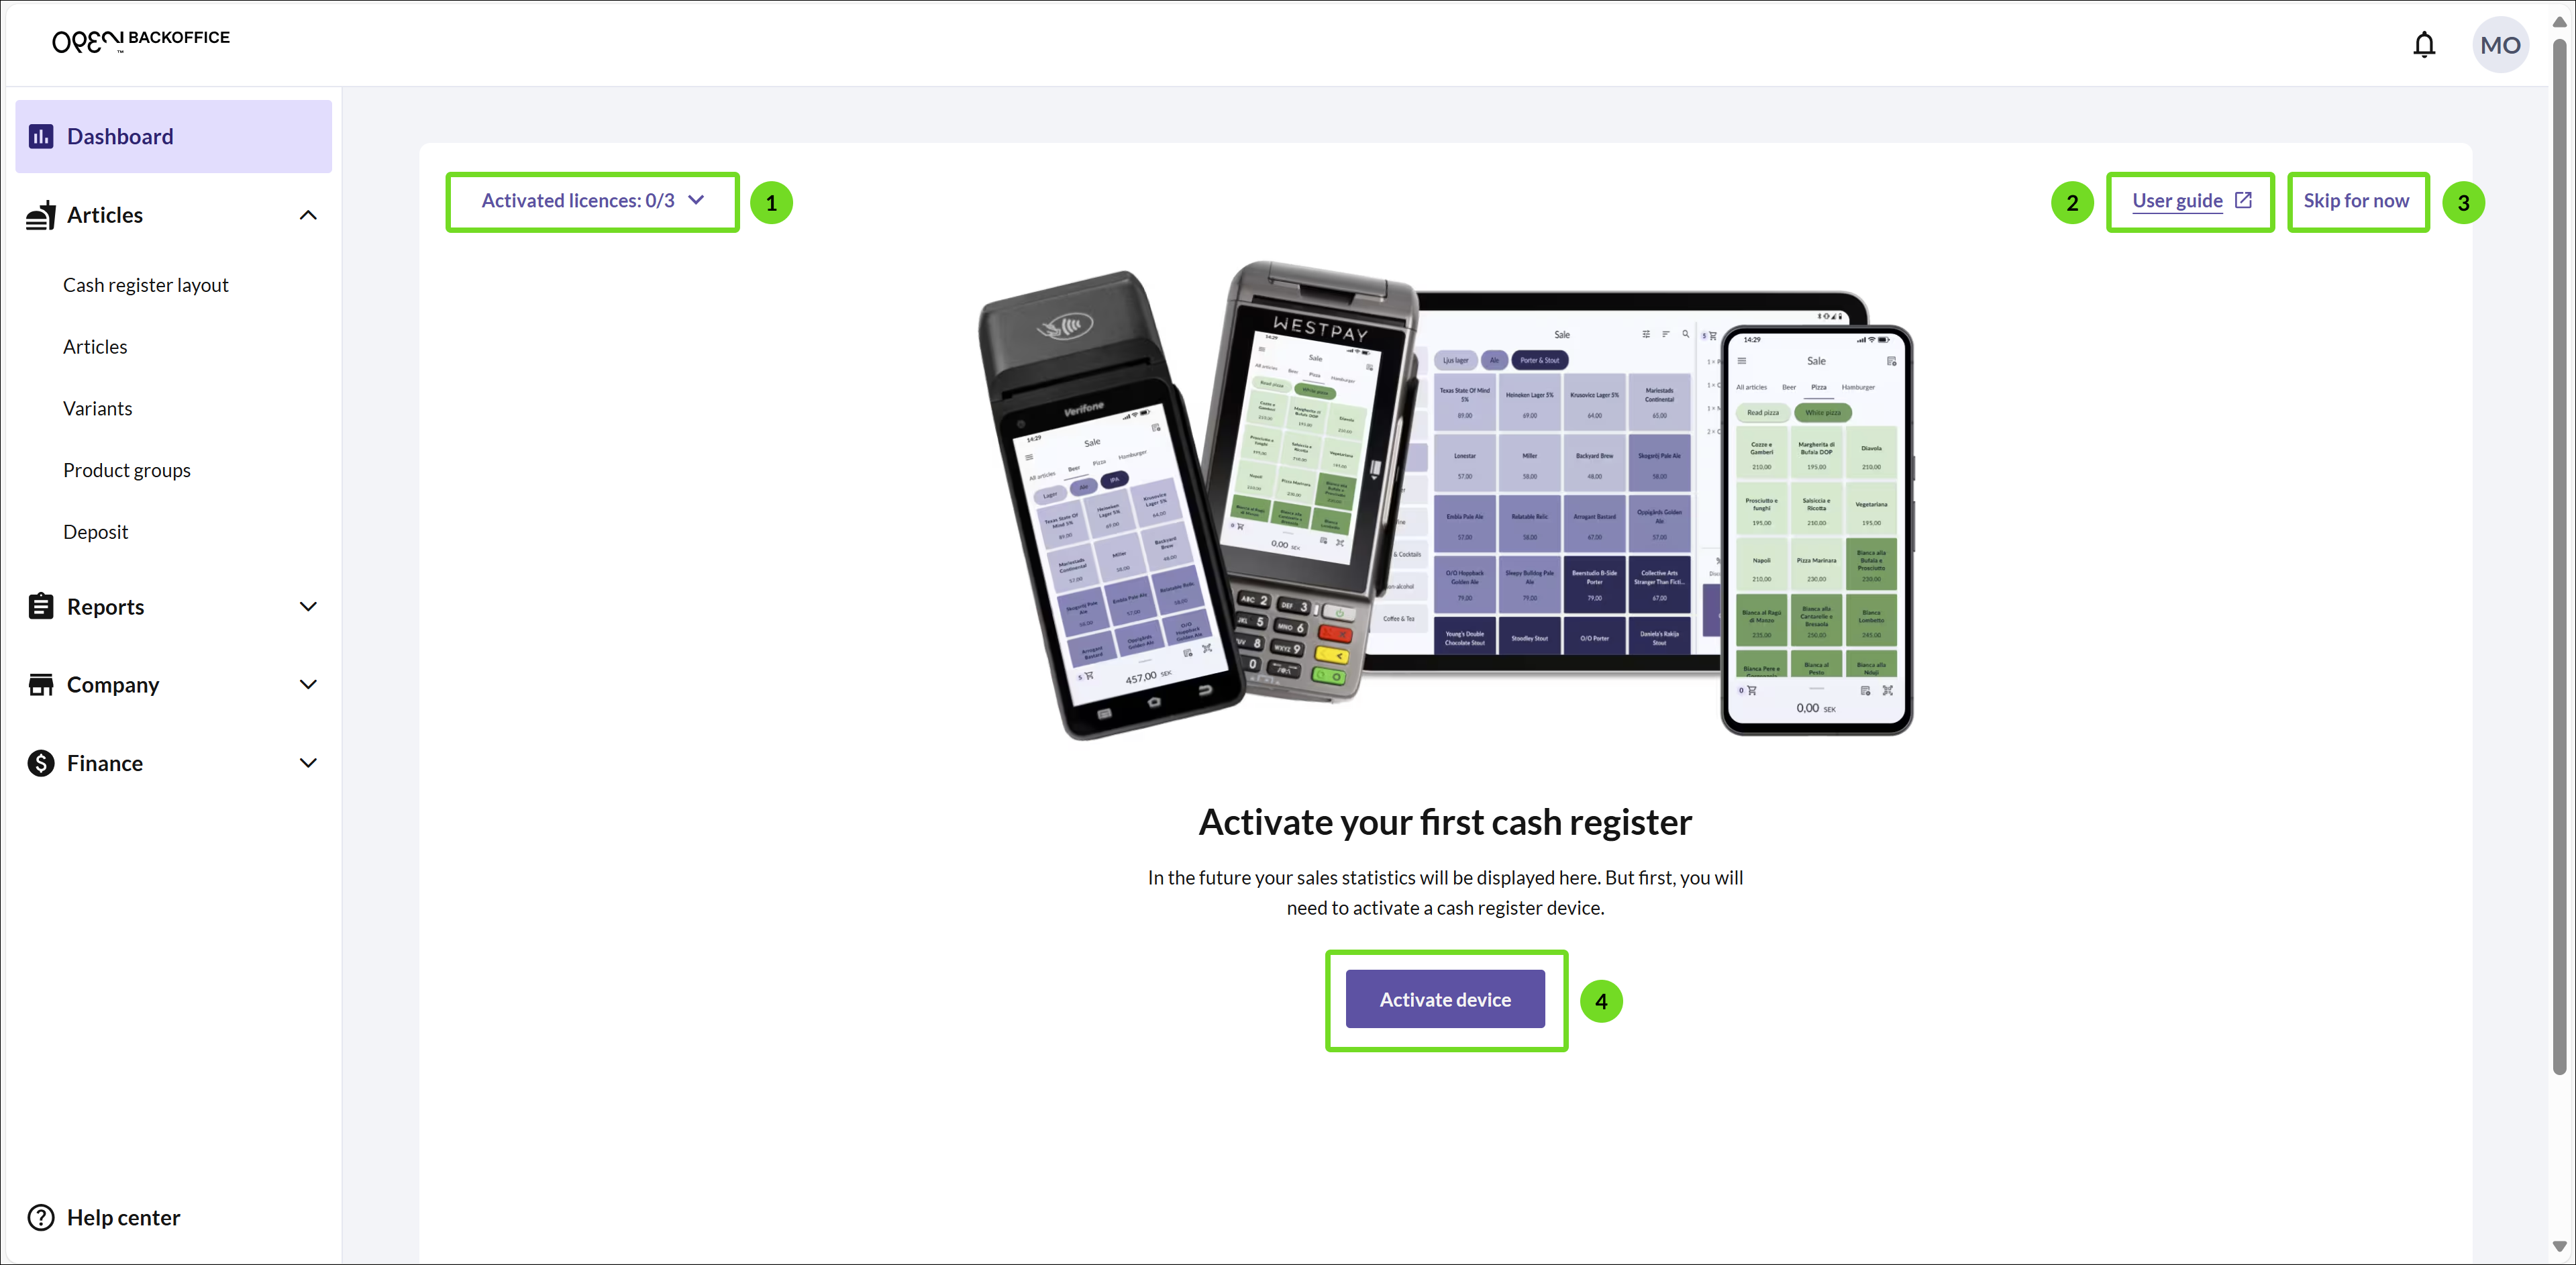
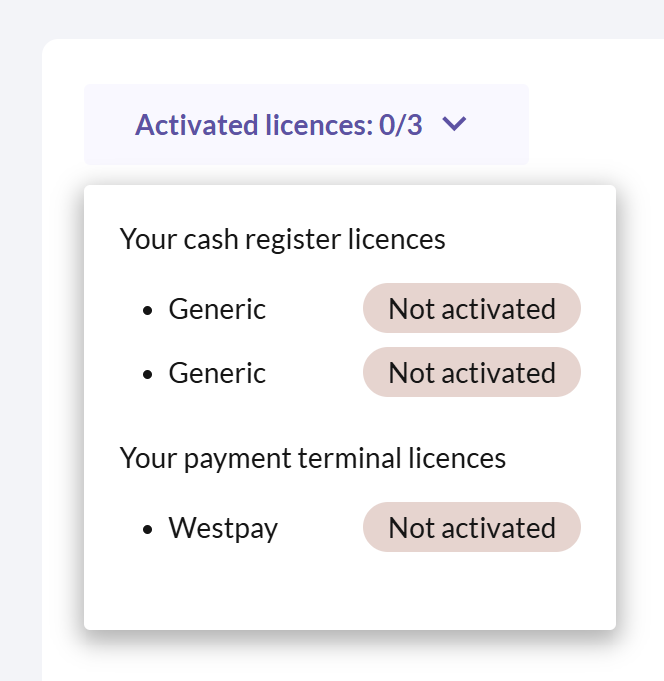
Easily activate your cash registers and payment terminals directly from the dashboard. Here, you can view the activation status of your hardware licenses, and activate them one by one.
Key features:
- Activation status (1): View your licenses and their status.
- User guide link (2): Access detailed activation instructions.
- Skip option (3): Defer activation by clicking Skip for now.
- Activate device (4): Begin activation of your first cash register.
Activating your devices
Before starting, ensure you have the activation code from your cash register or payment terminal. For more detailed activation guides, go to activate cash register or activate payment terminal.
Steps:
Start activation
Click Activate device
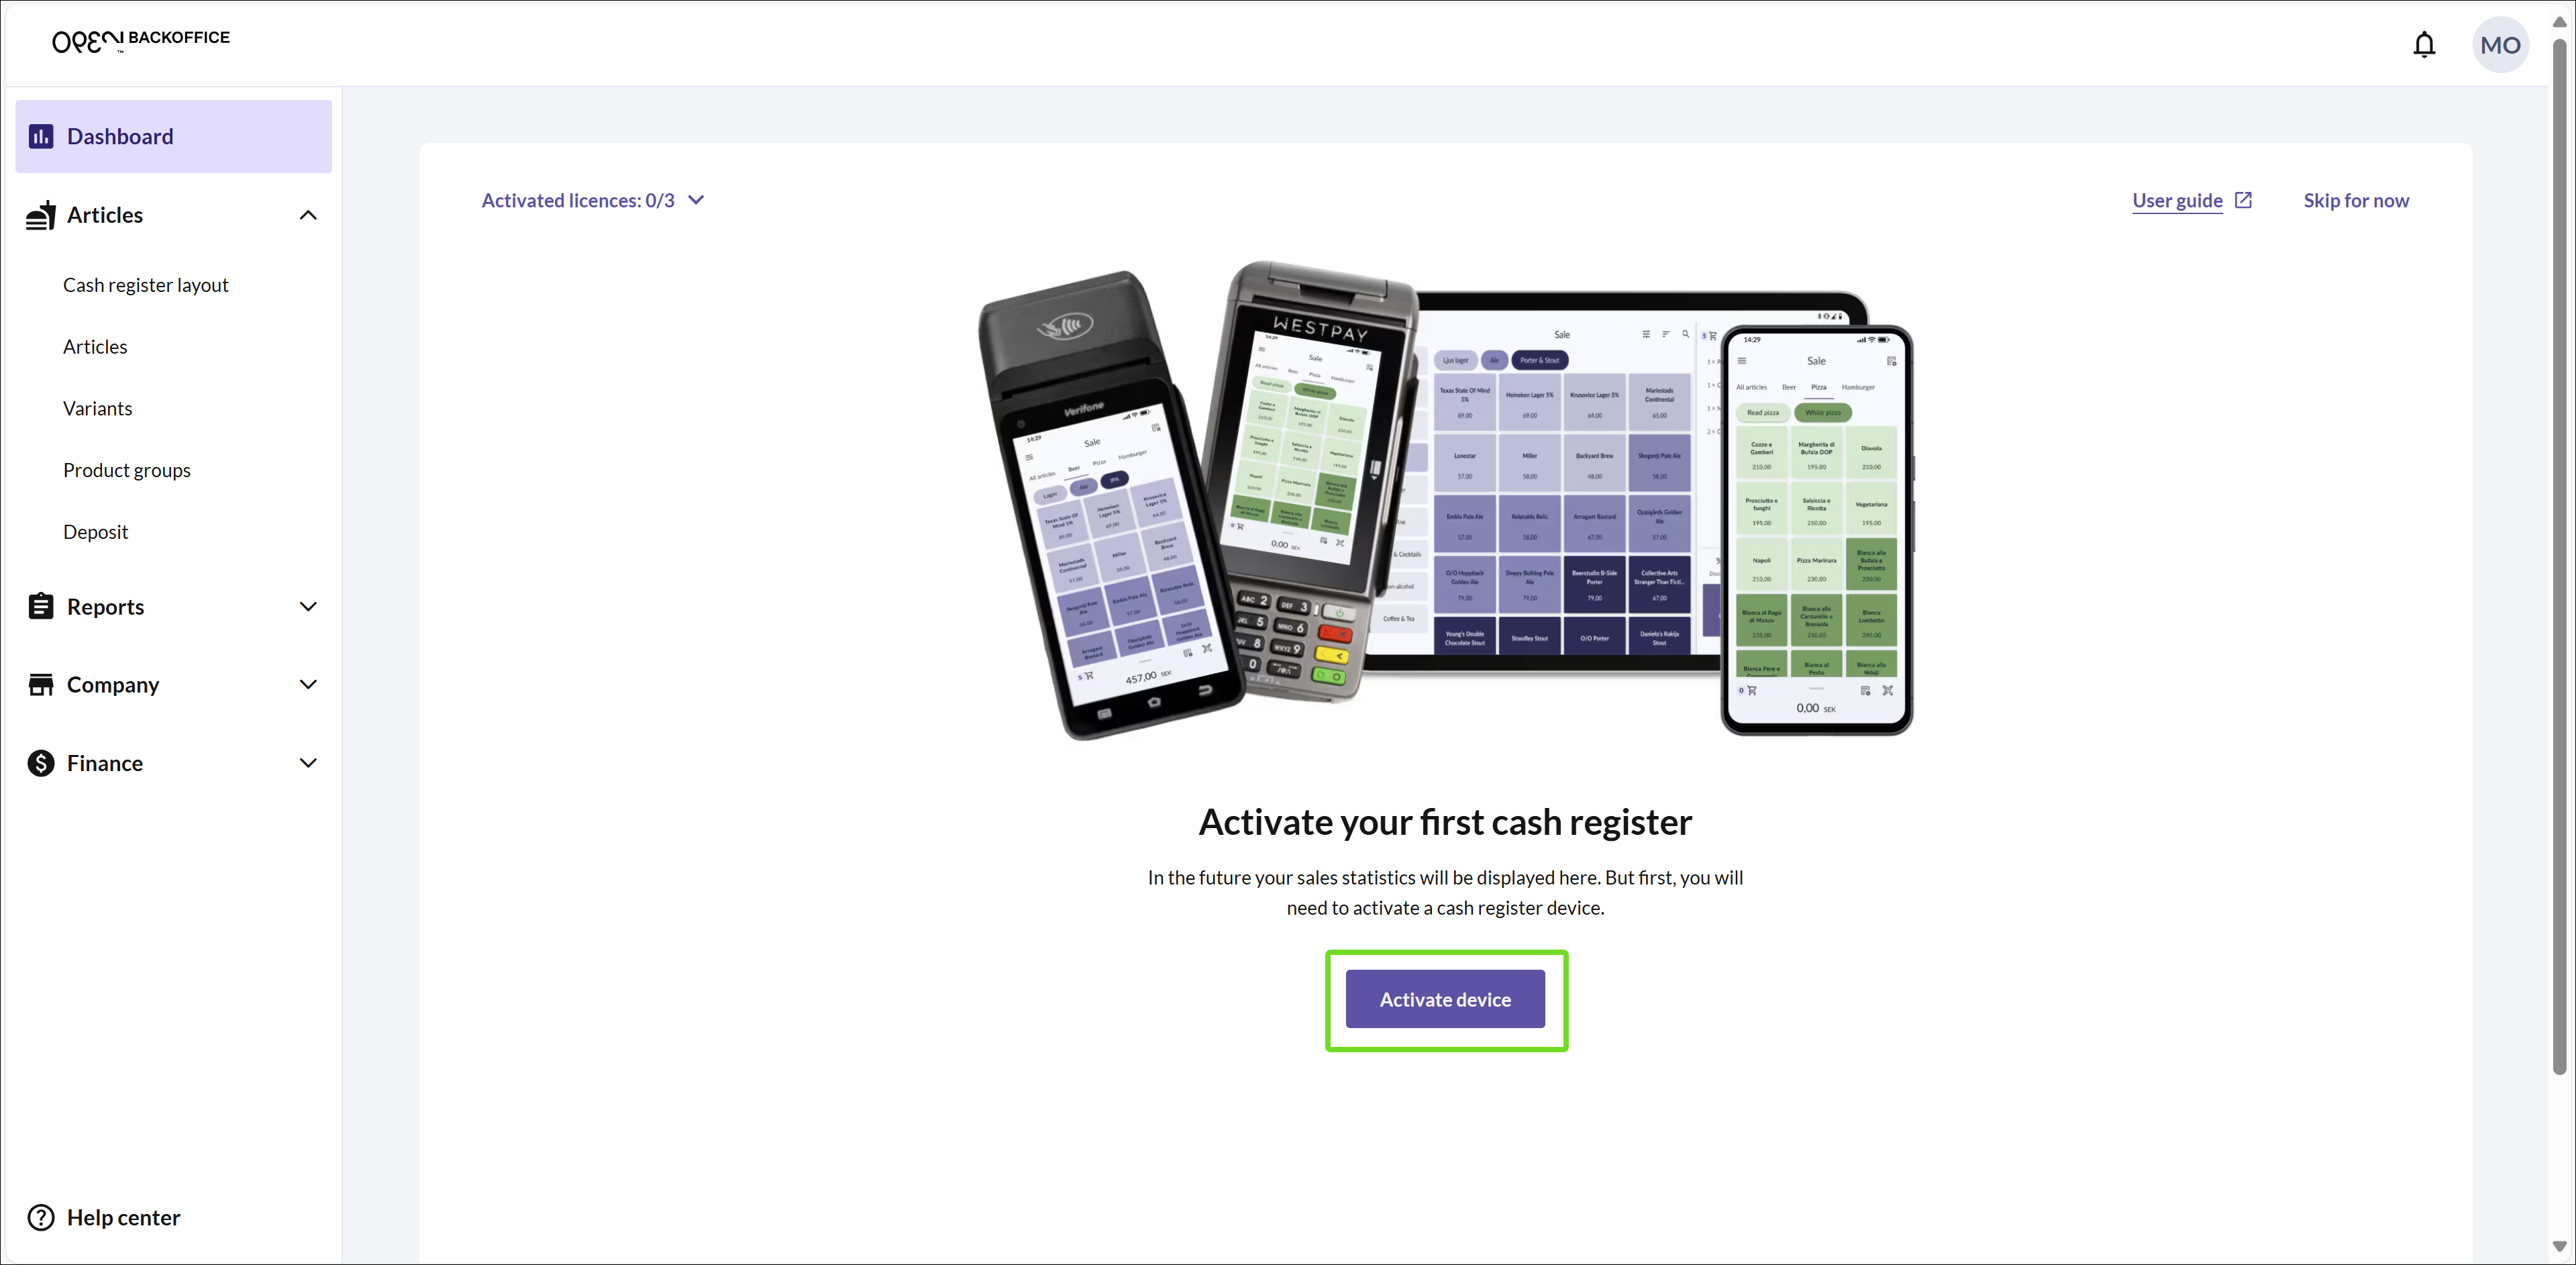
Click Enter activation code to continue.
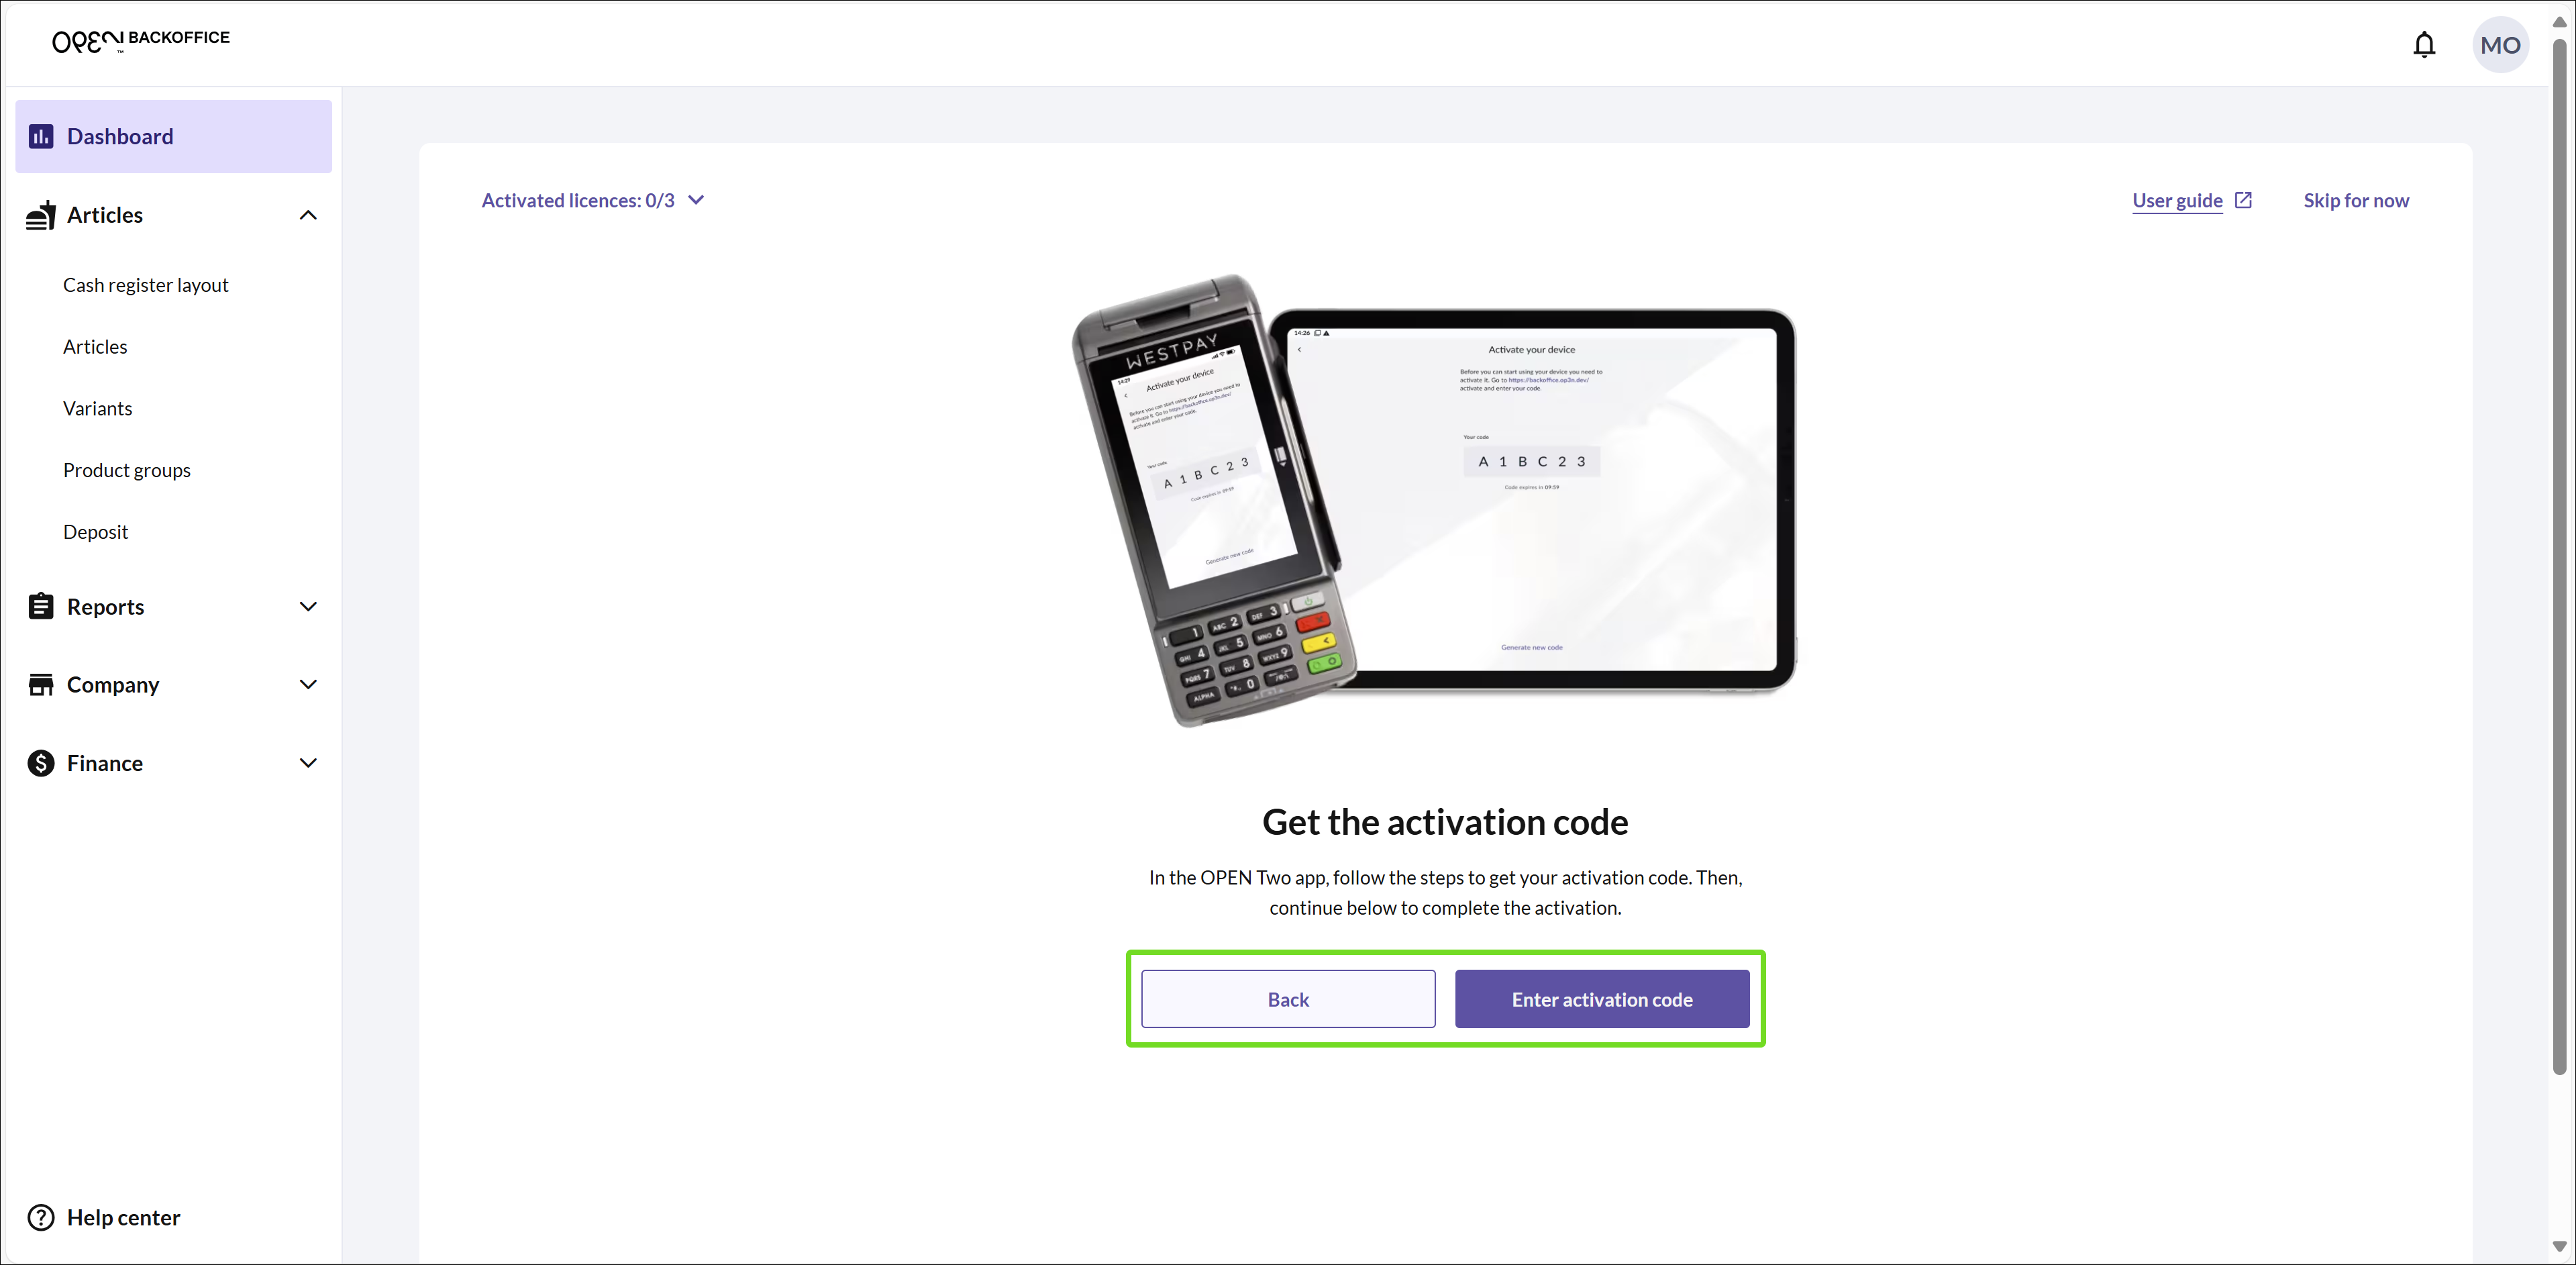
Tip: Use the Back button if needed.
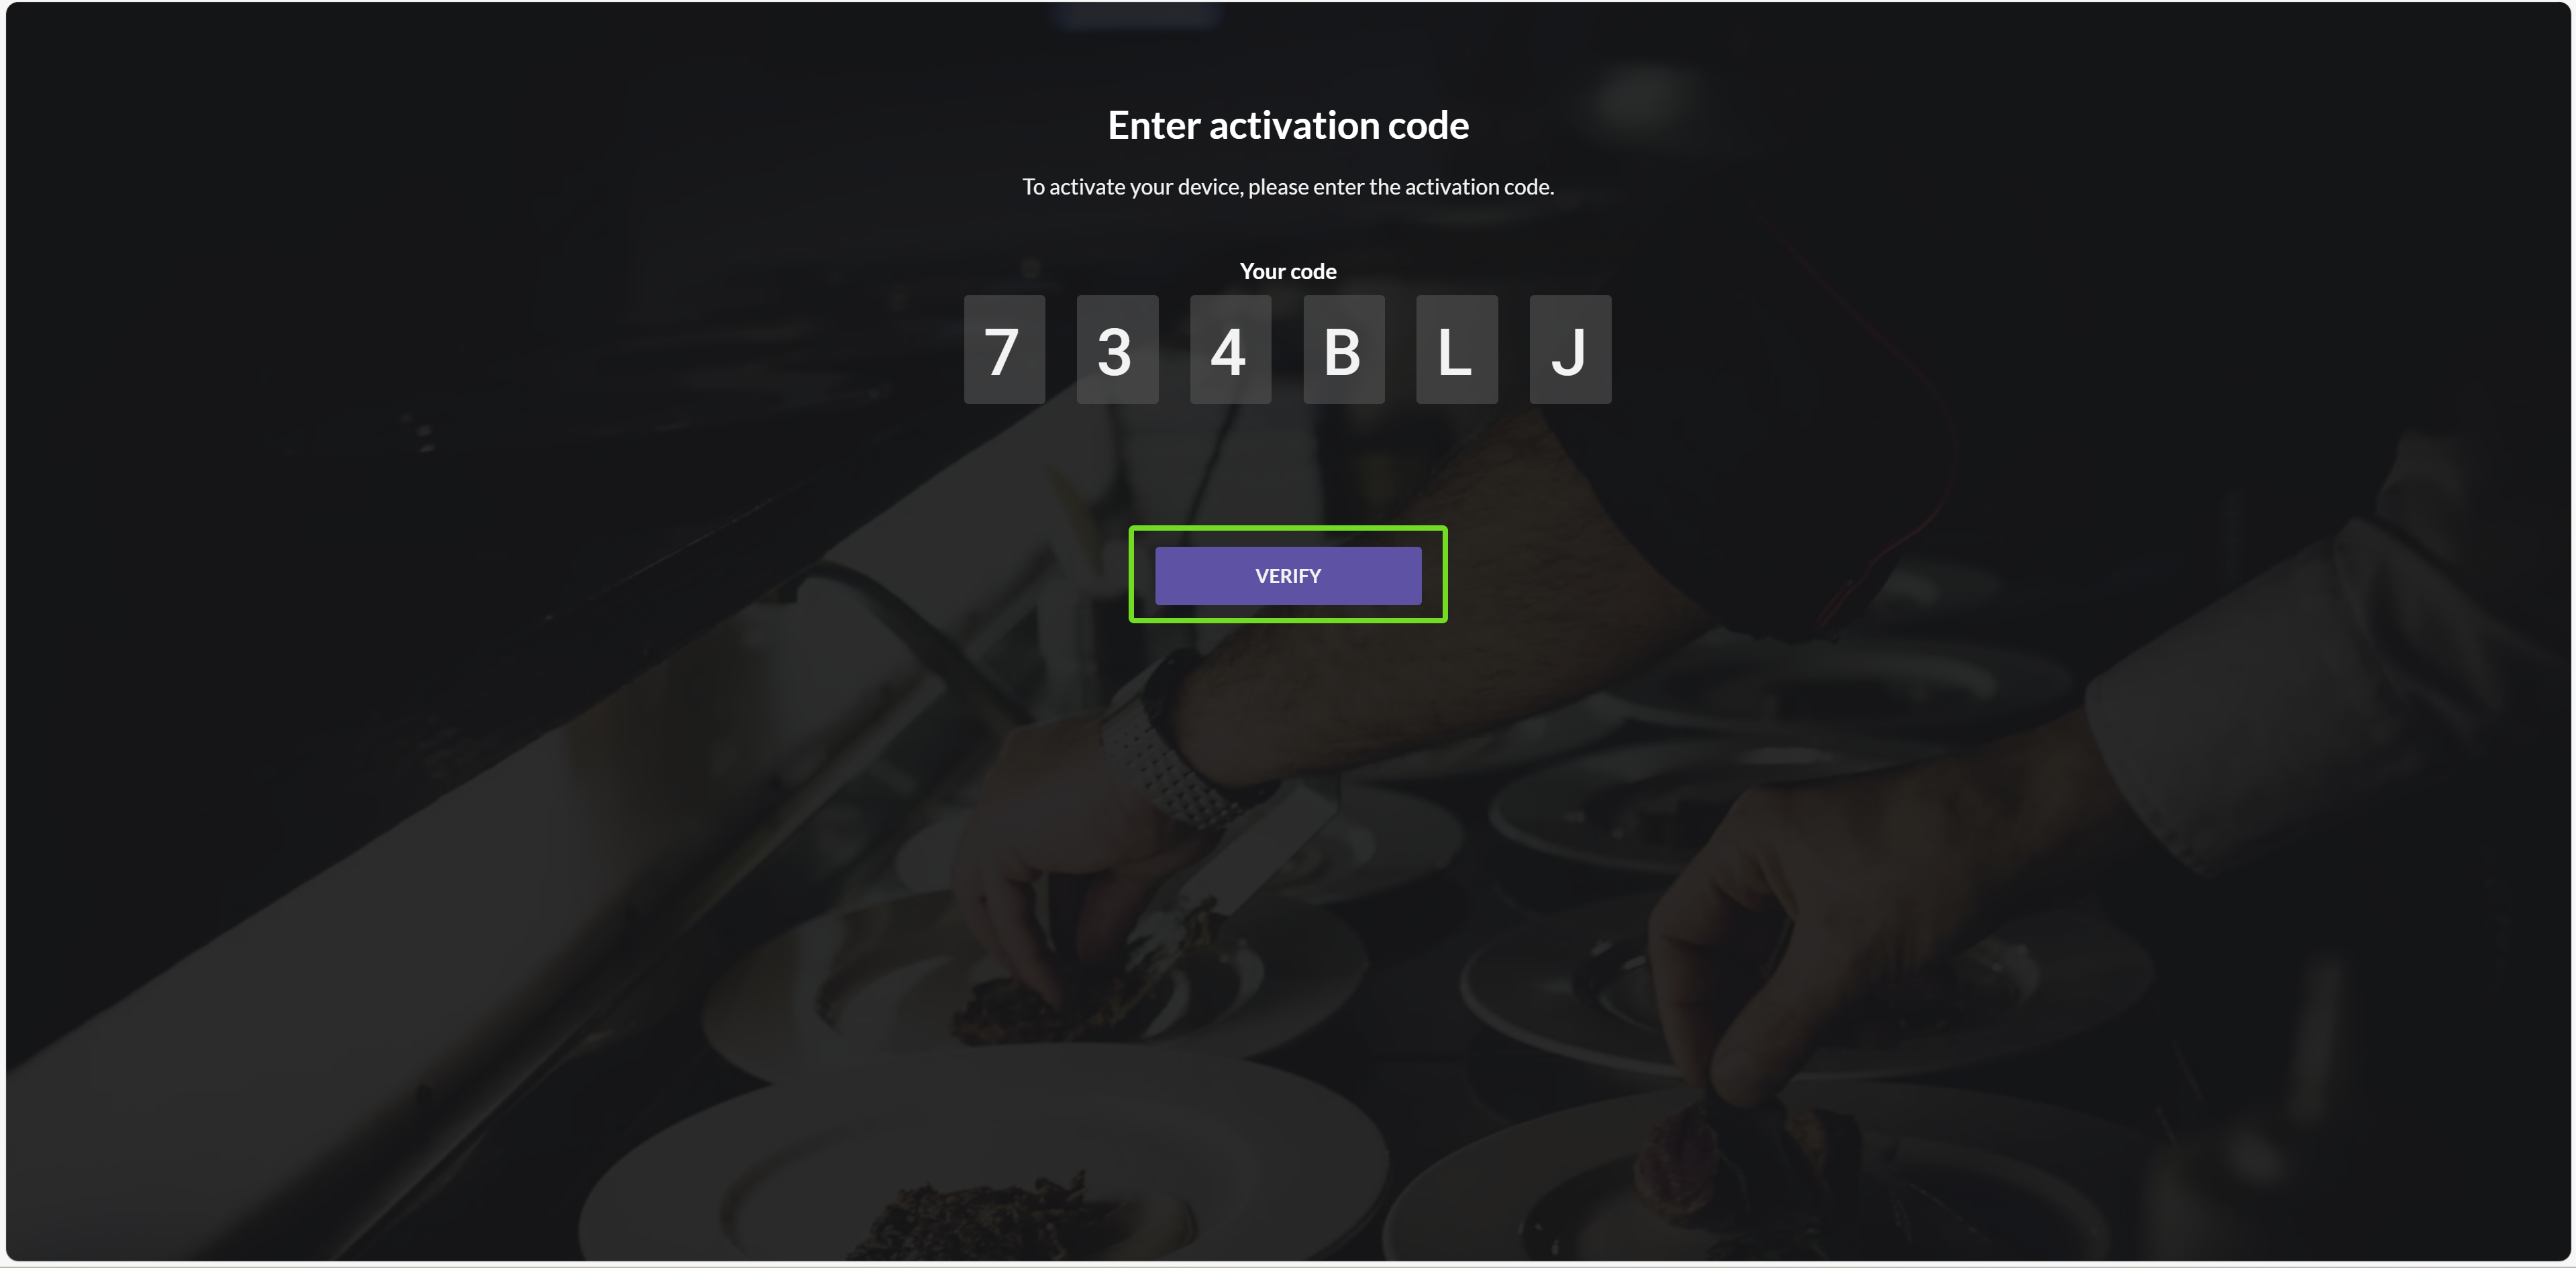
Enter code
Input the activation code and click VERIFY.
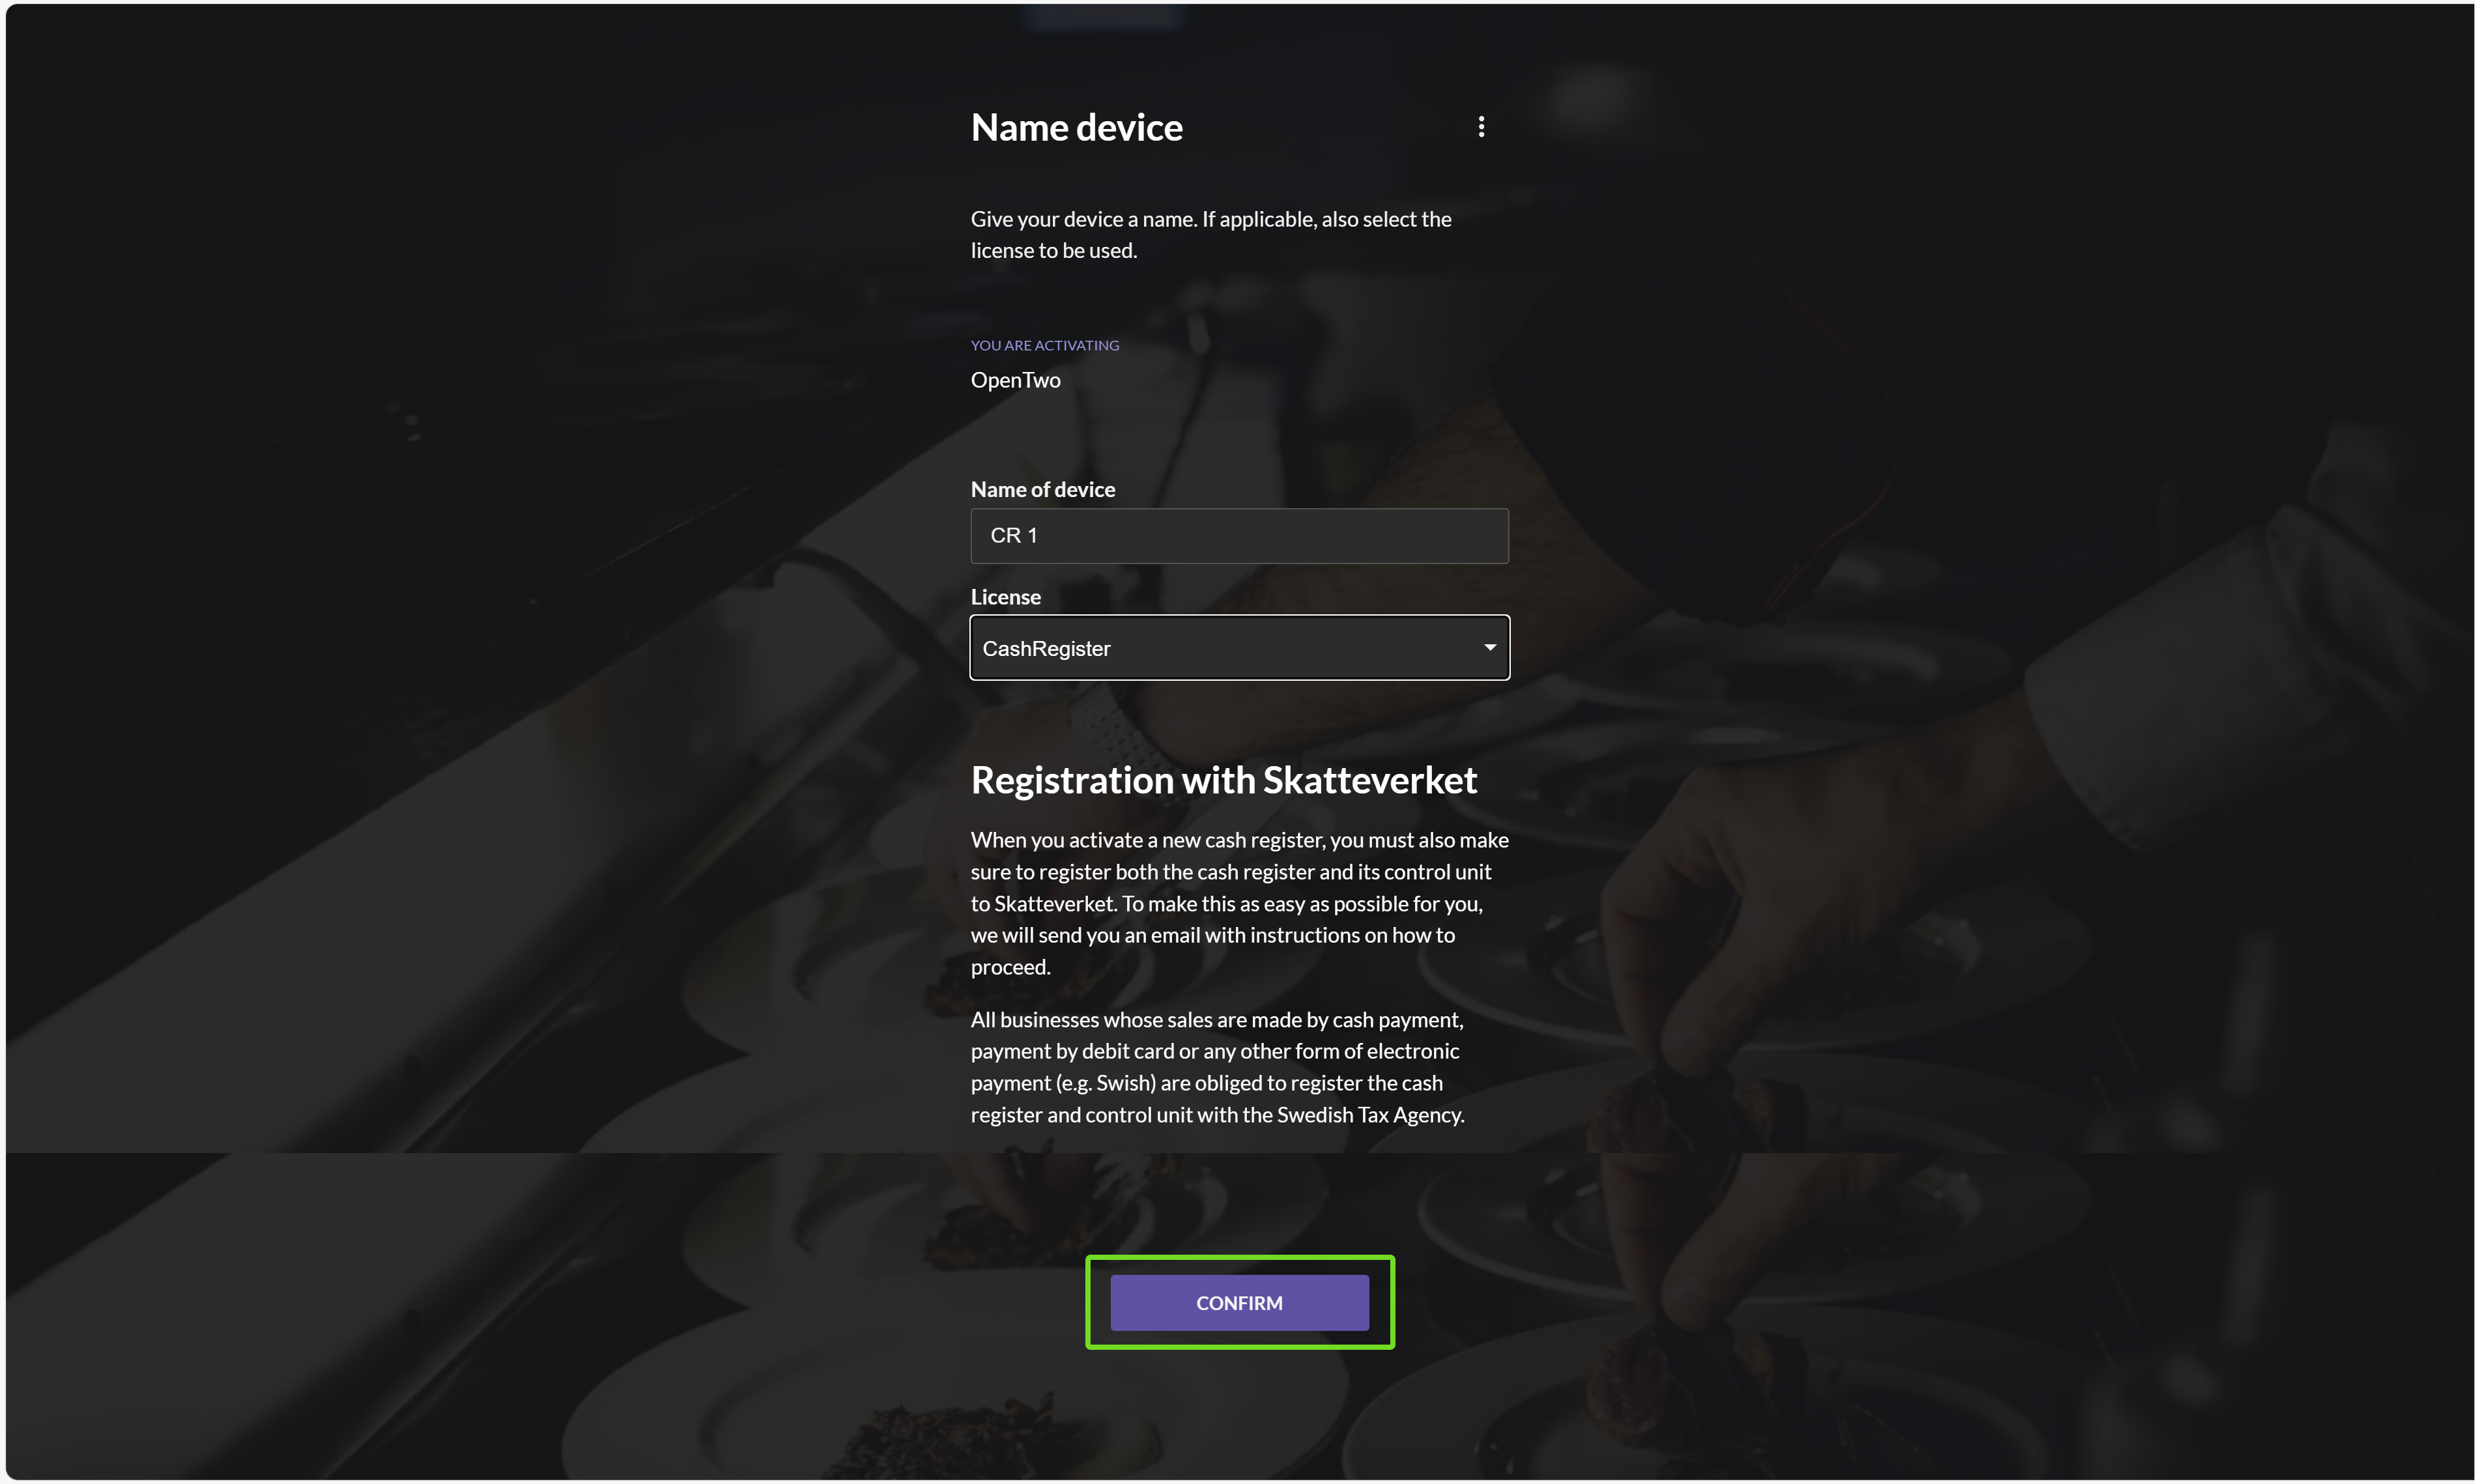
Finalize activation
Name your device and assign a license.
Click CONFIRM.
Click Okay to return to the dashboard.

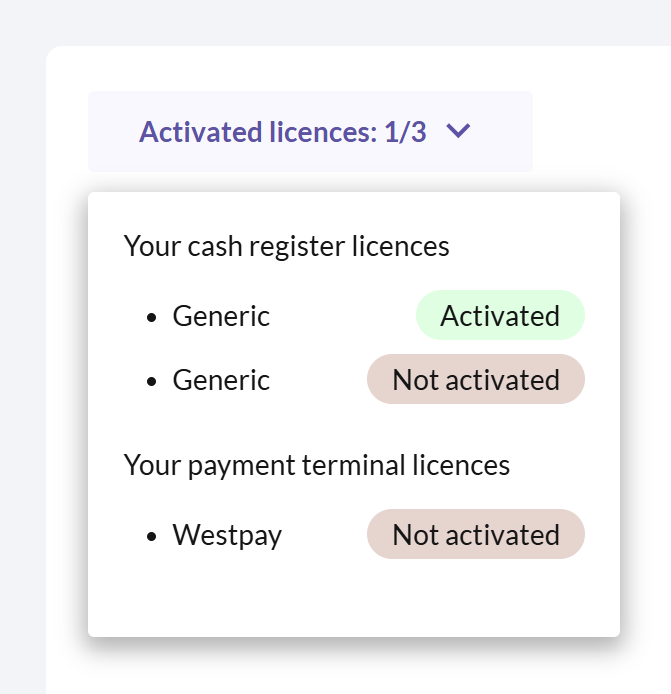
You can view activated licenses in the Activated licenses menu in the top left corner.
Activating additional devices
To activate another device, click Yes to confirm and repeat the above steps.
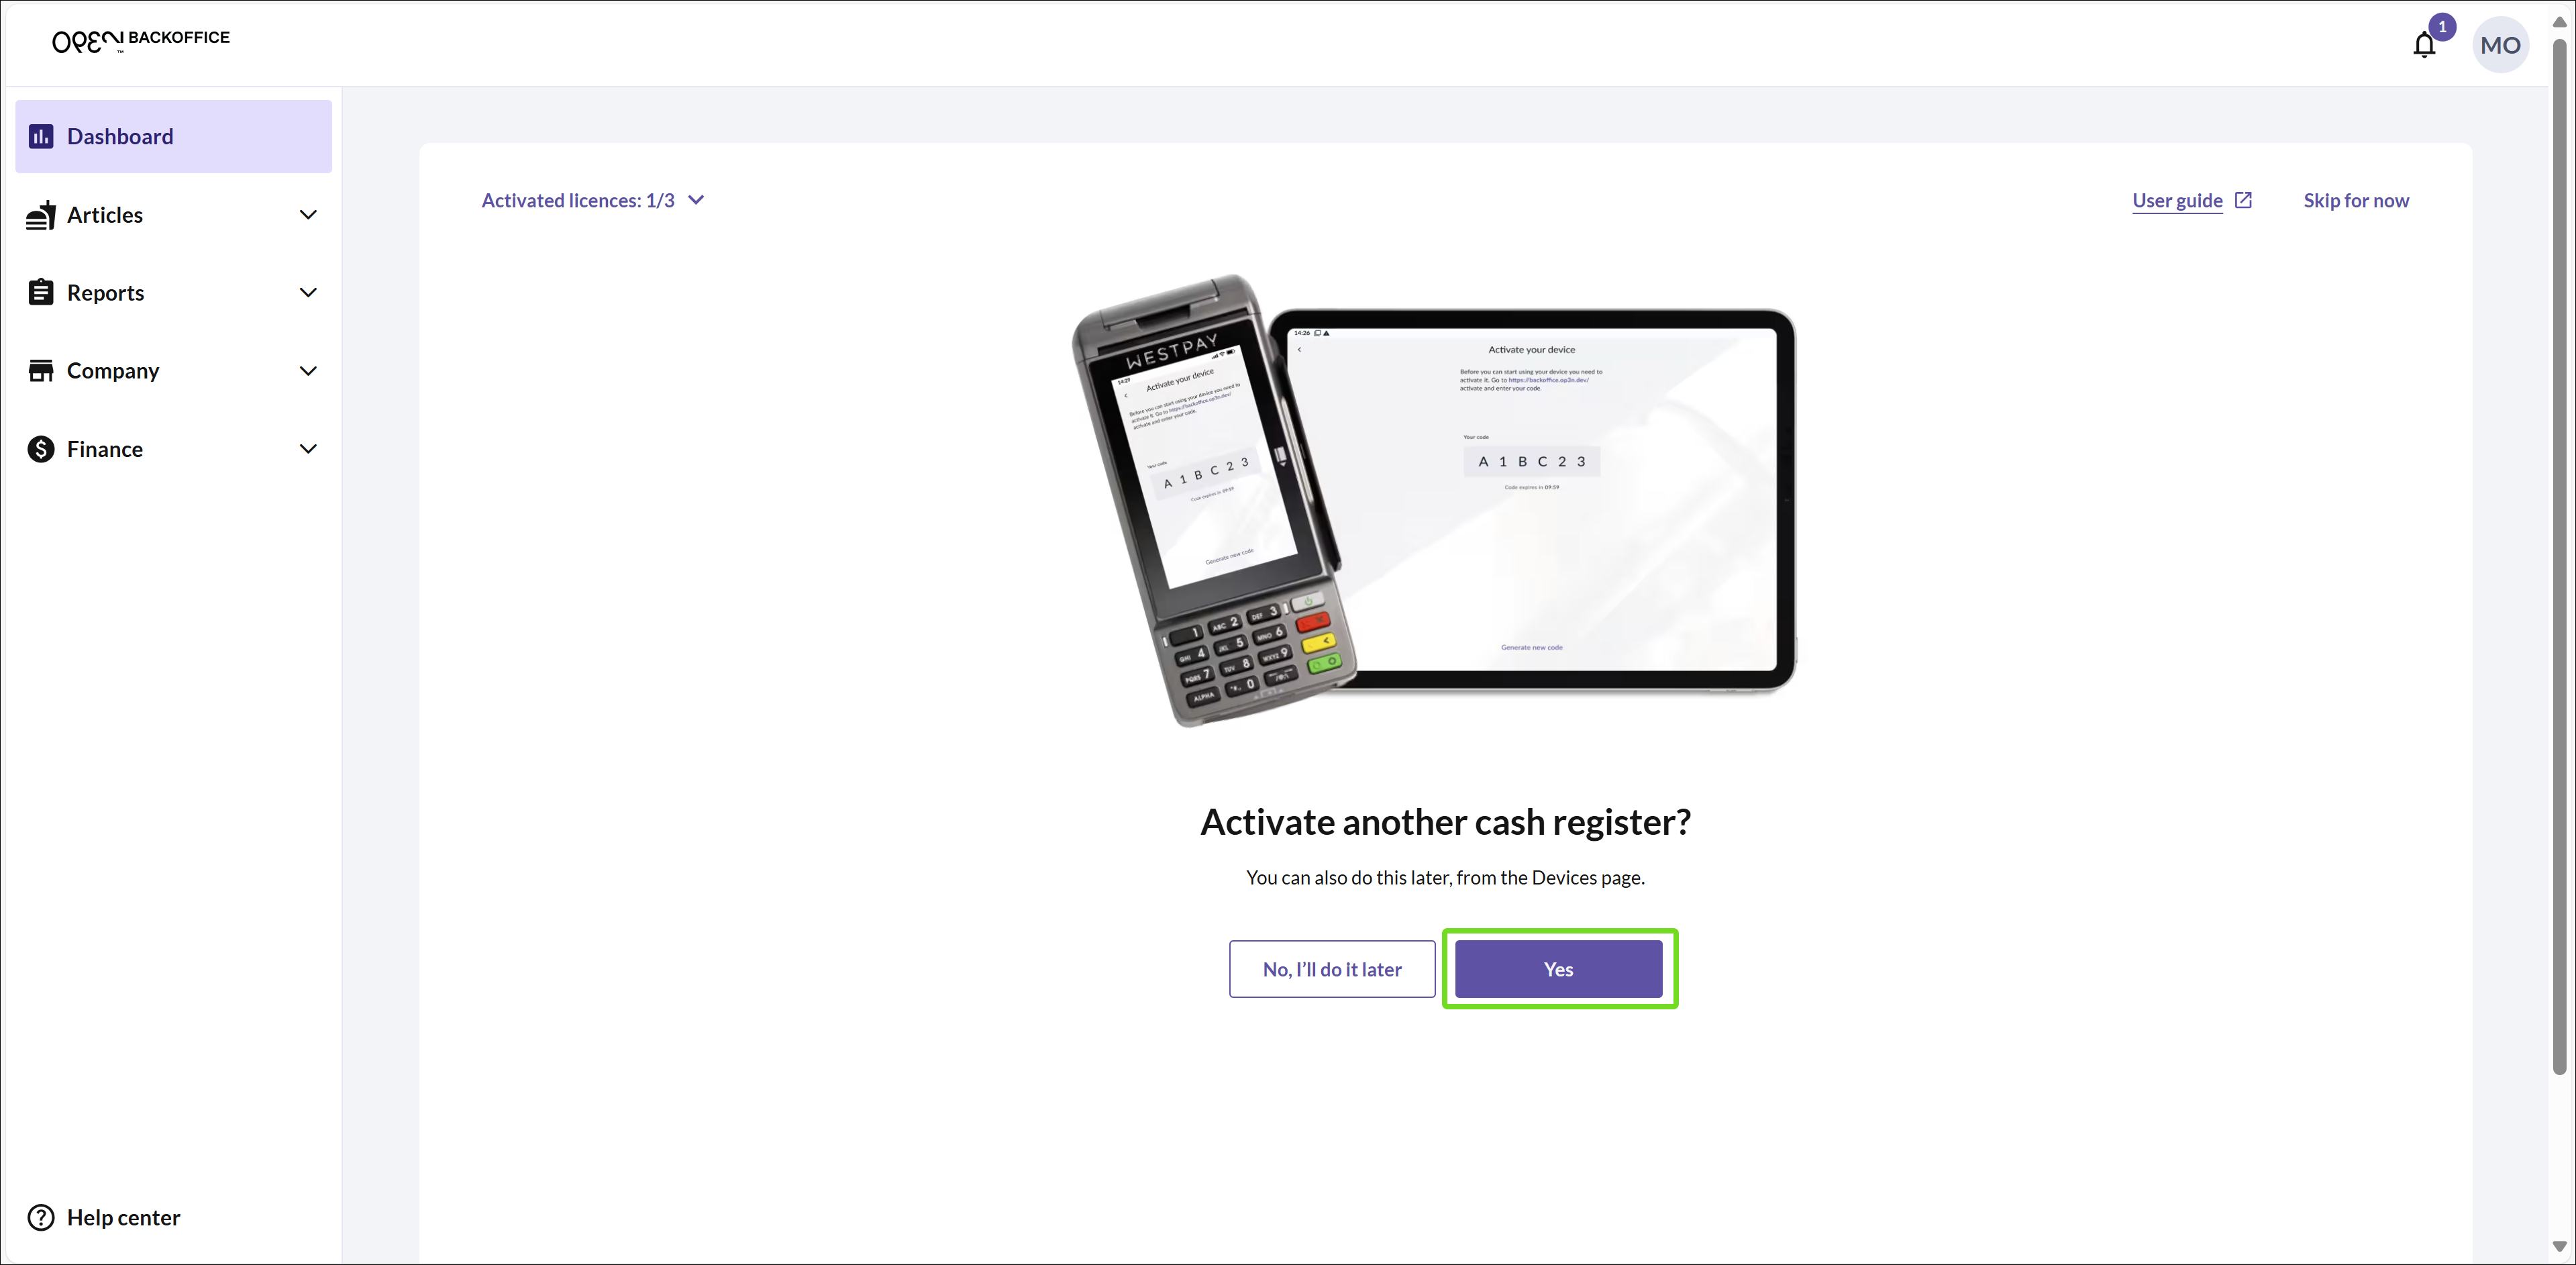
Postpone activation
You don’t have to activate all devices immediately.
Click Skip for now or No, I’ll do it later to exit the activation view.
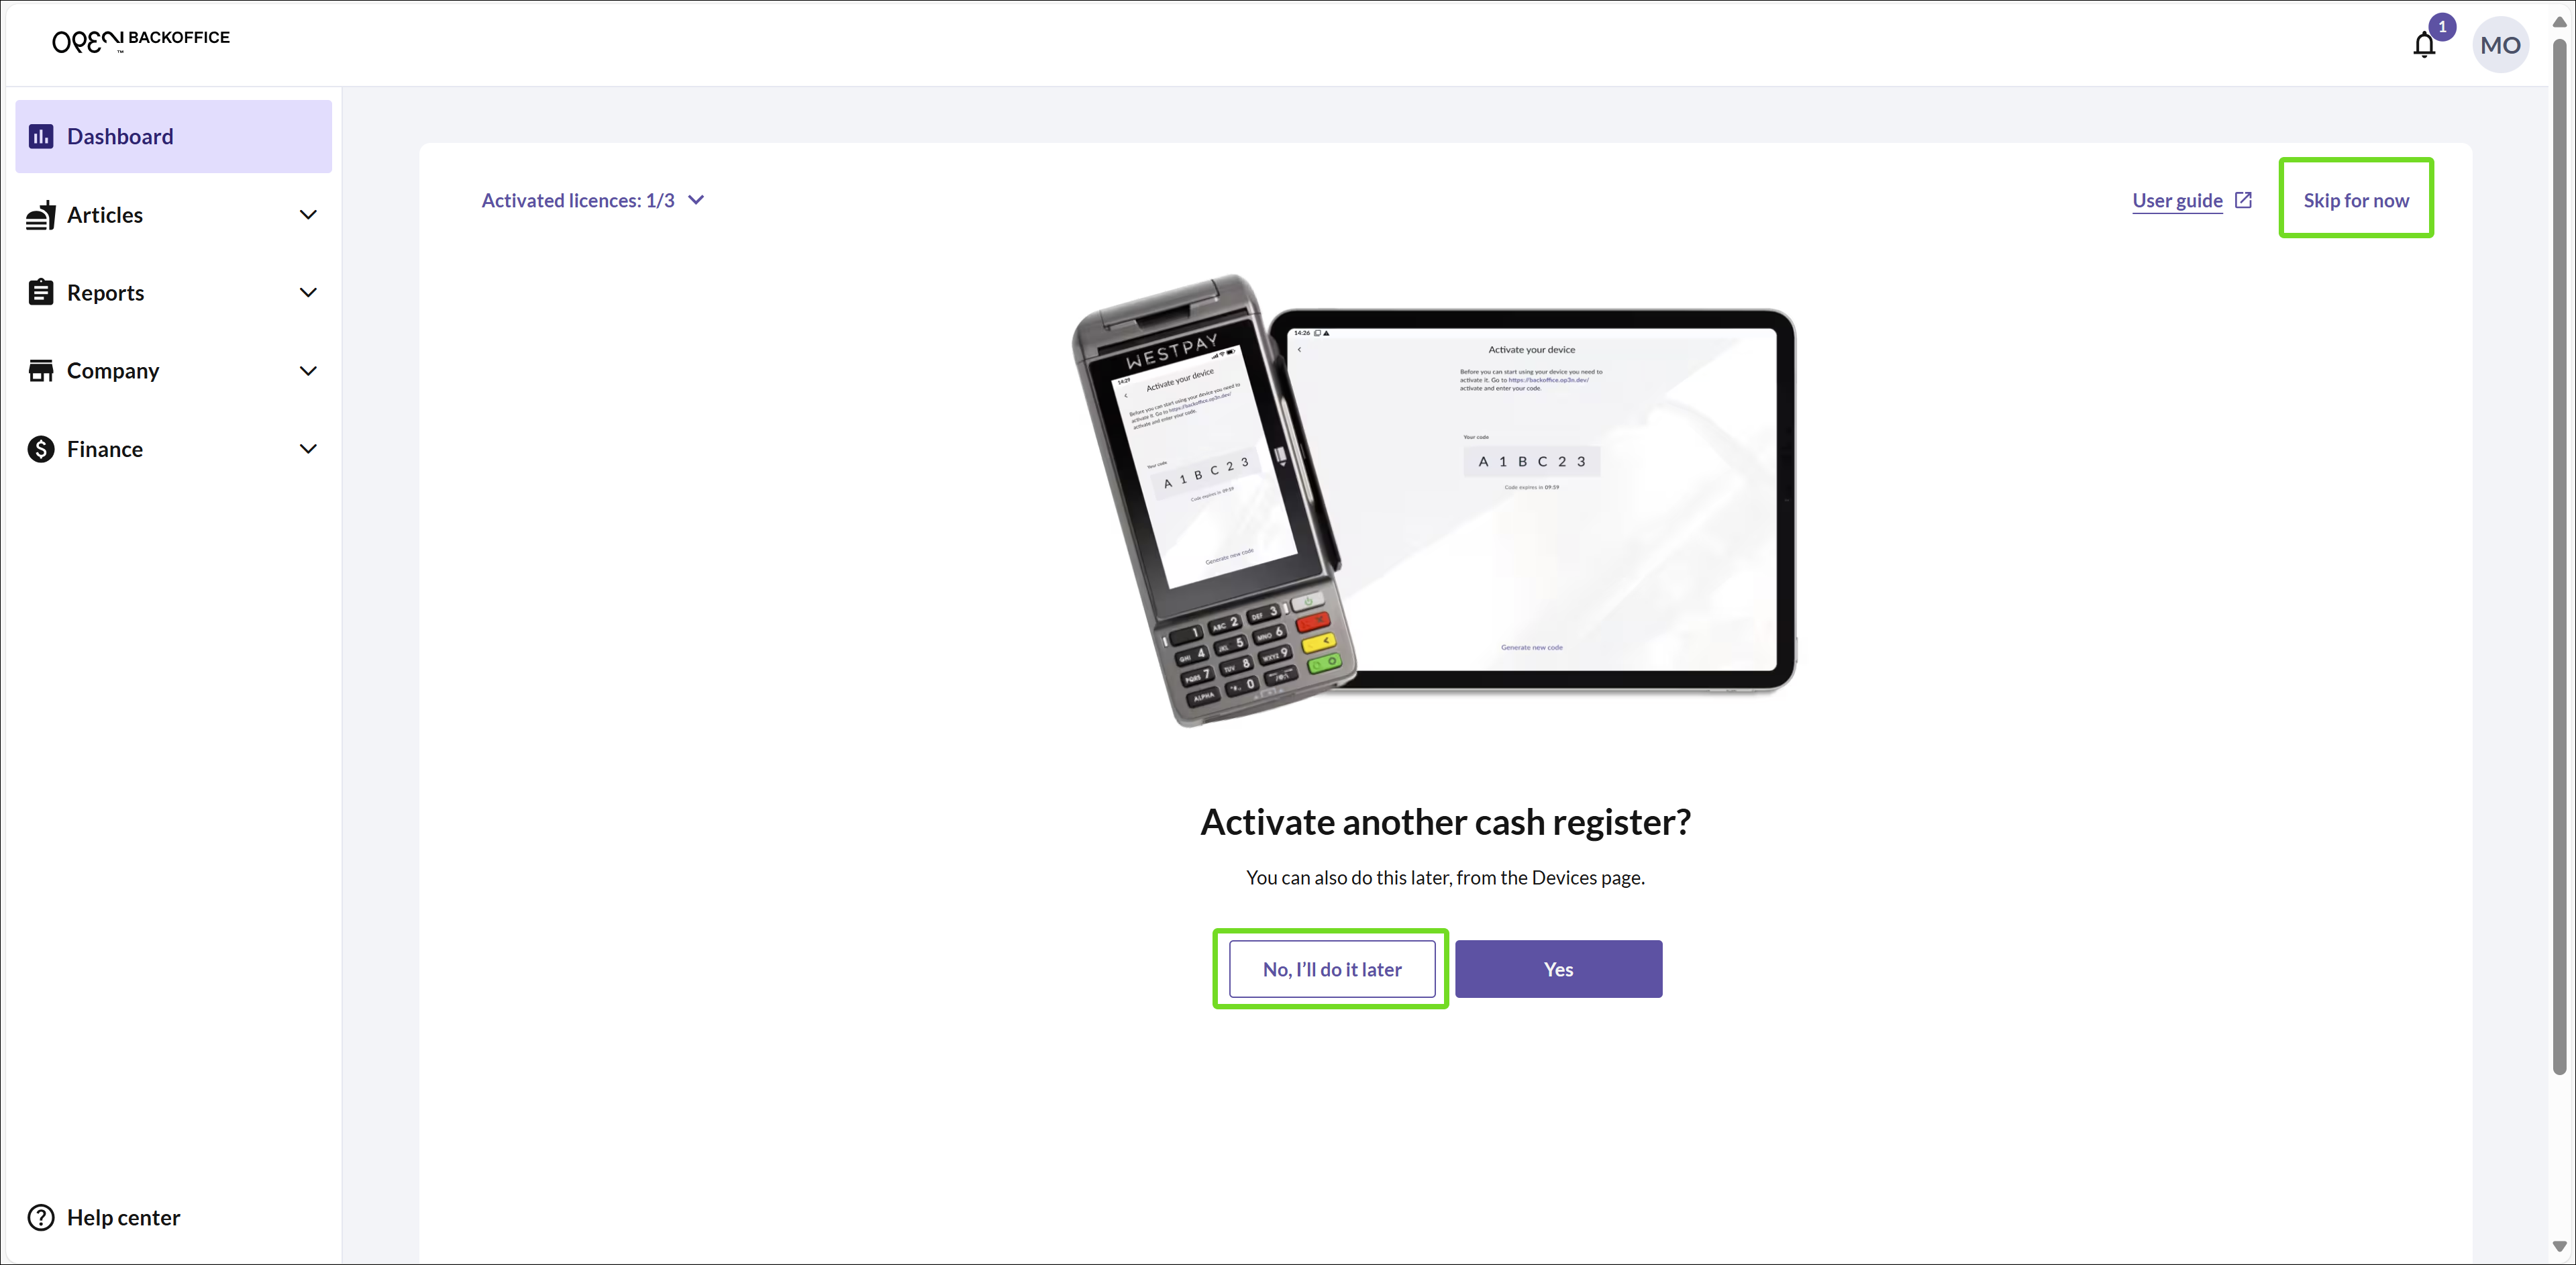
To activate additional devices later, go to COMPANY > DEVICES and click Activate device.
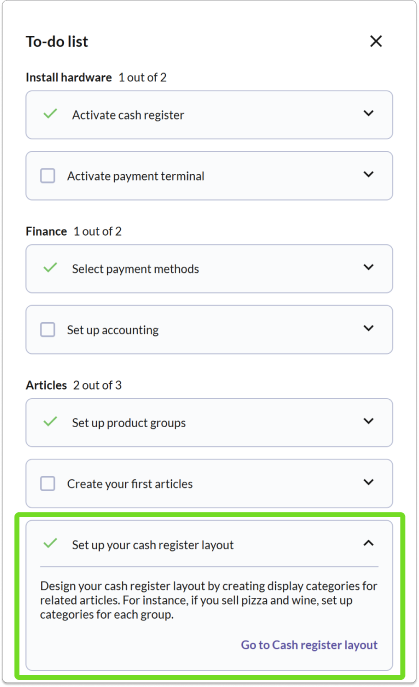
Dashboard: "Getting Started" checklist
At first, your dashboard will be empty, showing no sales data. To get started quickly, follow the Checklist on the left.

The checklist includes tasks in three key areas: Install hardware, Finance and Articles.
Checklist features
- Task description: The tasks include instructions and links to relevant pages or guides.
- Progress tracking: Completed tasks are marked with a green check icon.
- Auto-Hide checklist: The checklist disappears once all tasks are done. You can also close it manually with the cancel button.
You can re-open the checklist at any point, simply click the settings button in the top right corner and turn on the checklist switch.
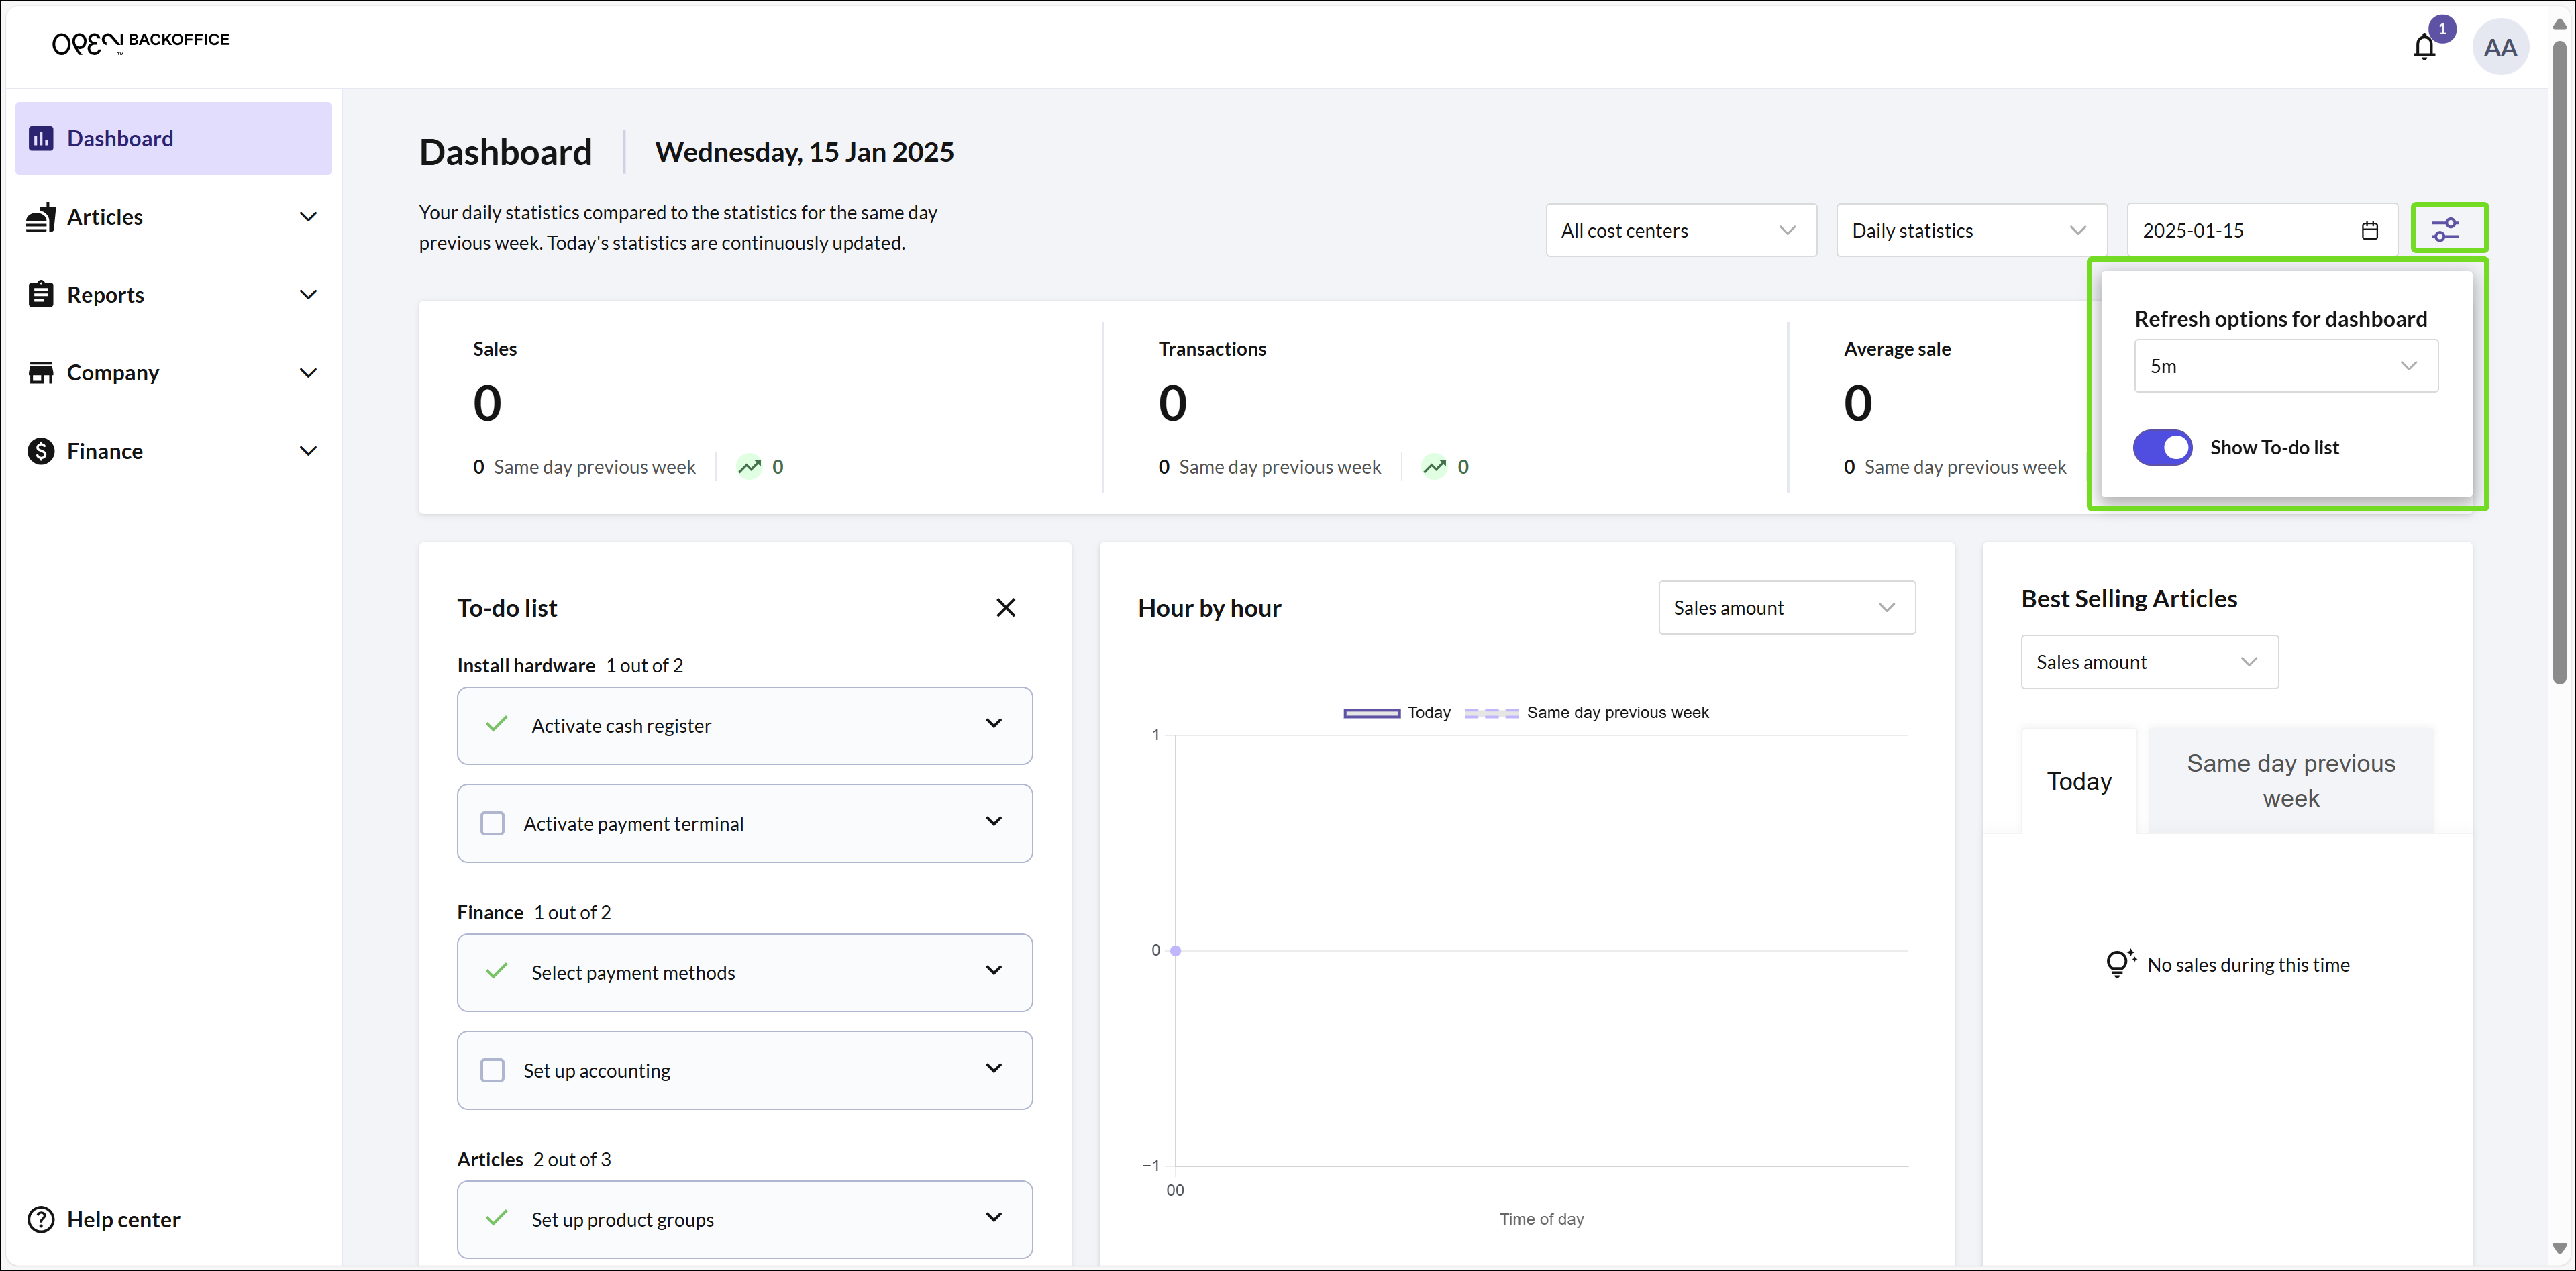
Task breakdown
Install hardware
- Activate cash register: Click Activate device and enter the activation code to start.
- Activate payment terminal: Follow similar steps as above.
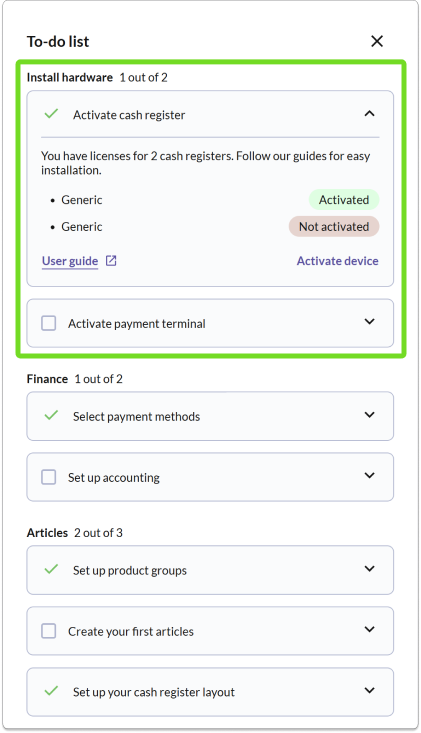
Finance
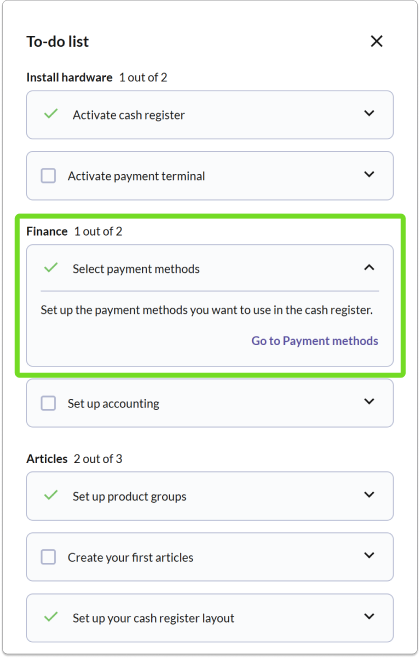
- Select payment methods: Visit the Payment methods page to set up supported payment options.
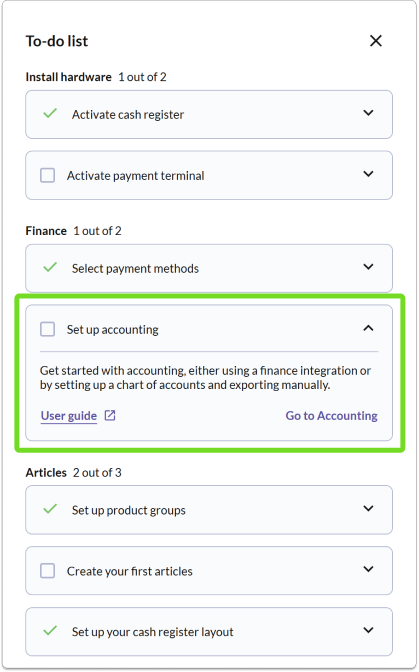
Set up accounting:
- Complete your chart of accounts on the Accounting page.
- Or activate a finance integration (e.g., Fortnox, Visma eEkonomi) on the Integrations page.
Articles
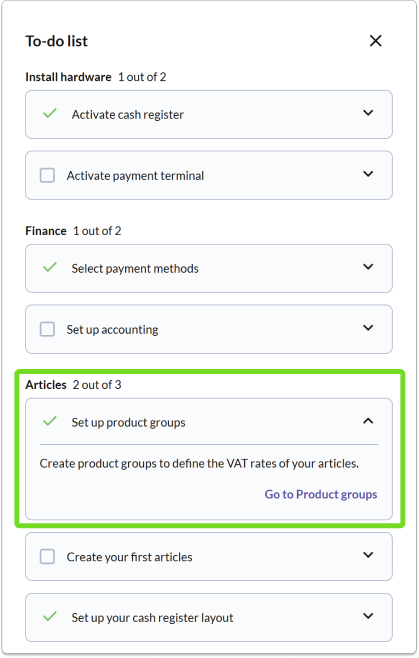
- Set up product groups: Configure product groups on the Product groups page based on applicable VAT rates.
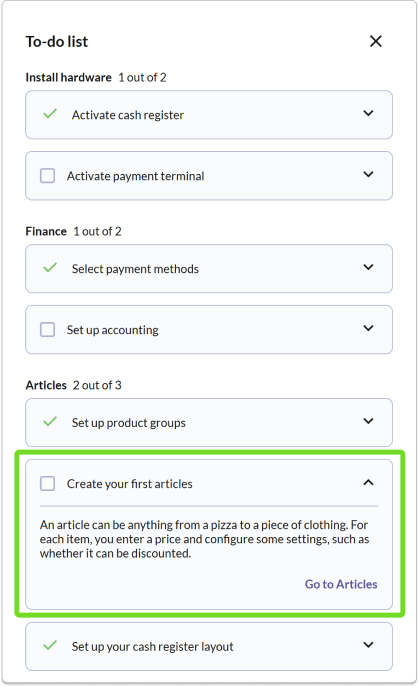
- Create your first article: Add products on the Articles page.
- Set up your cash register layout: Design the layout of your cash register on the Cash register layout page. By creating categories to group related articles, it will be easier to find what you're looking for at checkout.
