Setting up table maps
Create table maps in BackOffice to represent your premises and make it easy to take orders at the right tables.
Create a table map
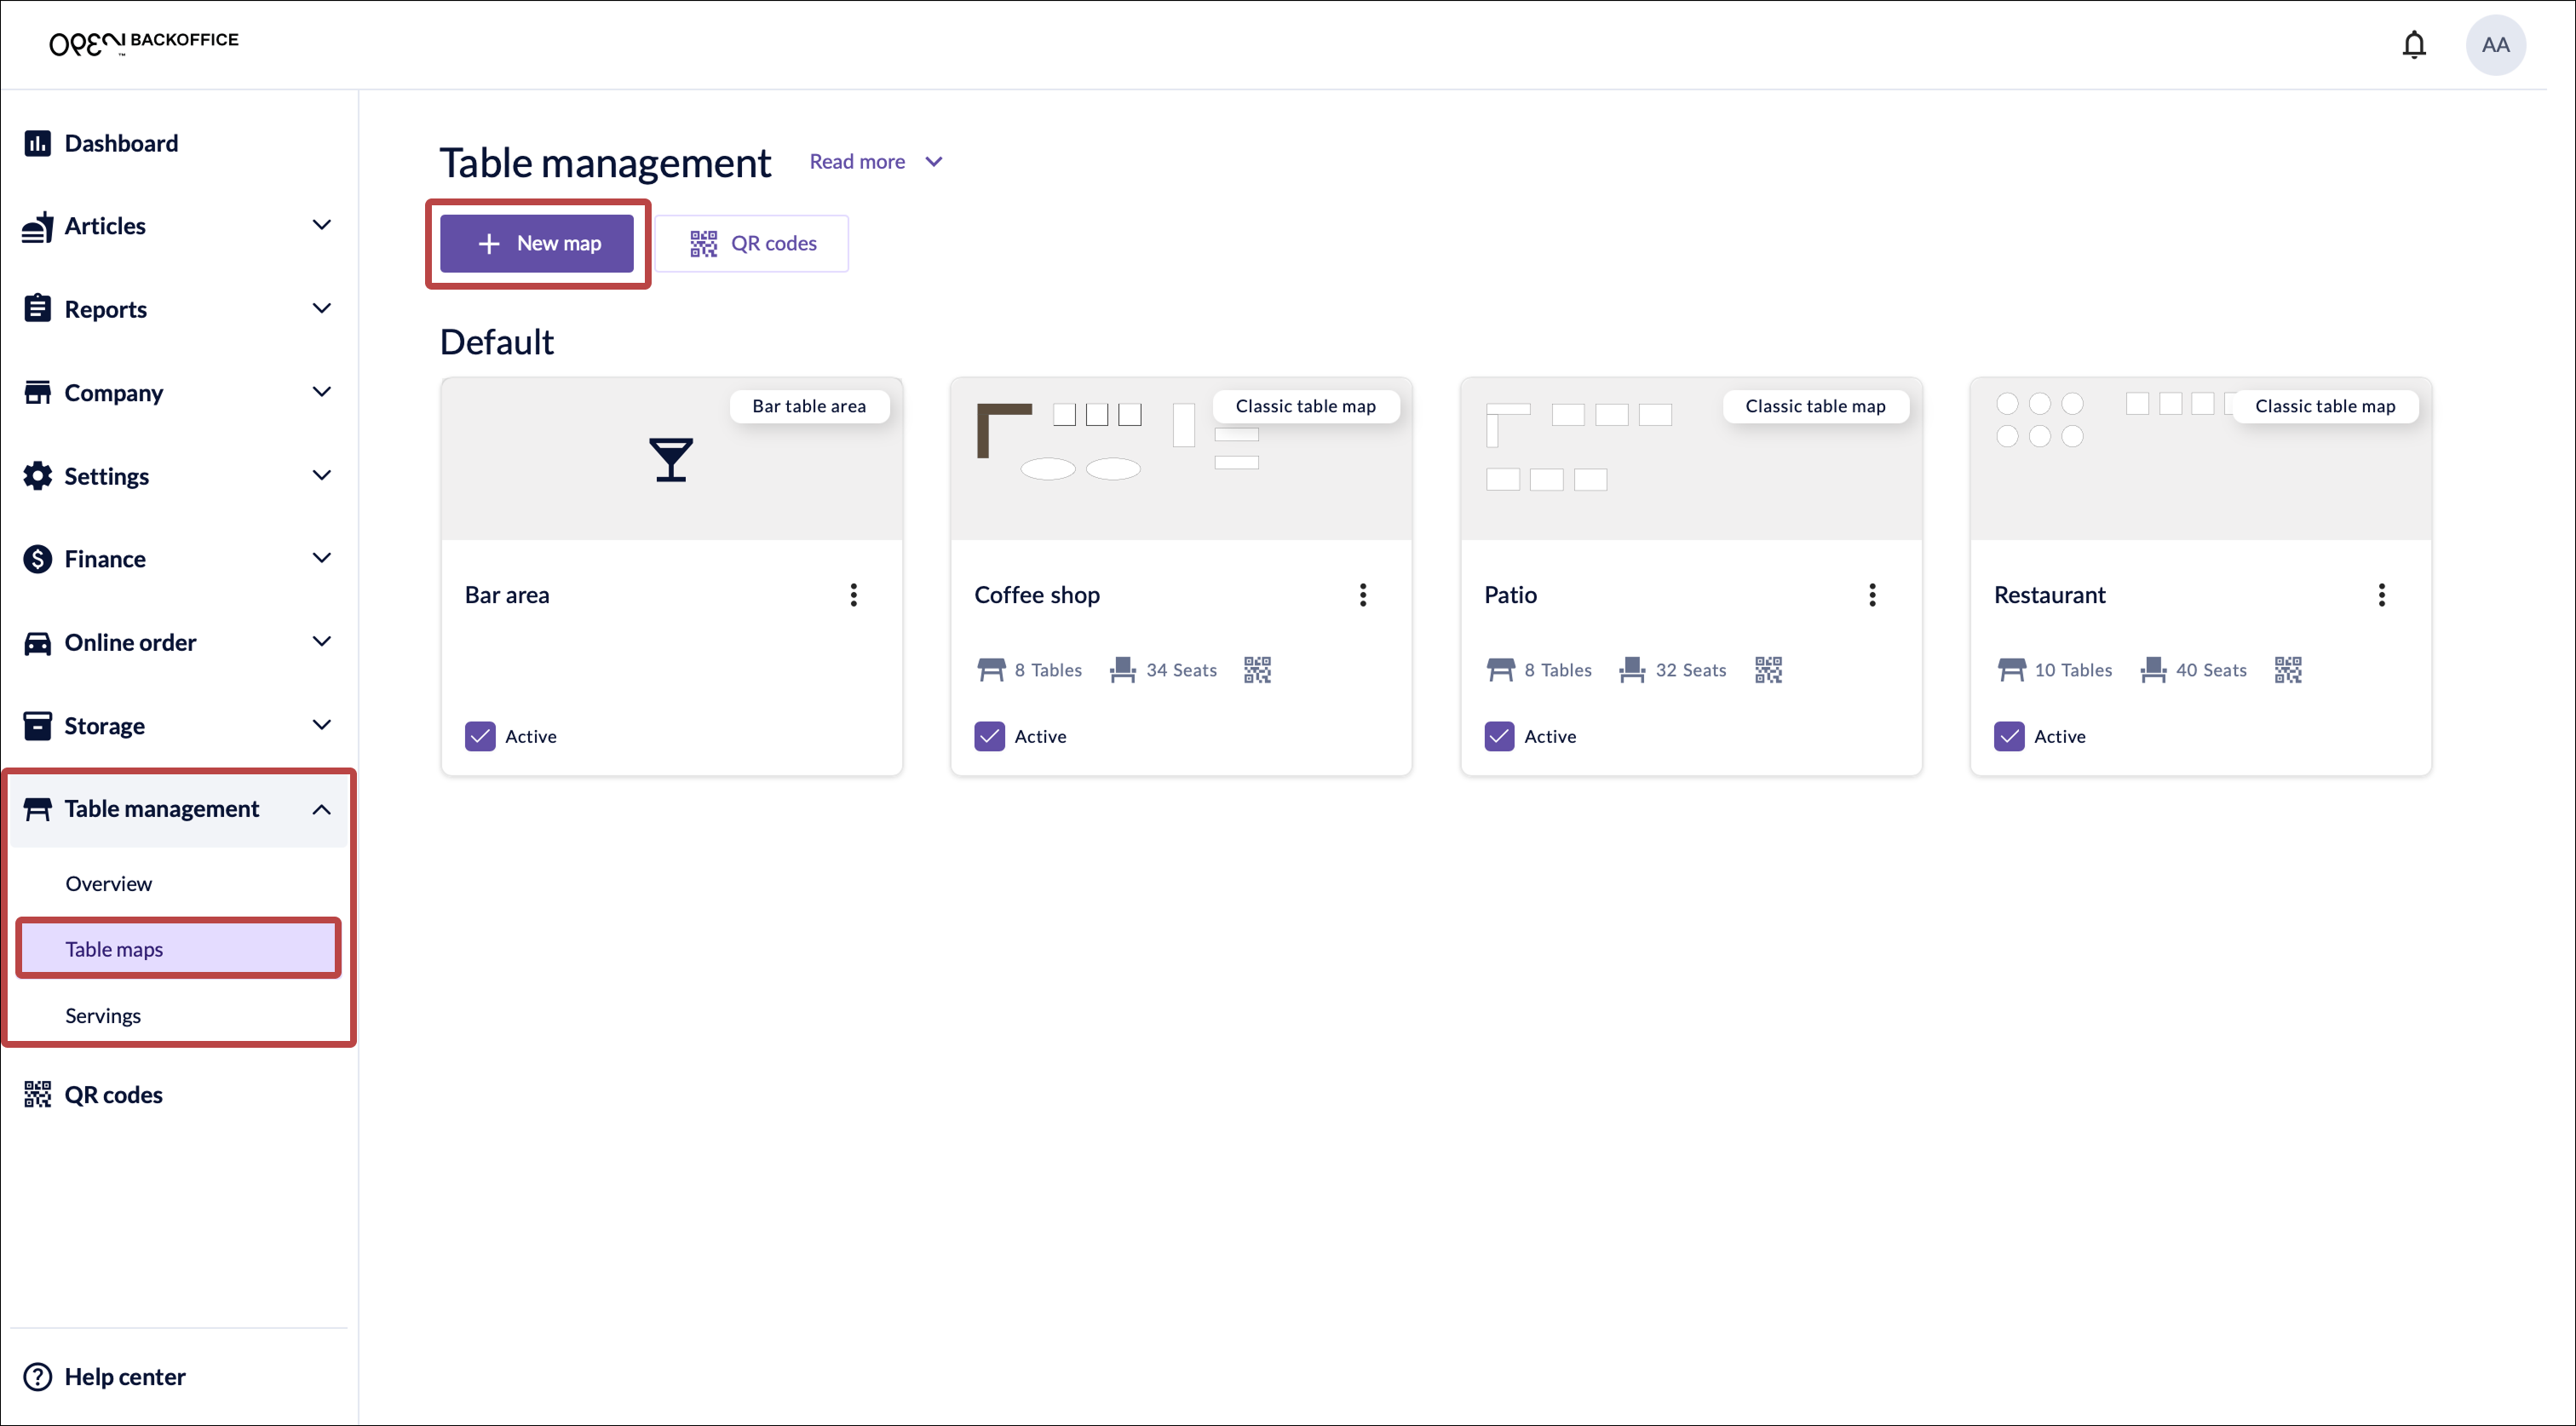
In BackOffice, go to Table management and select Table maps.
Click New map.
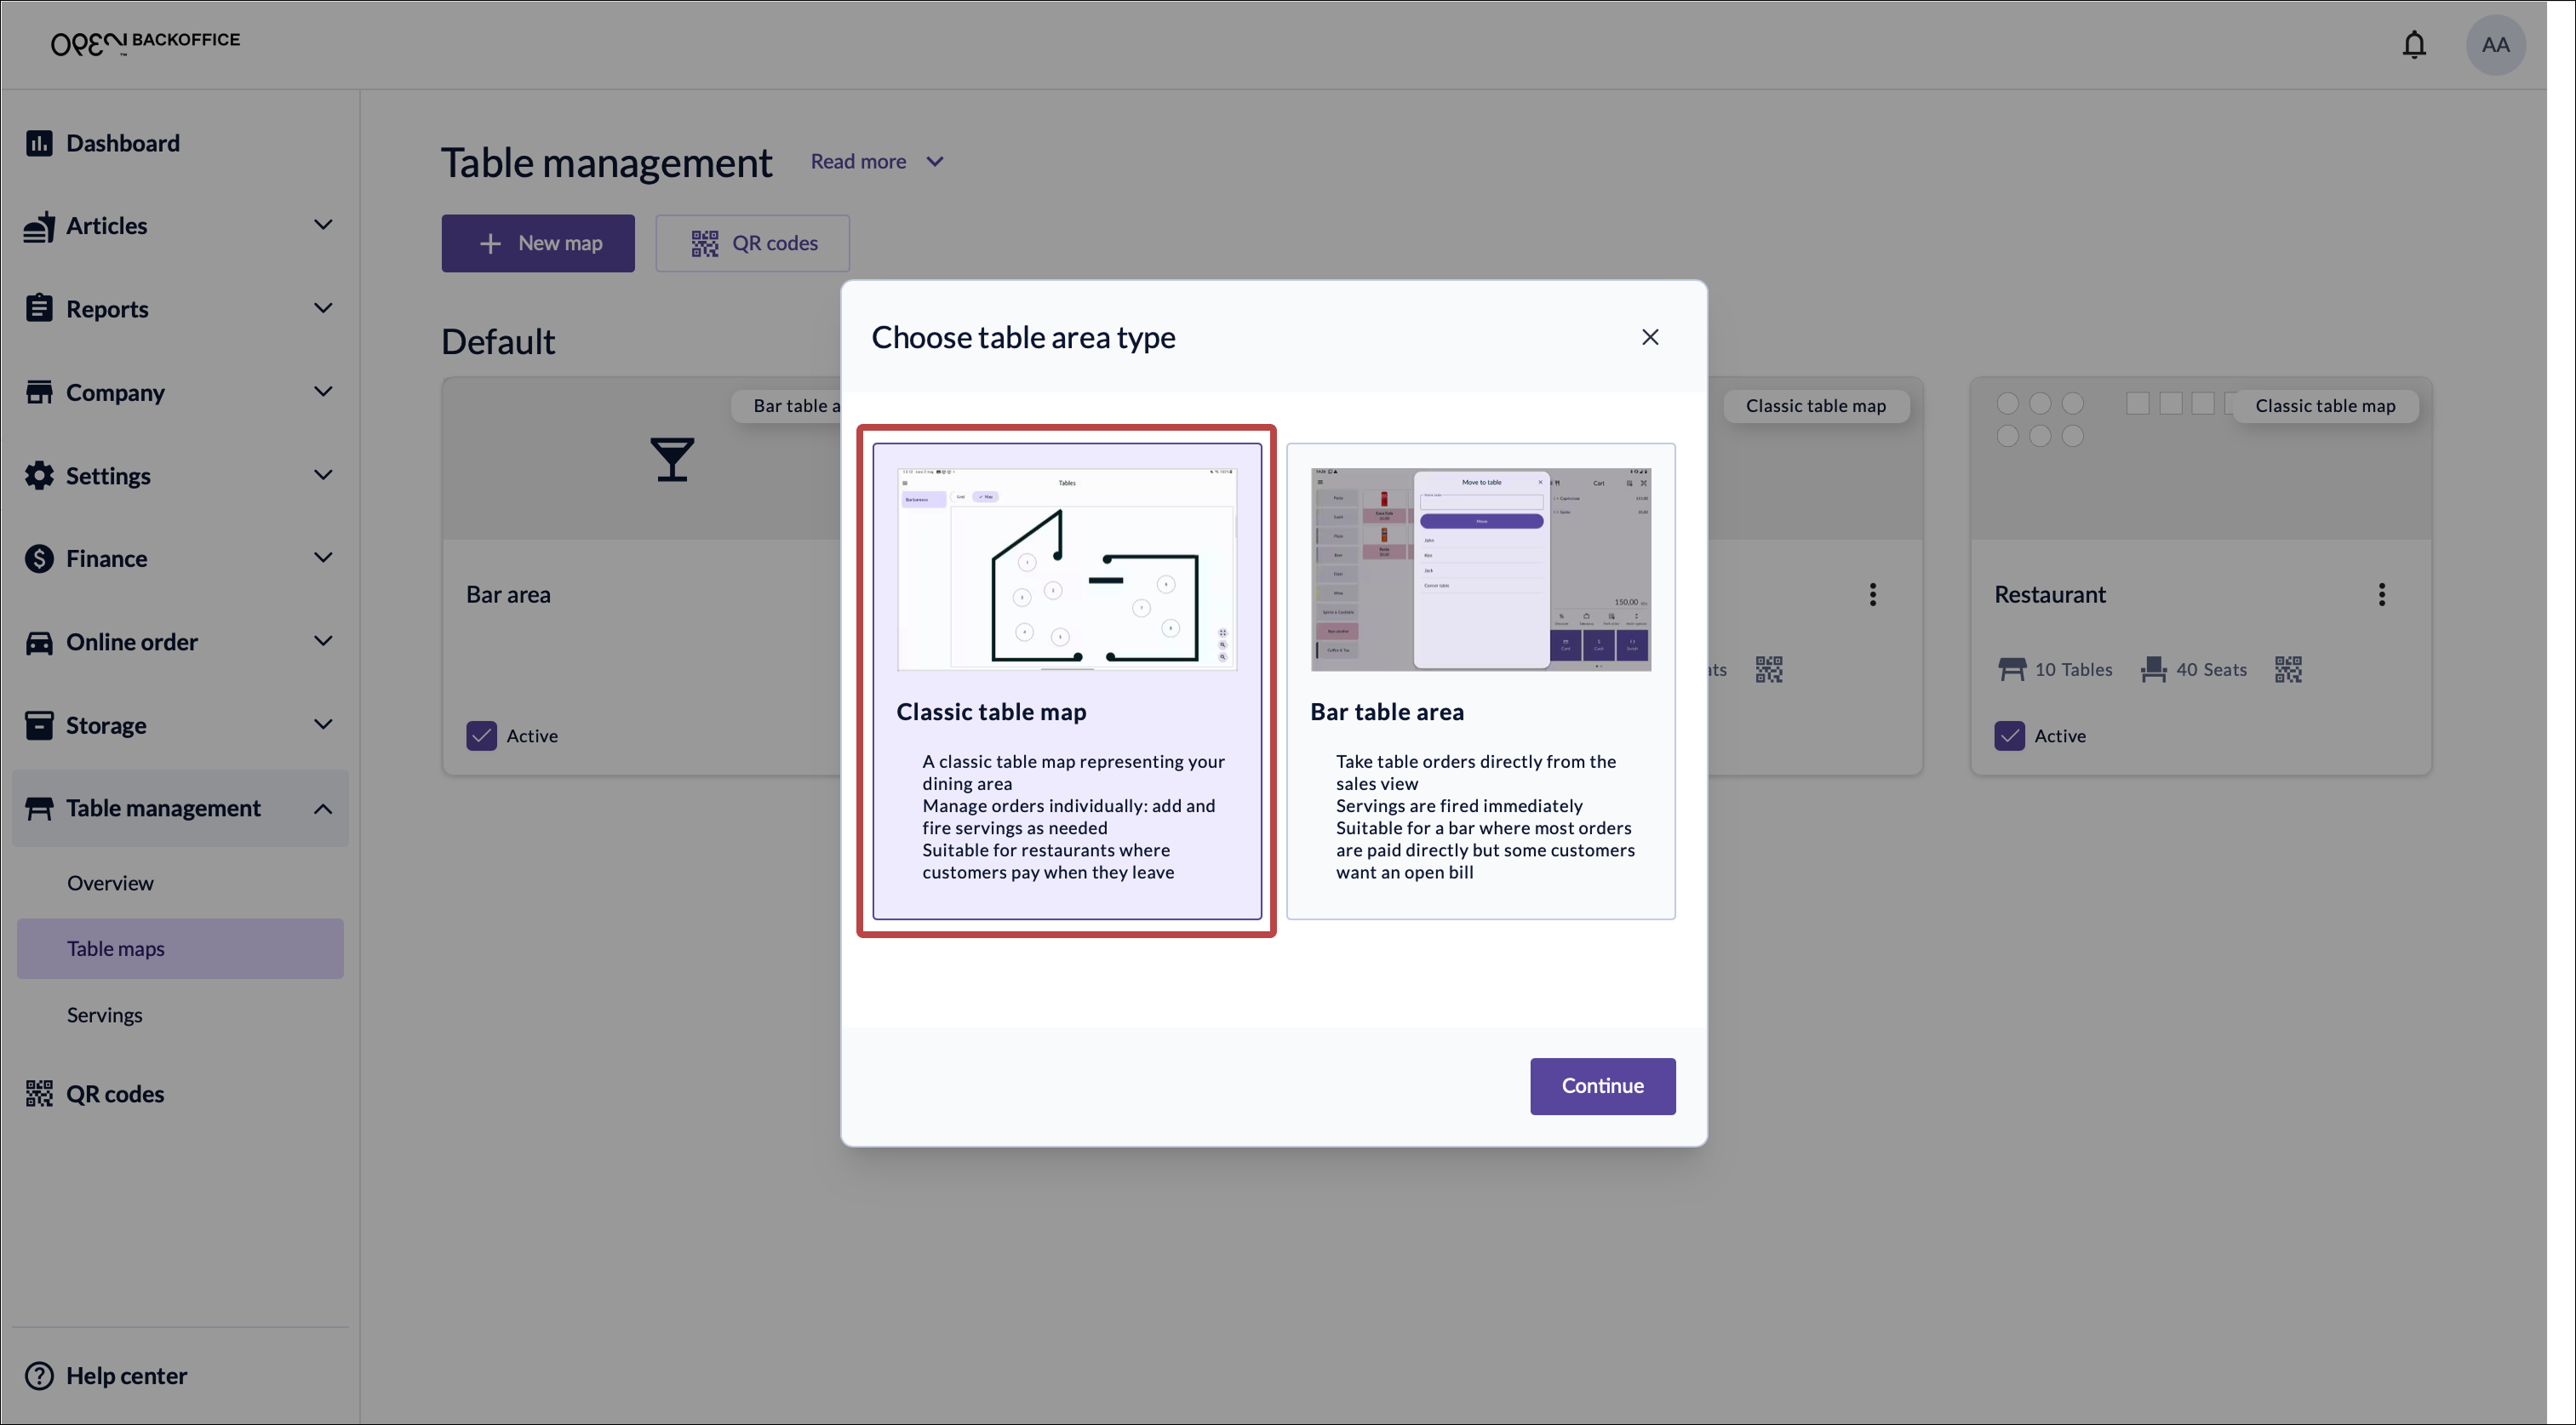
Choose Classic table map, then click Continue.
See Bar order handling to learn more about the Bar table area option.
Choose a cost center and give the table map a name, then click OK.
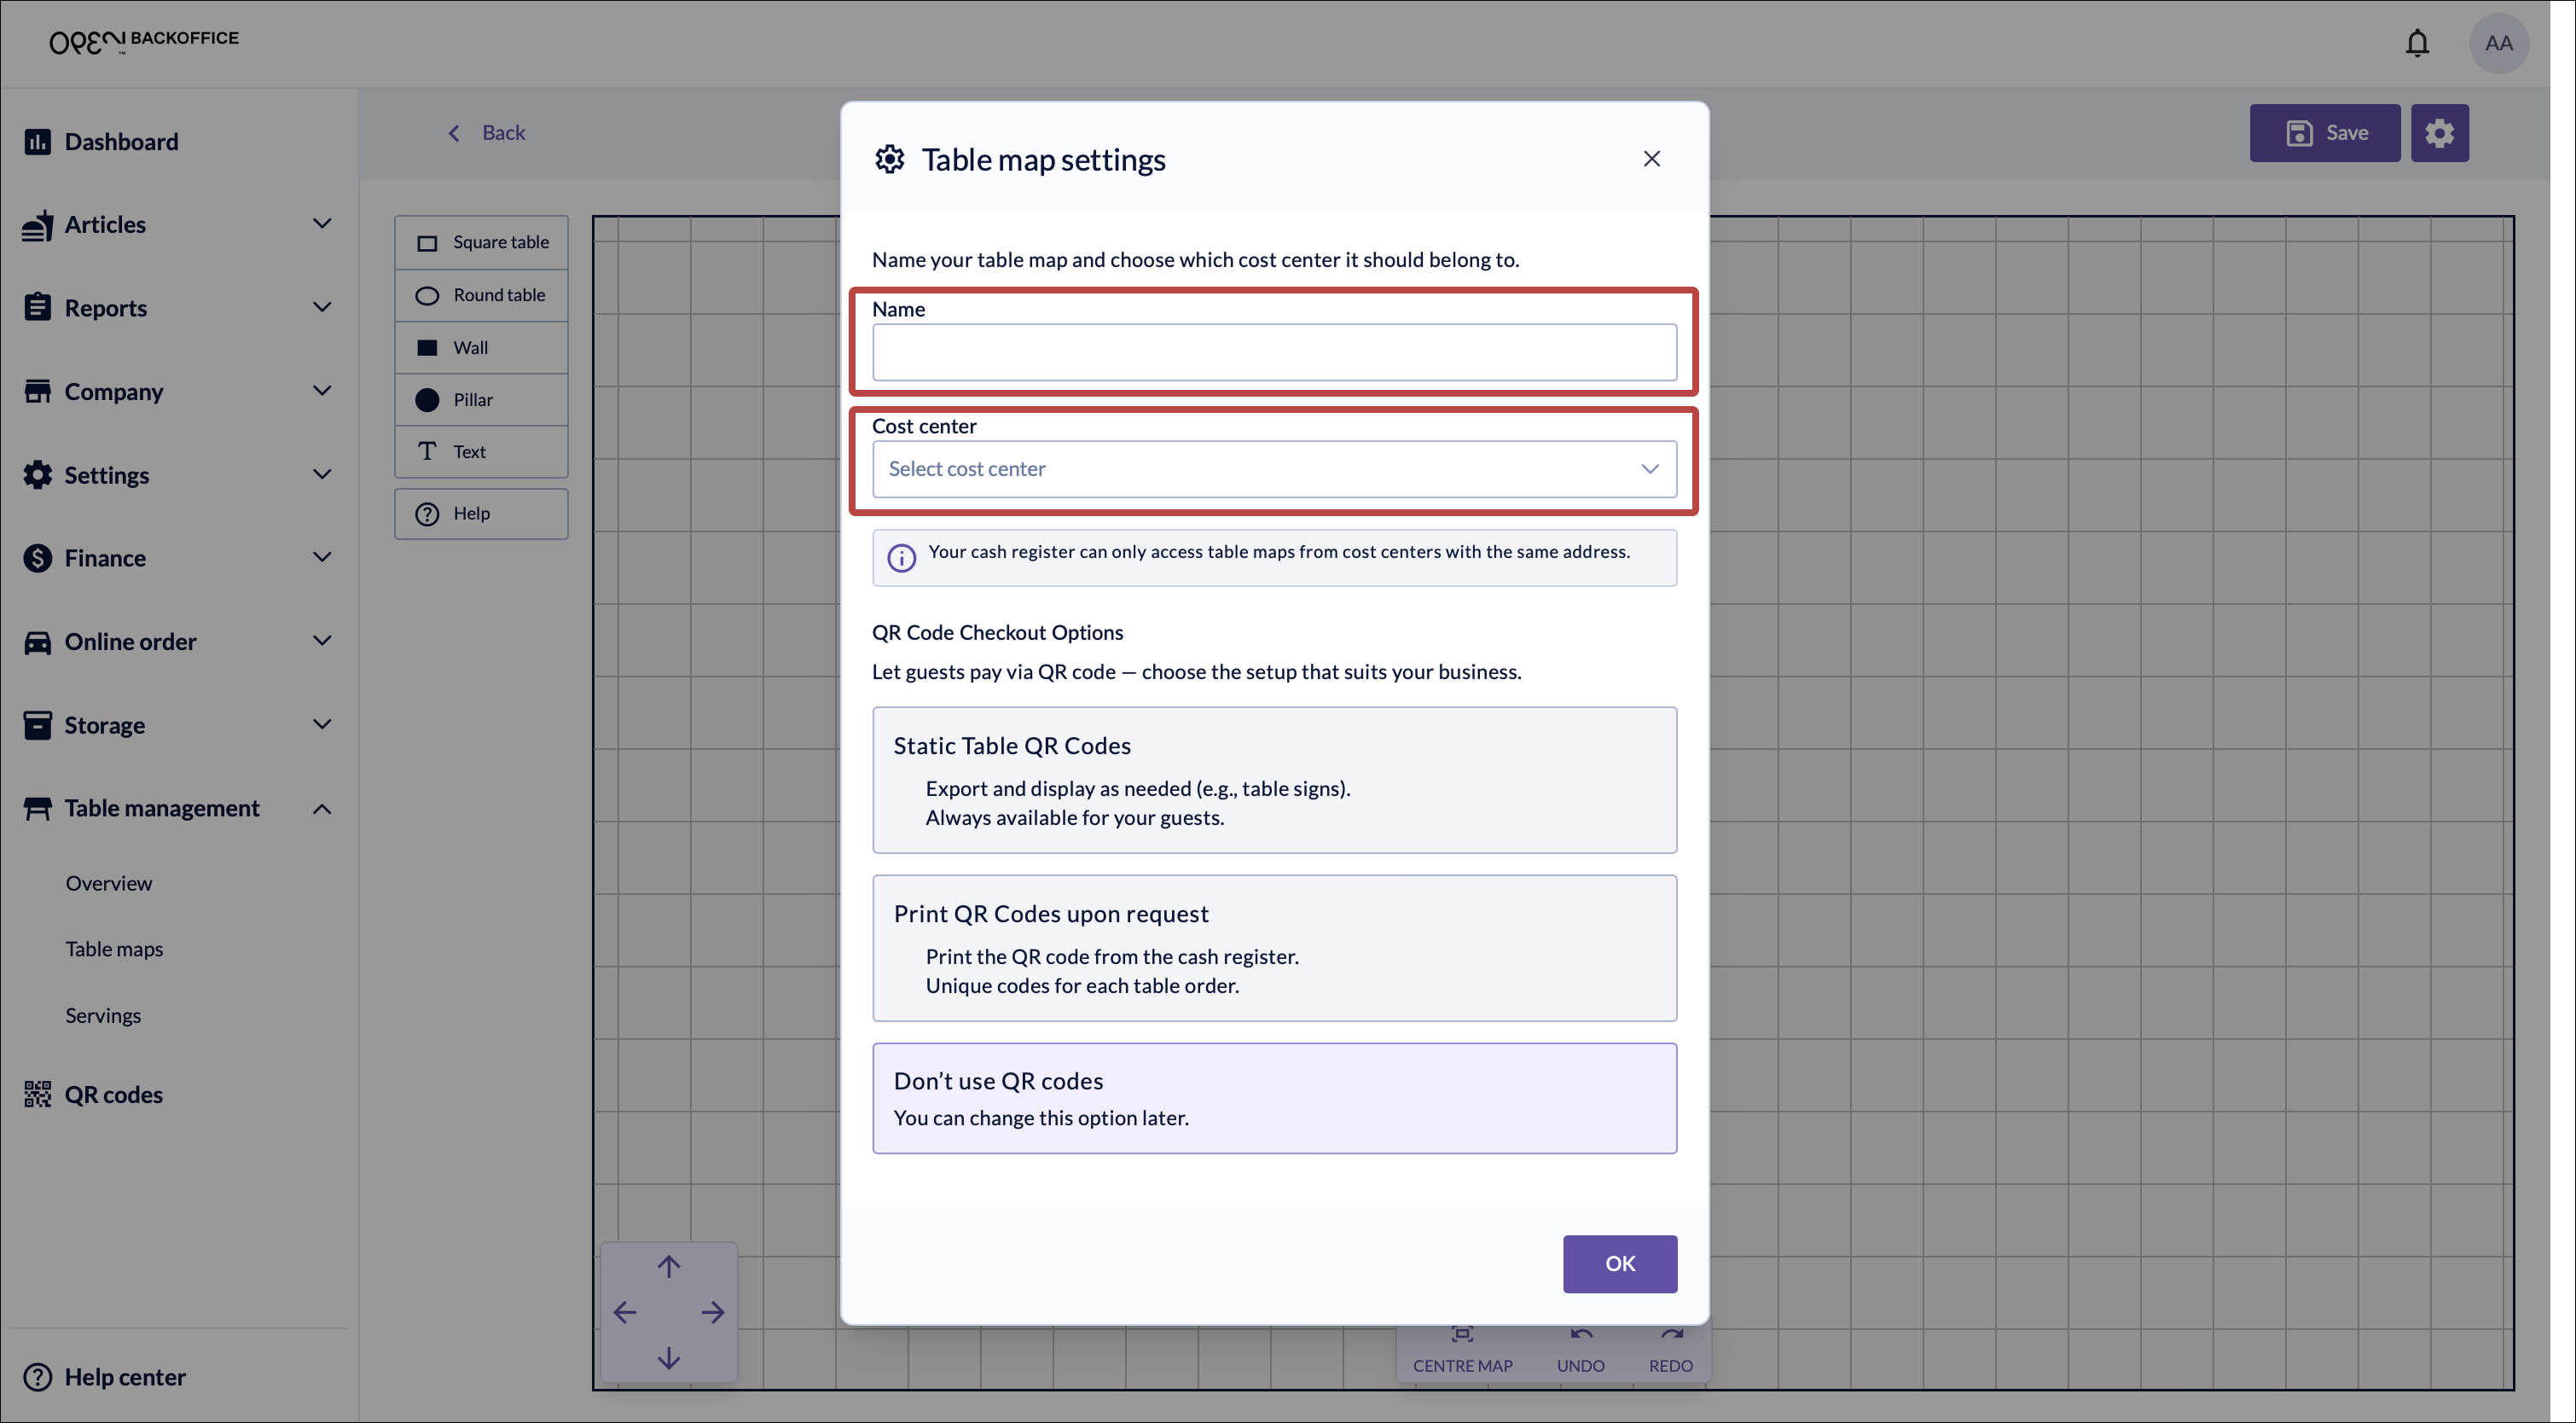
*To learn more about QR code options, see Scan to pay and Order online.
To access the table map settings later, click the cog wheel button in the top right corner.
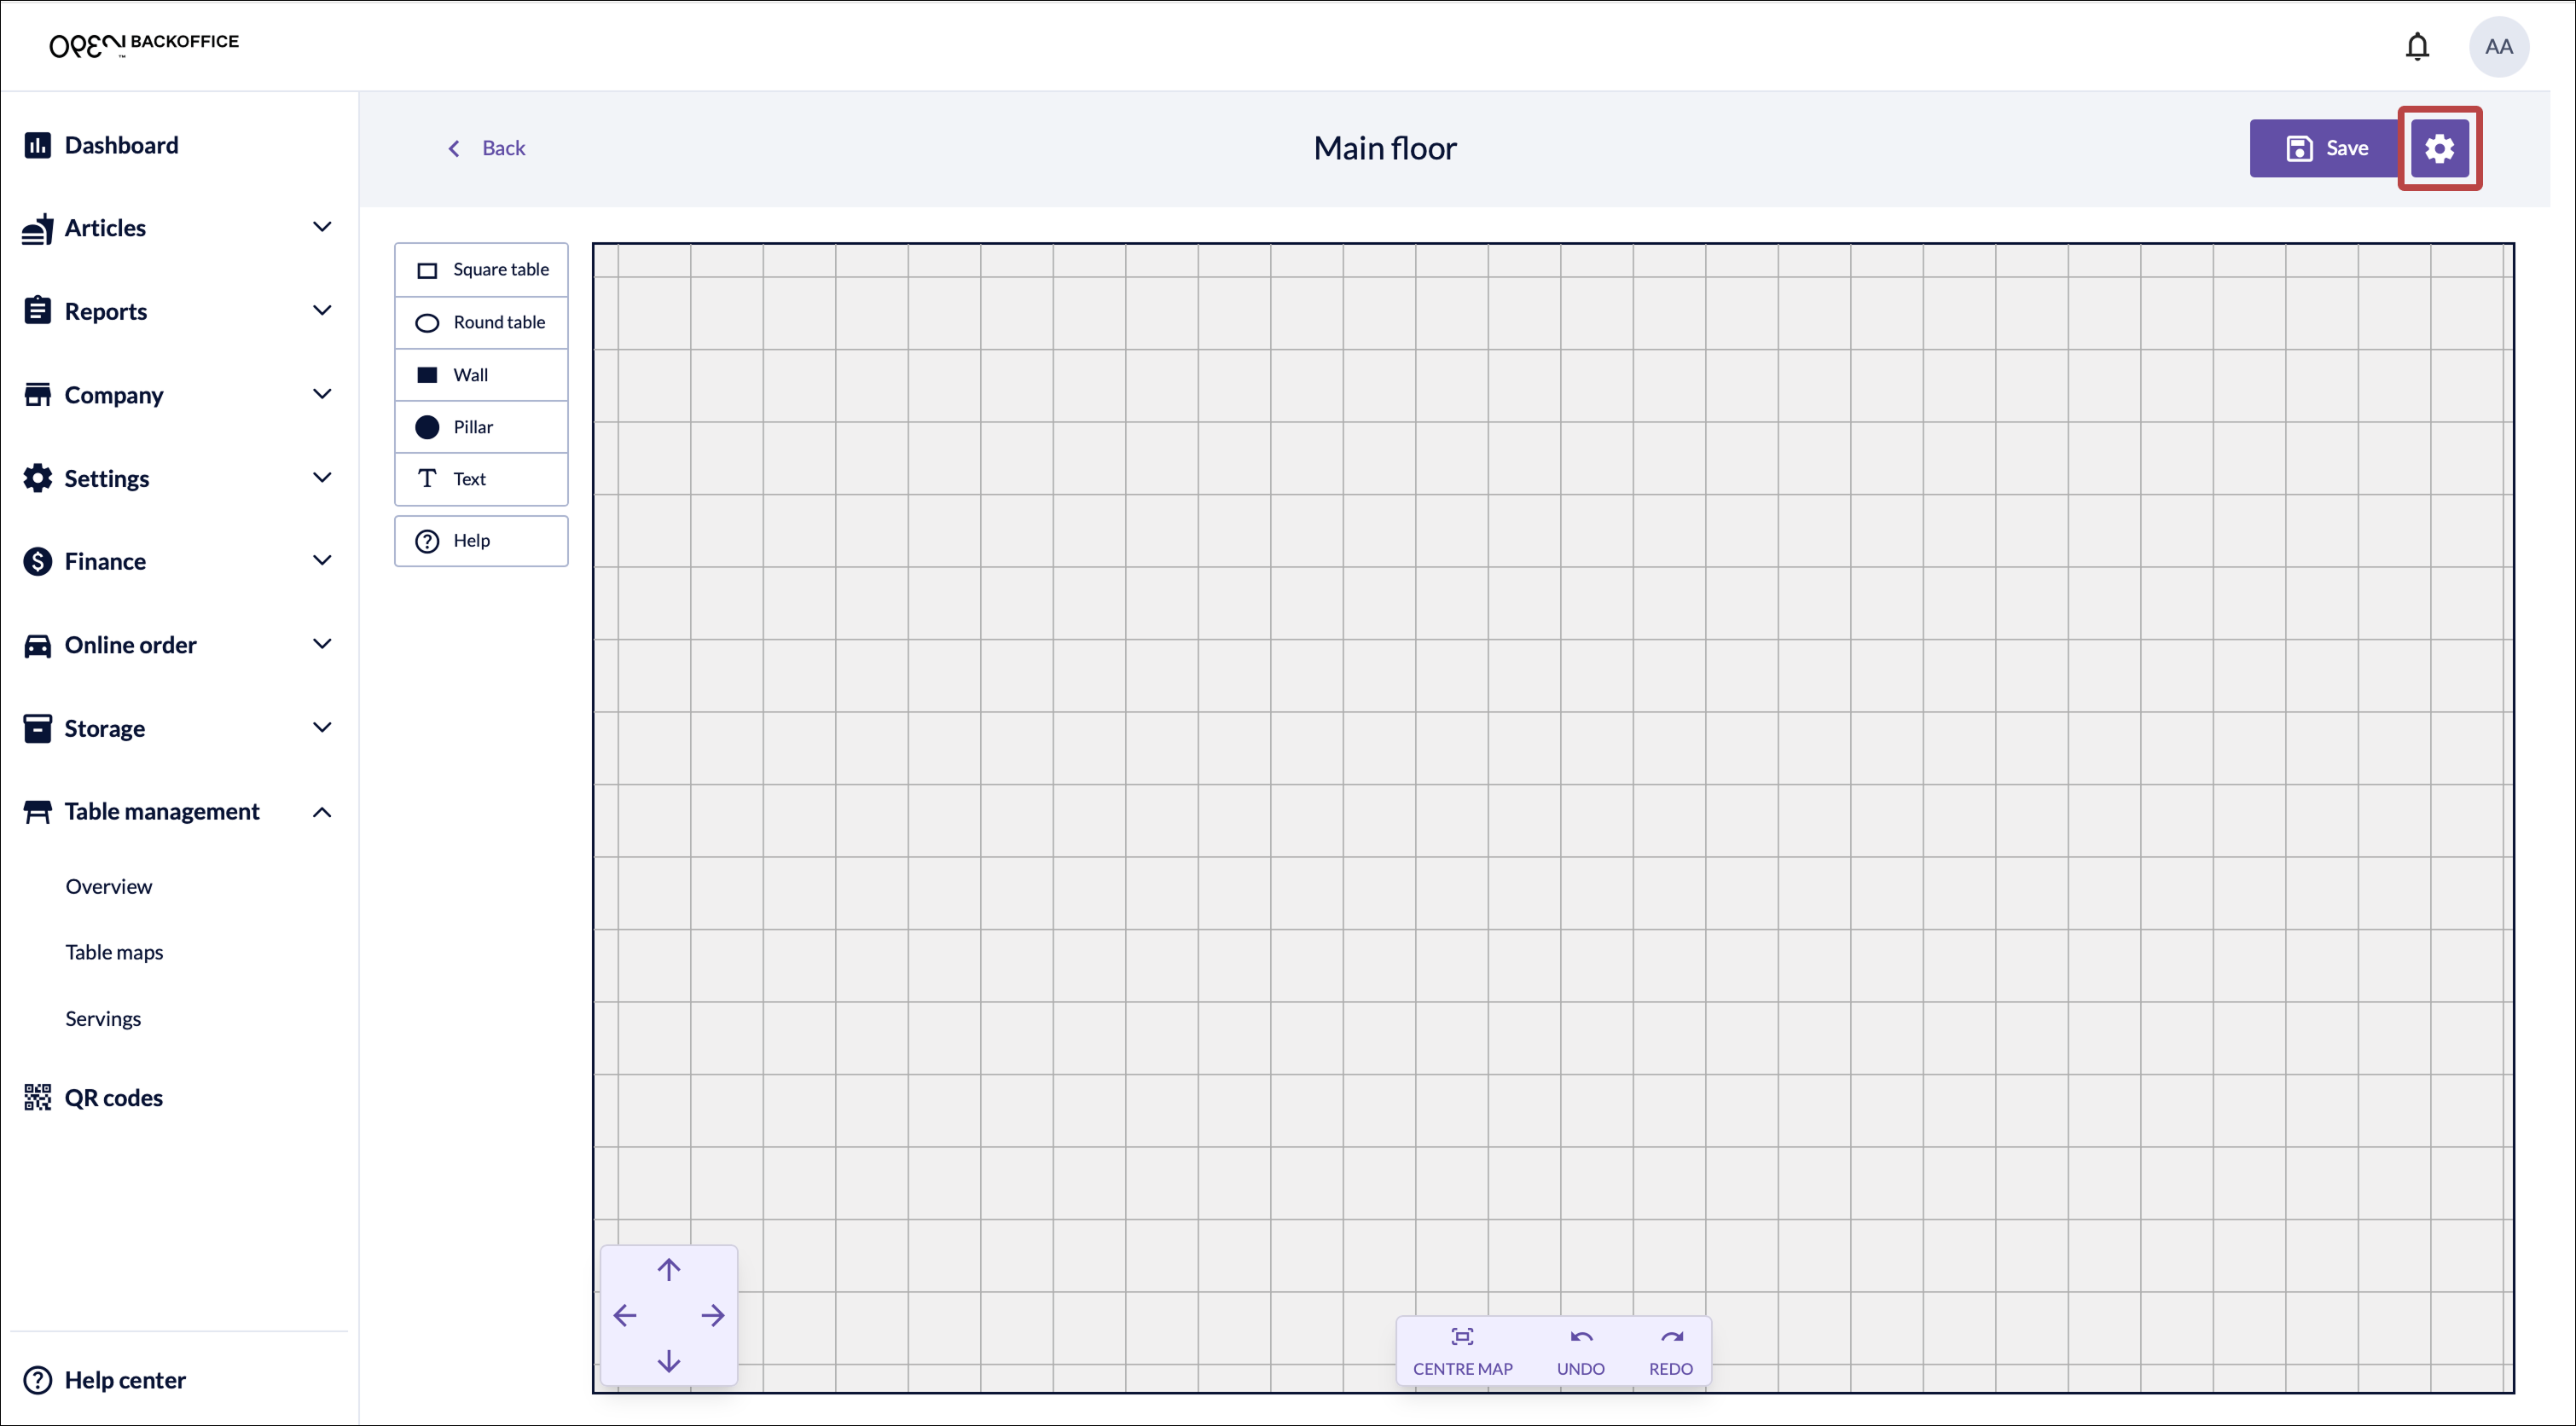
Select a table or wall shape and click on the map to place it. Click the object to resize or reposition it.
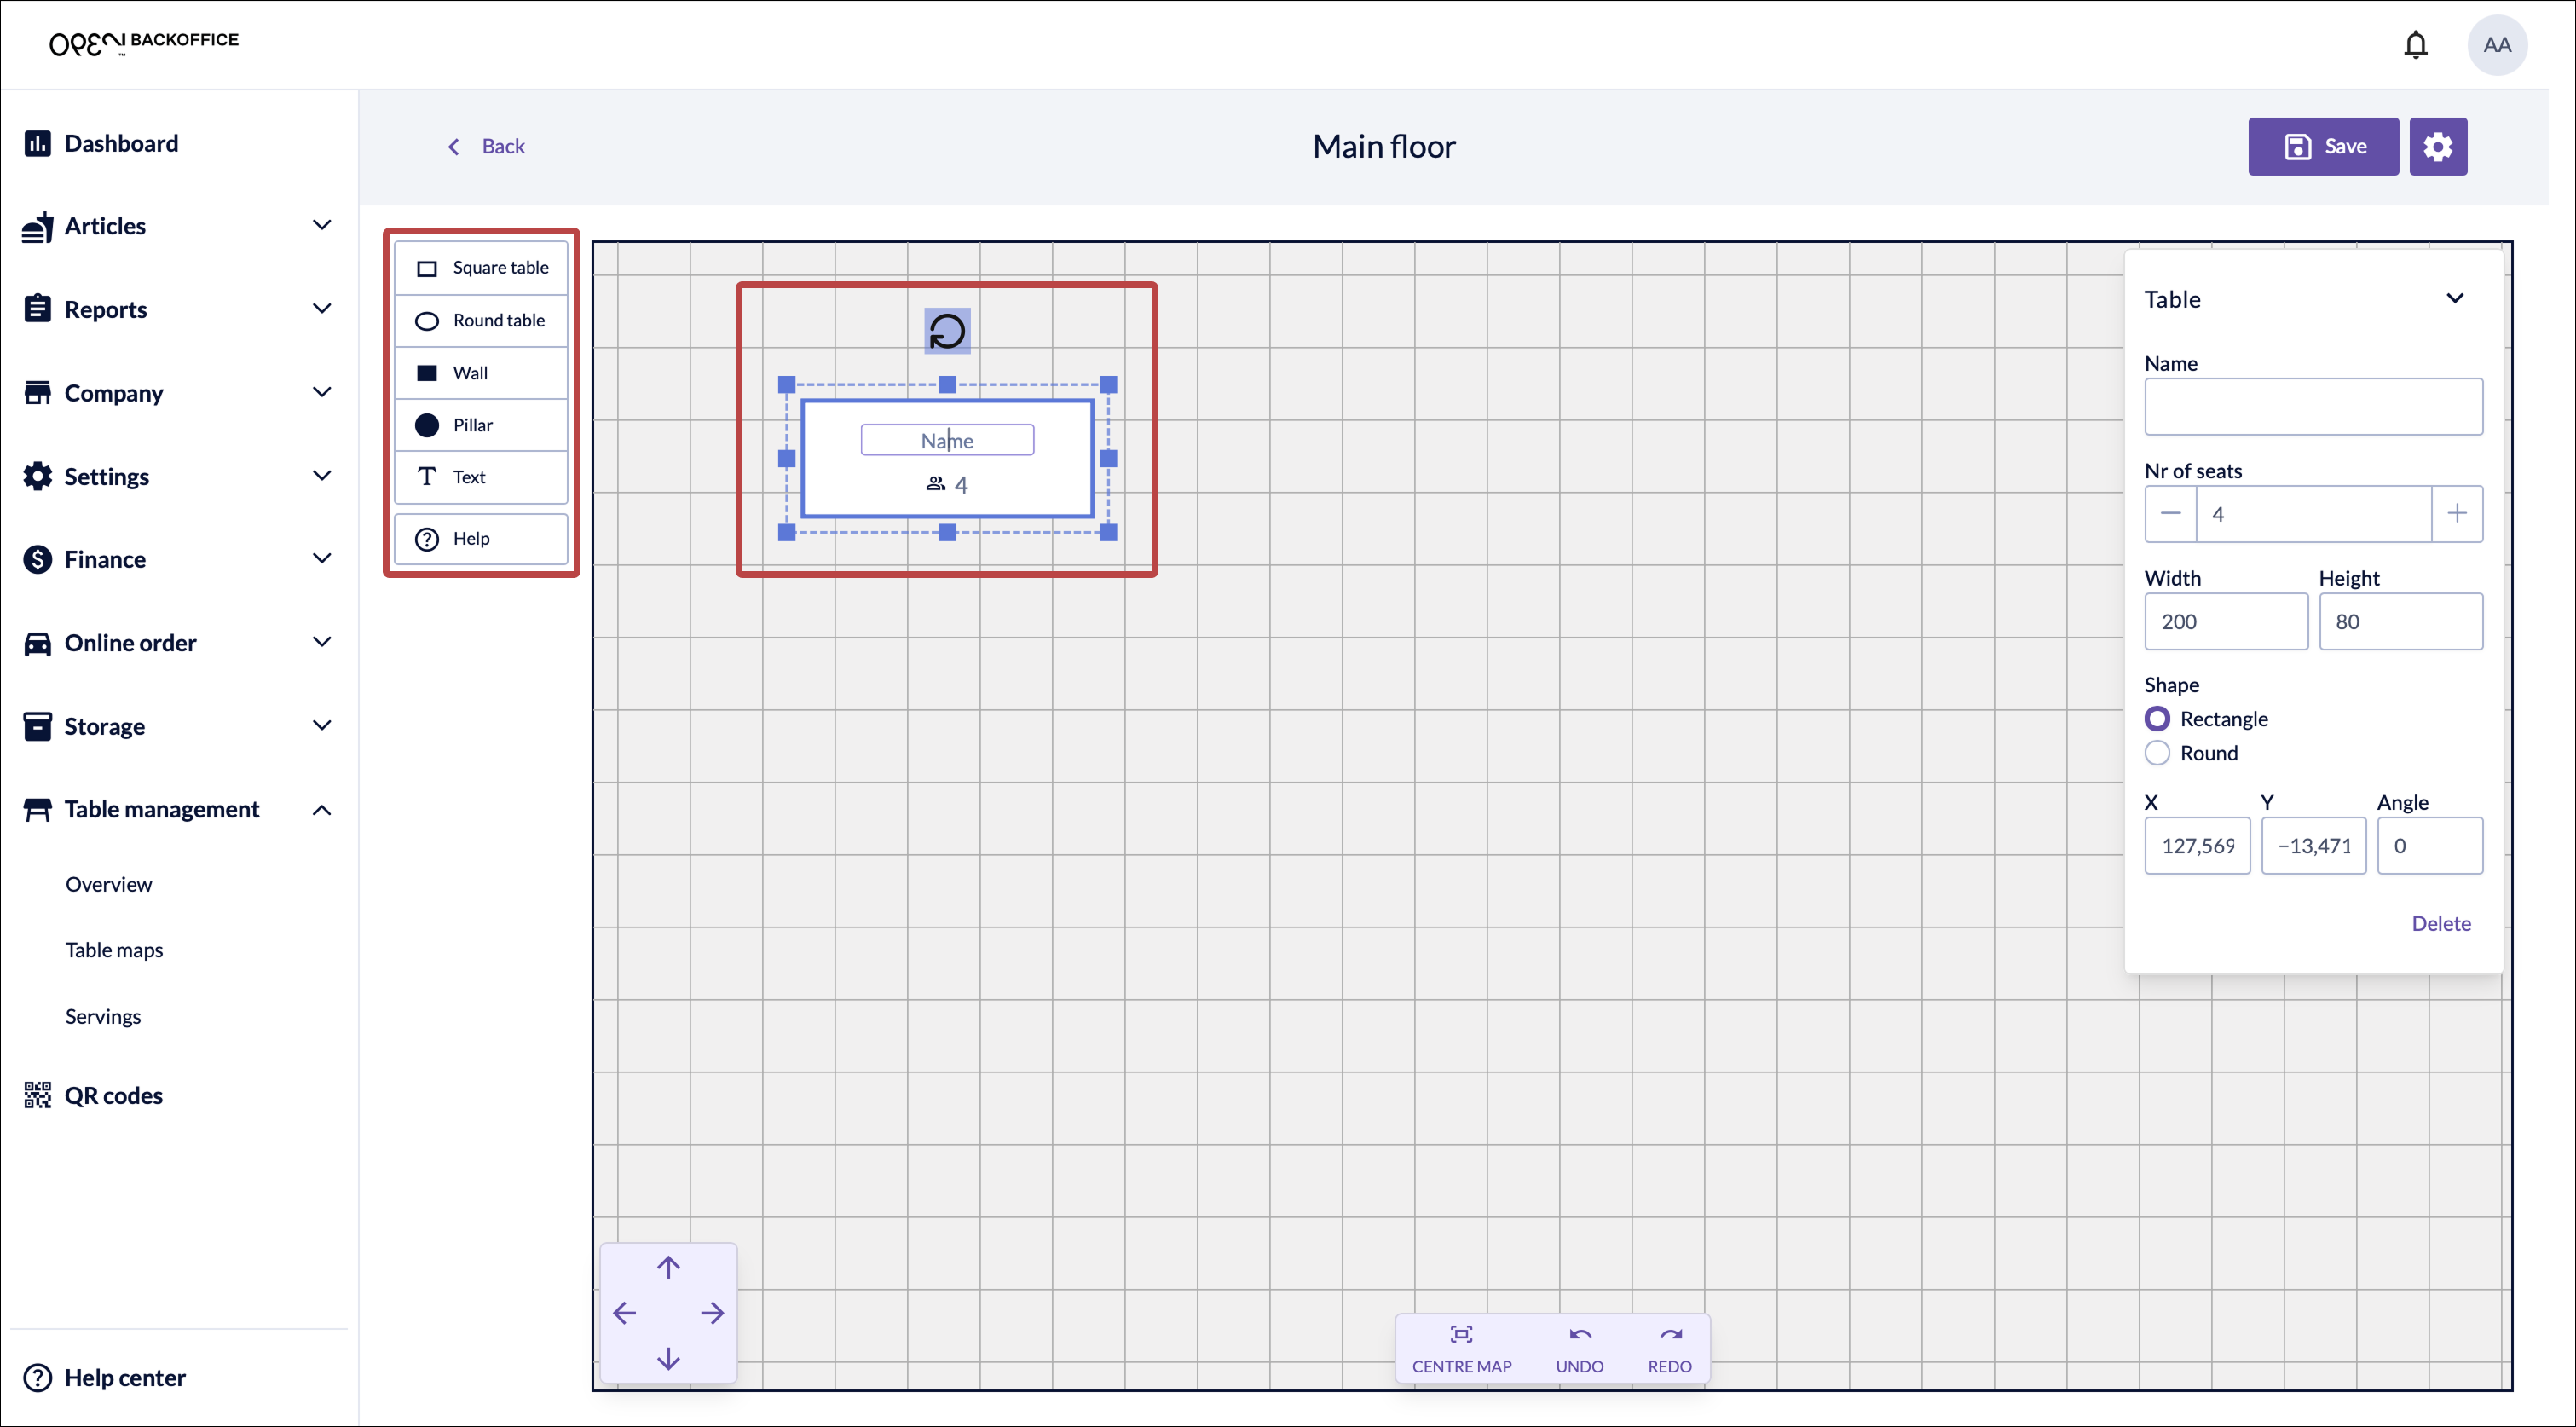
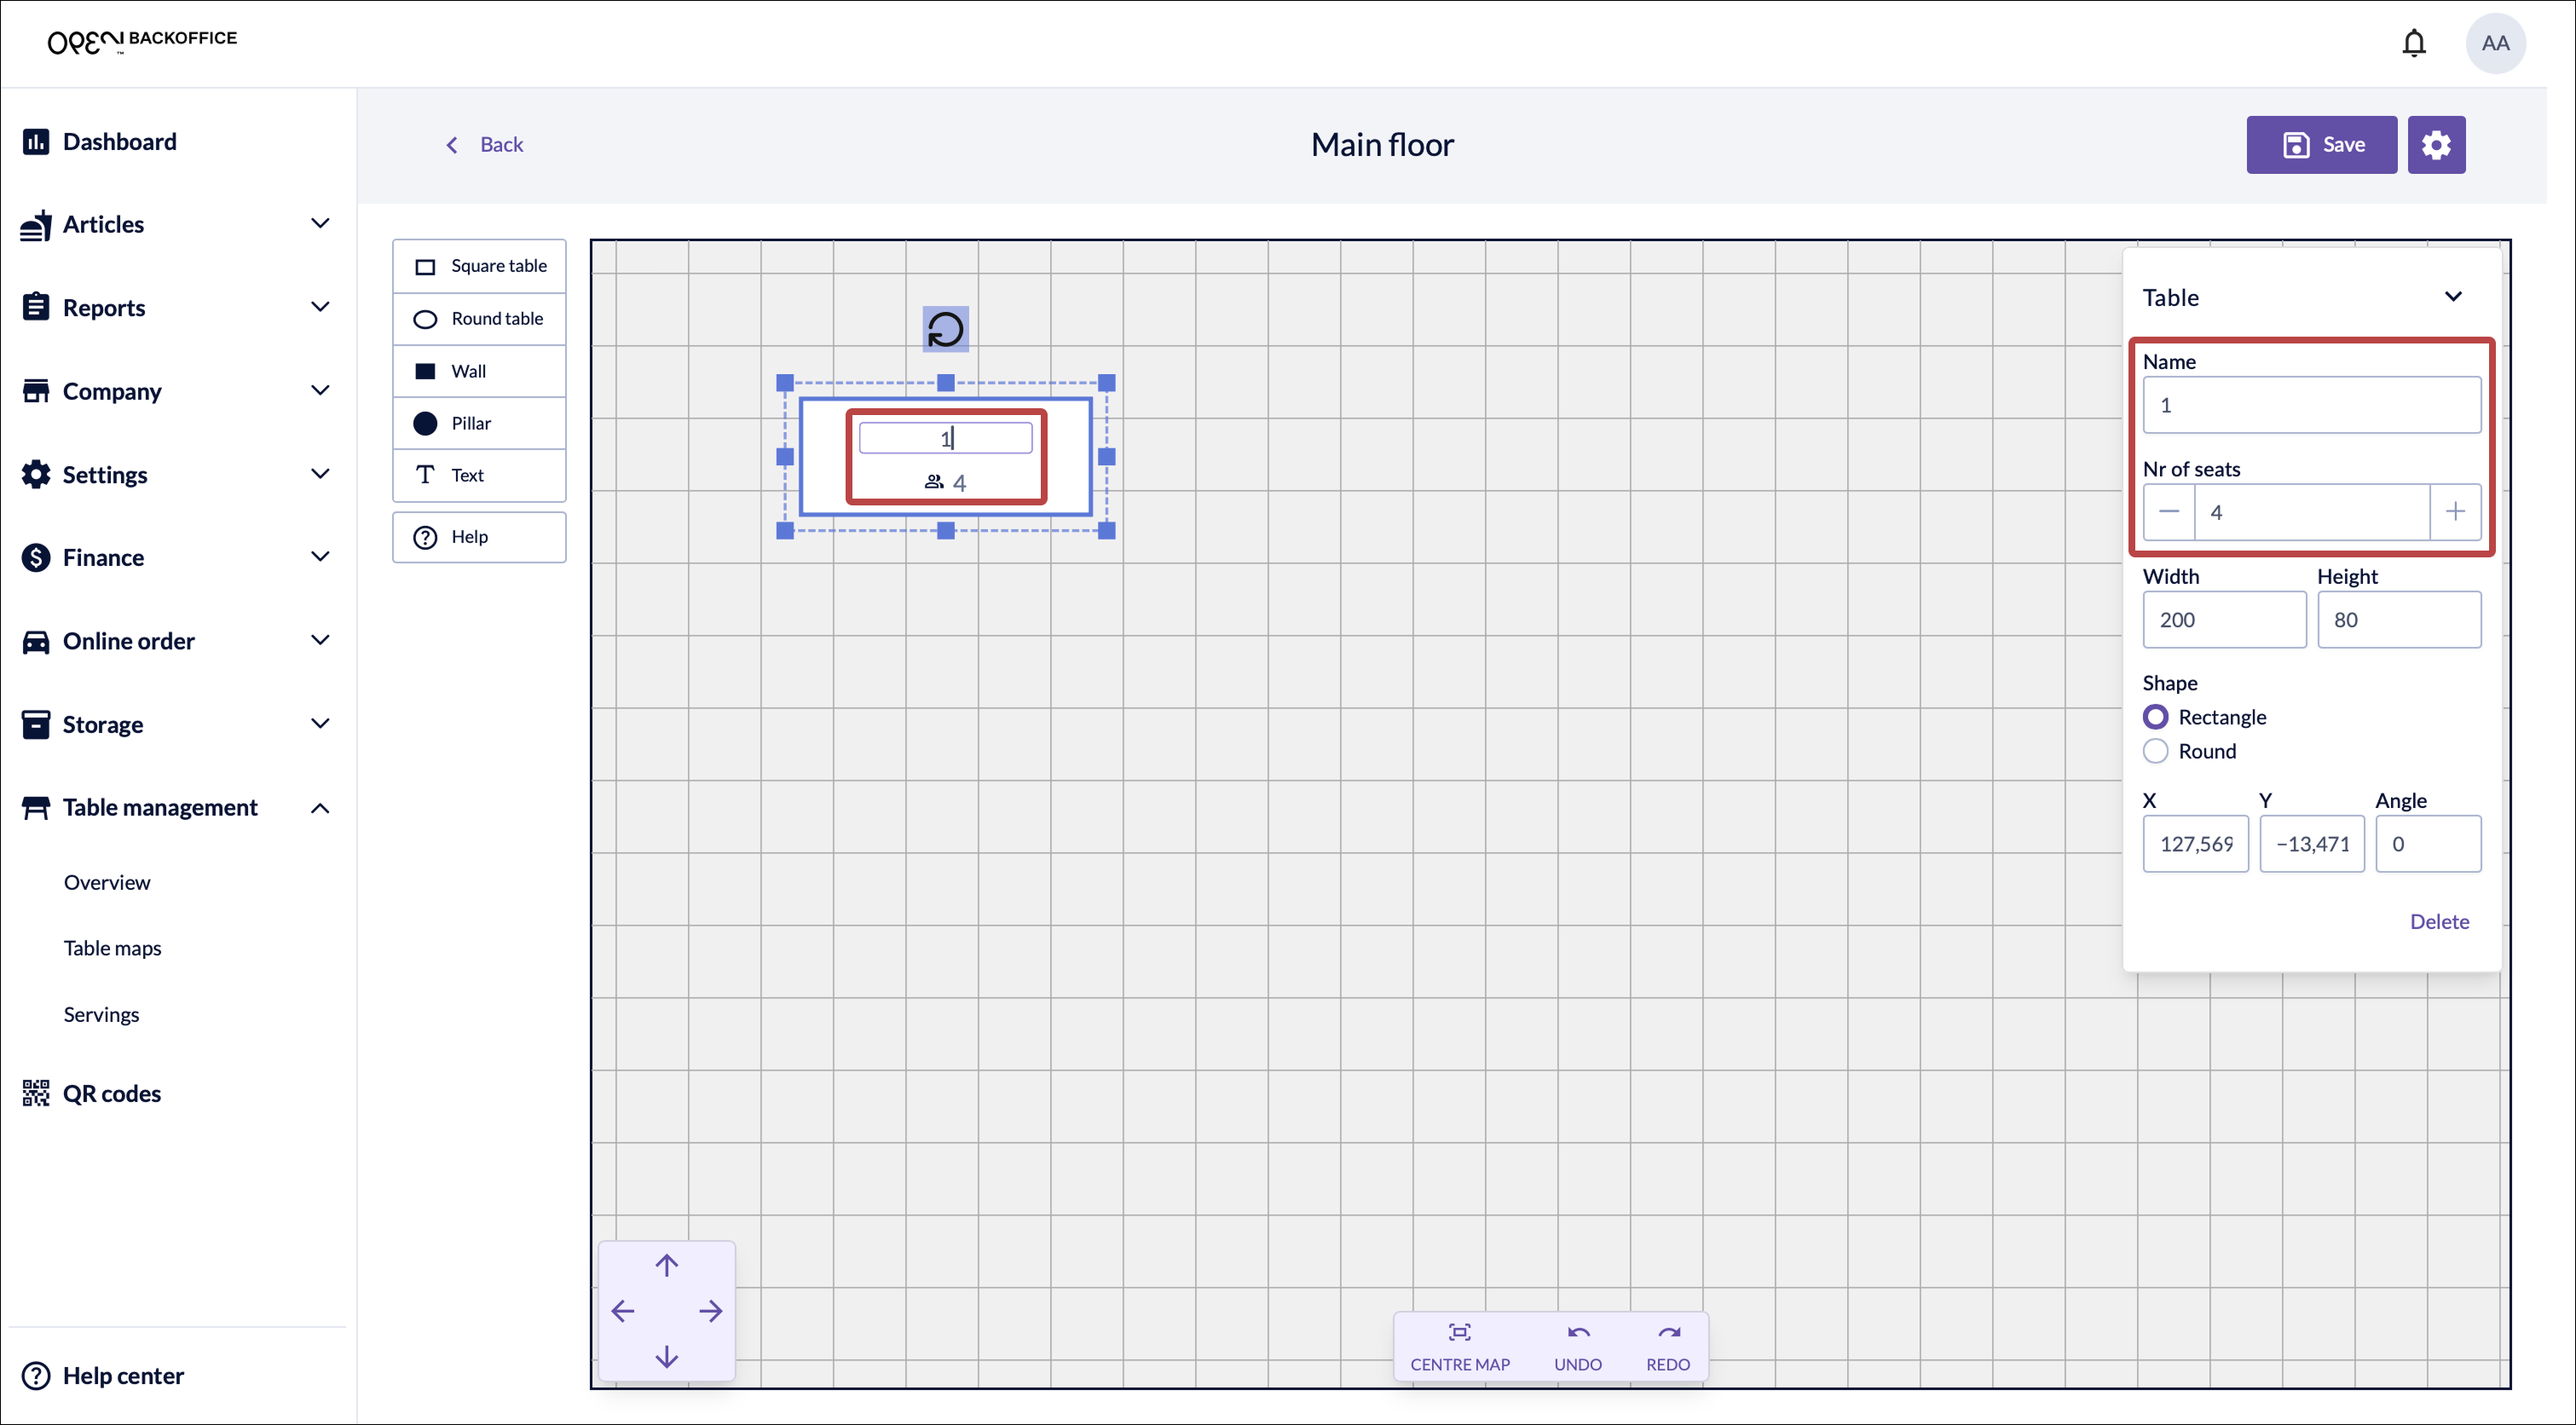
Click a table to name it, or edit its name and number of seats in the panel on the right.
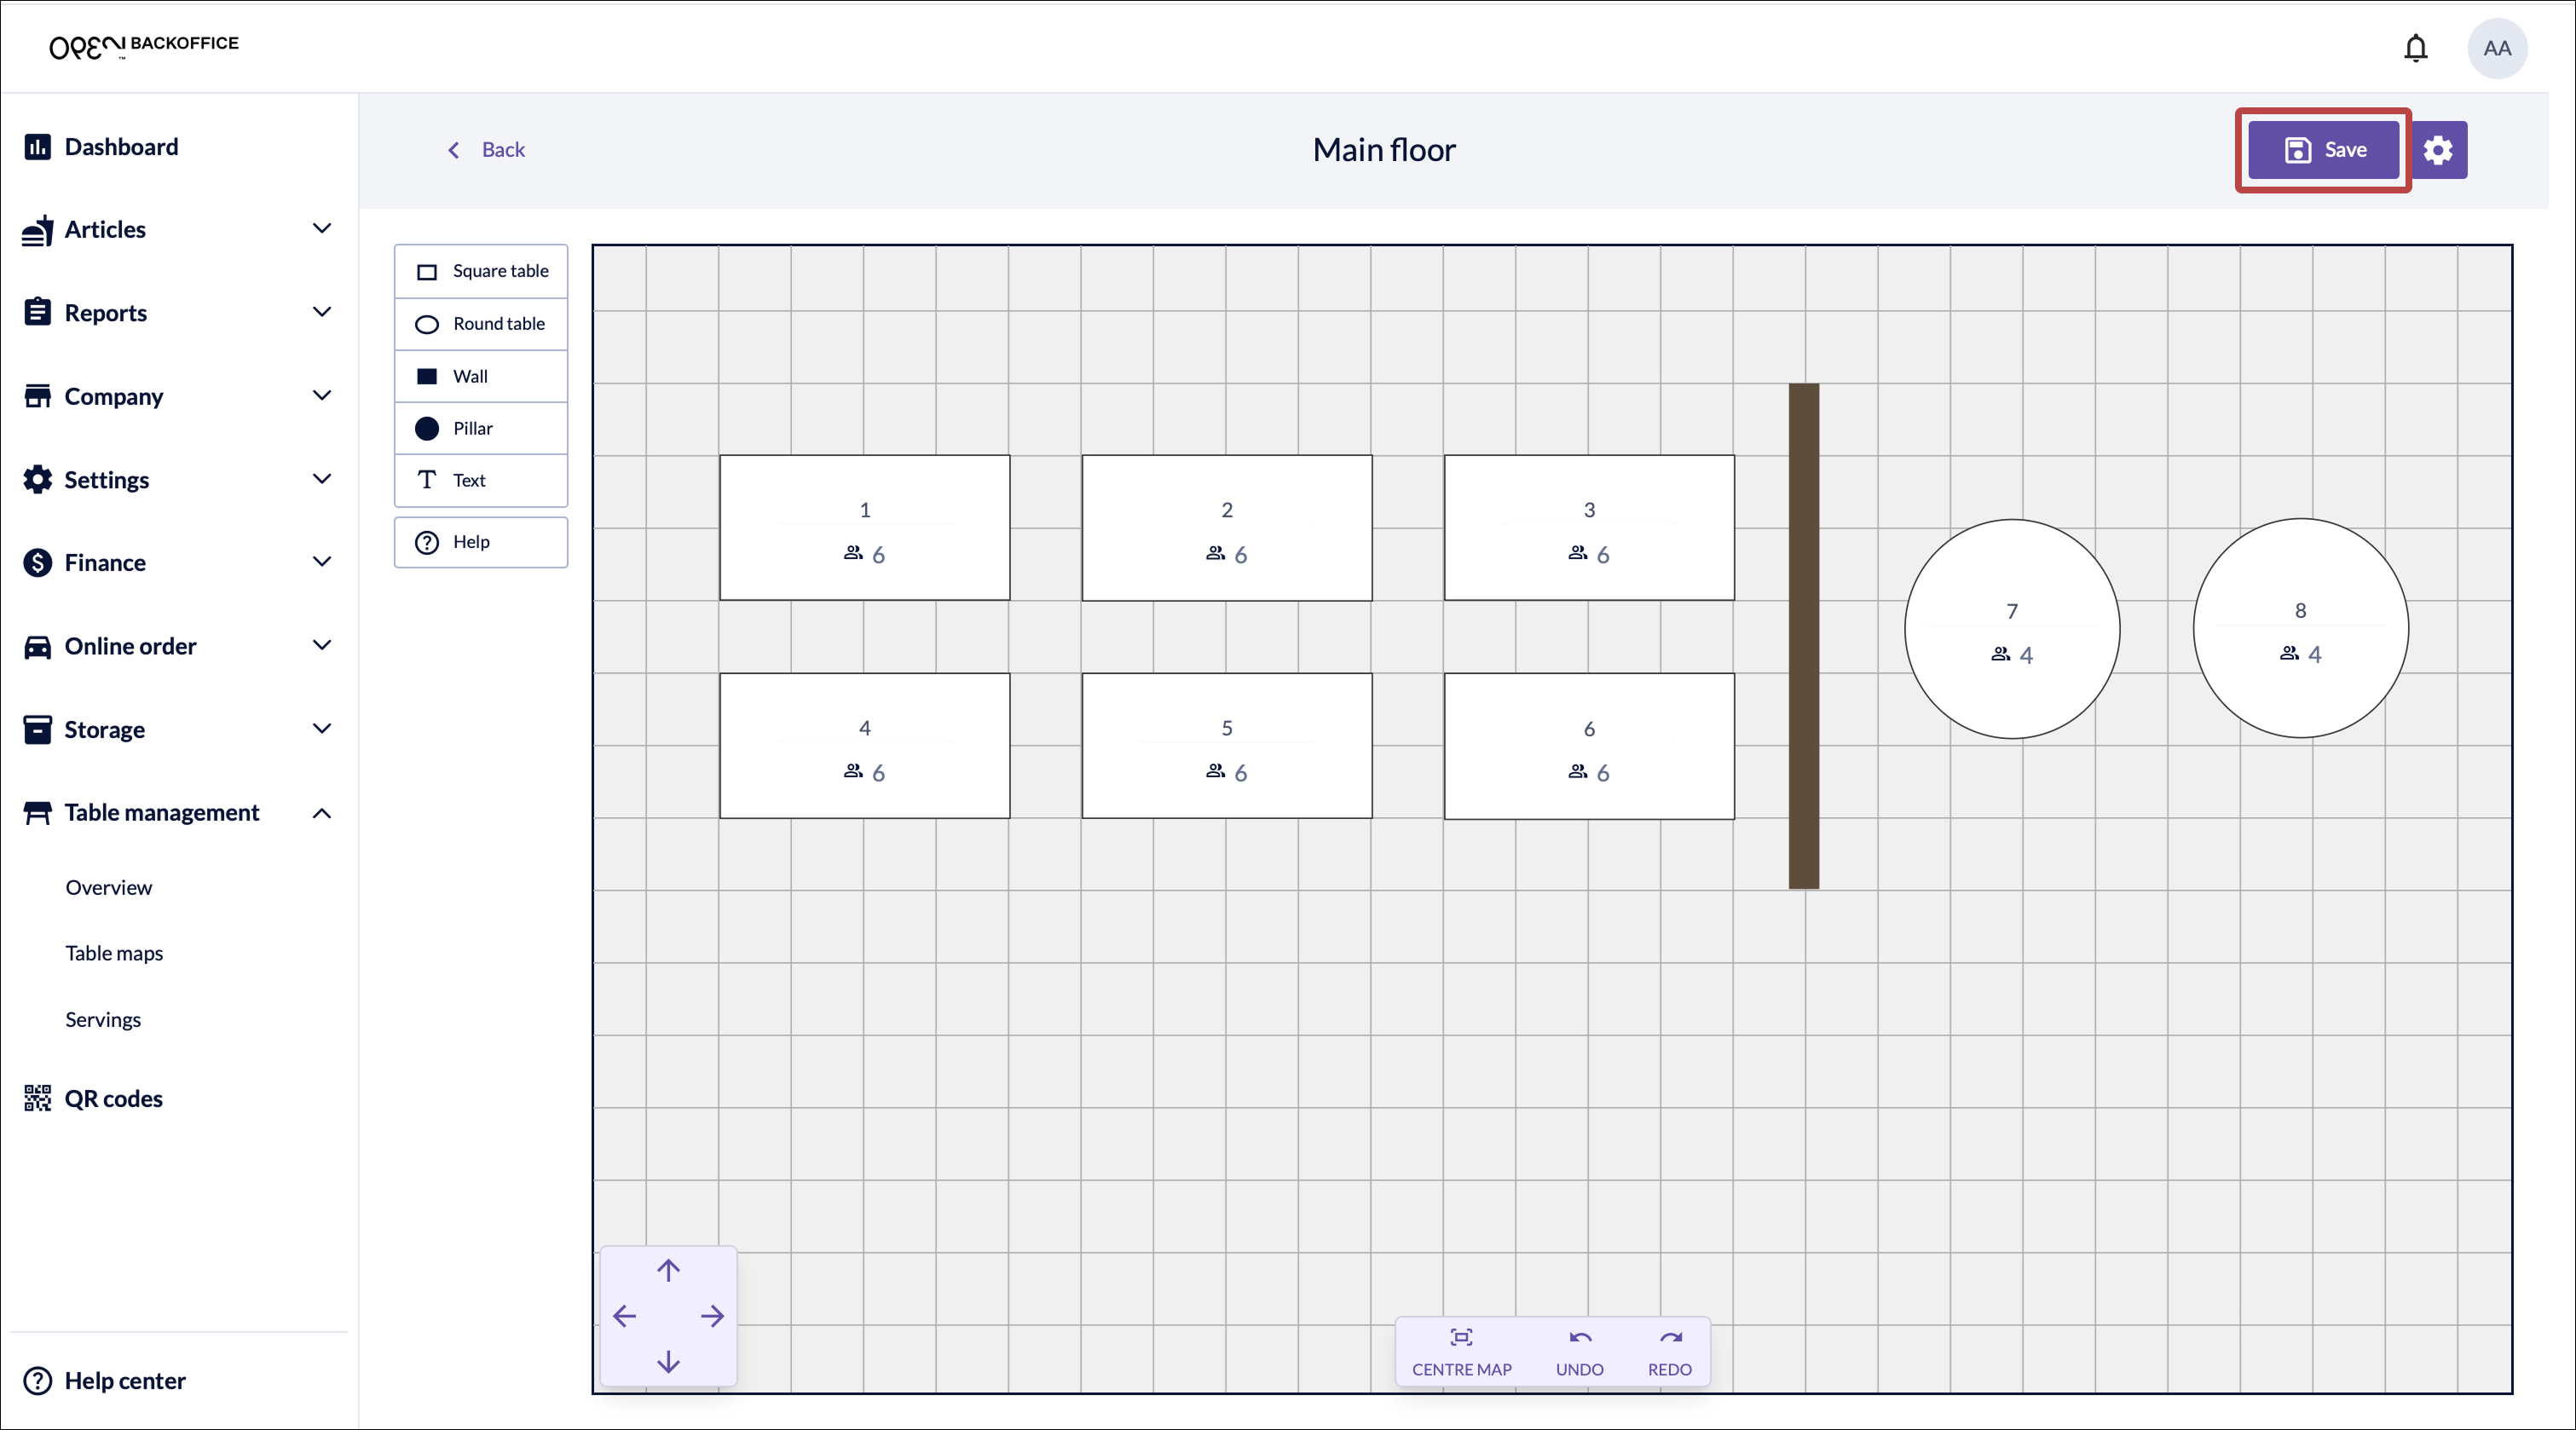
When you are done, click Save.


Tips
- Copy tables — select a table and use Ctrl+C / Ctrl+V (Windows) or Command+C / Command+V (Mac) to copy and paste it.
- Undo / Redo — use the arrows to step back or forward through your changes.
- Zoom and navigation — zoom with your mouse or touchpad. Hold the mouse wheel to pan, or use the arrow keys.
- Centre the map — use the centre button to reset to the original zoom and position.
- Grid — toggle the background grid on or off under Settings.
- Help — click Help for an overview of all buttons and keyboard shortcuts.