Invoice via OPEN
OPEN Invoice & Customers manages your customers and invoices in one system.
Some of the advantages of OPEN's own invoicing service:
- Integrated customer and invoice management: Manage all customers and invoices directly in OPEN Two — no switching between systems.
- Create customers in real time: Create new customers directly in BackOffice or at the register, saving time and reducing errors.
- Custom user roles: Assign roles and permissions so employees only access the parts of the system relevant to their tasks. For more information, see the guide User roles.
- Flexible accounting: Switch accounting programs without affecting how you manage invoices and customers in OPEN Two.
License required
Invoicing via OPEN needs a license. Contact your salesperson to get it — once it's active, the invoicing pages appear in BackOffice and you can start setting up.
How it works
You work with invoicing in two places:
| Where | What you do there |
|---|---|
| BackOffice | Set up invoice settings, create and edit customers, and send and track invoices. |
| The register | Create customers on the spot, and charge them via invoice. |
Getting up and running is a four-step journey:
- Set up invoicing — enter your invoice settings (one time).
- Add your customers — in BackOffice or at the register.
- Charge customers — via invoice at the register.
- Manage your invoices — send, track, and handle refunds in BackOffice.
Once the license is active, you'll find the new Invoice settings, Customers, Invoices, and Orders pages under the Finance menu in BackOffice.

Step 1 — Set up invoicing
Before you can send your first invoice, enter your invoice settings once. These hold the information that appears on every invoice, for example the Bankgiro/Plusgiro that invoices are paid to.
Enter your invoice settings
- In BackOffice, select Finance from the menu and go to the Invoice settings page.

- Fill in each setting:
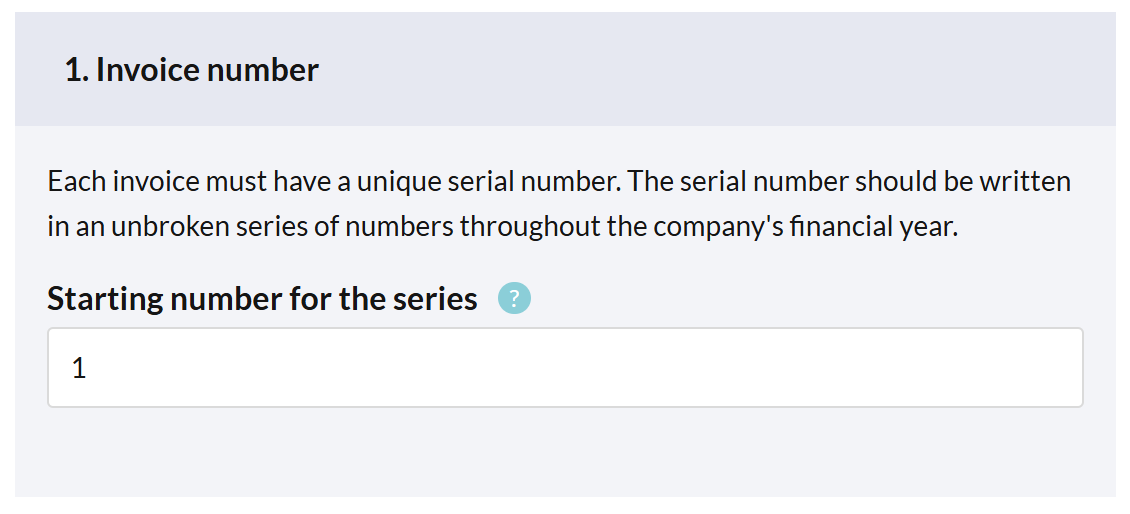
Invoice number
Each invoice must have a unique serial number, running in a continuous series throughout your fiscal year. Choose a starting number for the series.
The series can't be changed once you've sent your first invoice.
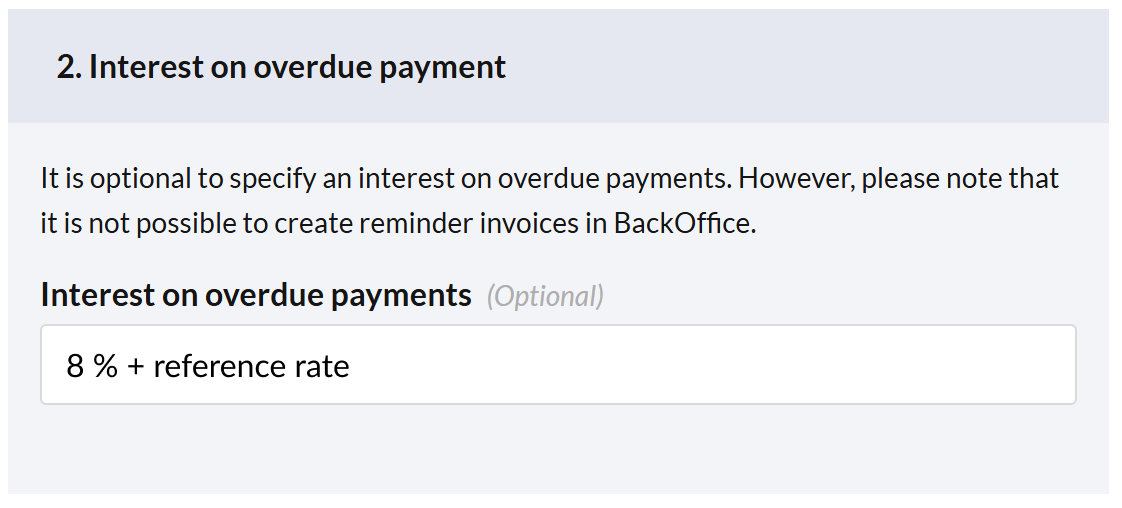
Interest on overdue payment
Optionally specify late payment interest, e.g. "8% + reference interest."
Reminder invoices can't be created in BackOffice.
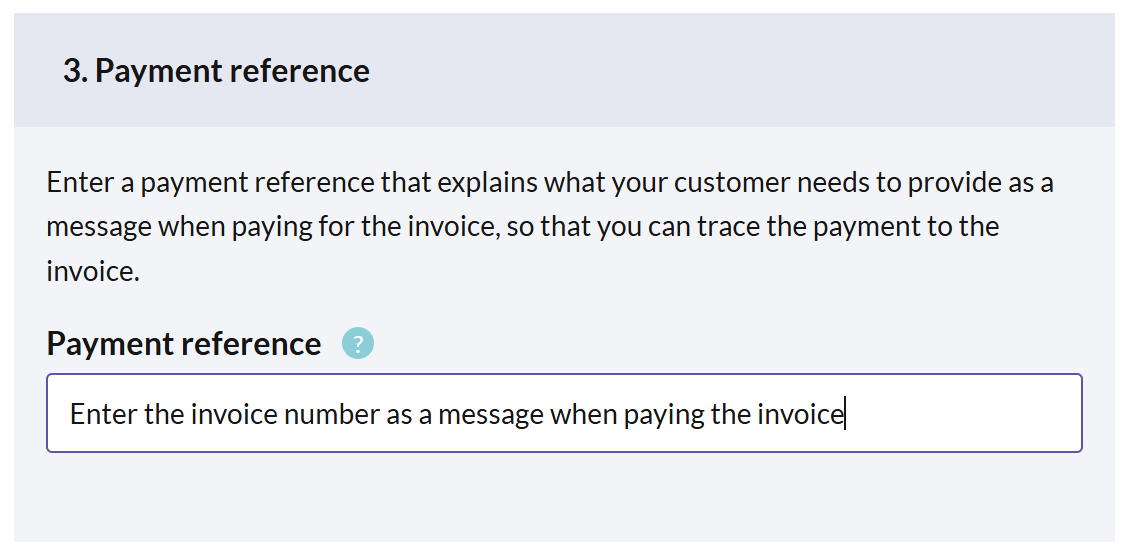
Payment reference
Specify a payment reference that tells customers what to write as a message when they pay, so you can trace each payment to its invoice.
Example: "Enter the invoice number as a message when paying the invoice." This information appears on the invoice.
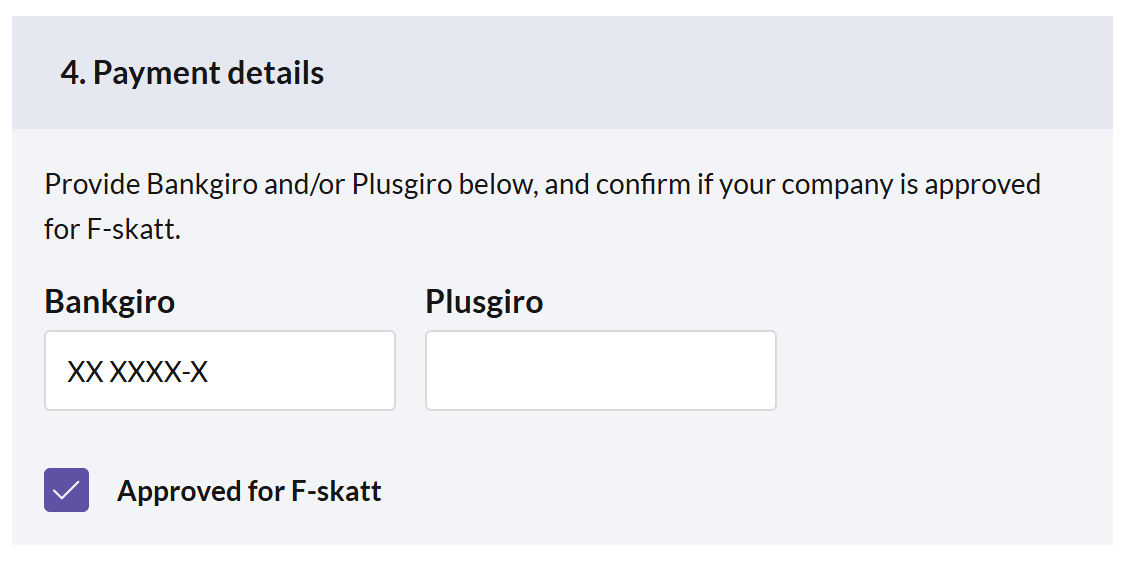
Payment details
Enter the Bankgiro and/or Plusgiro, and confirm whether your company is approved for F-tax.
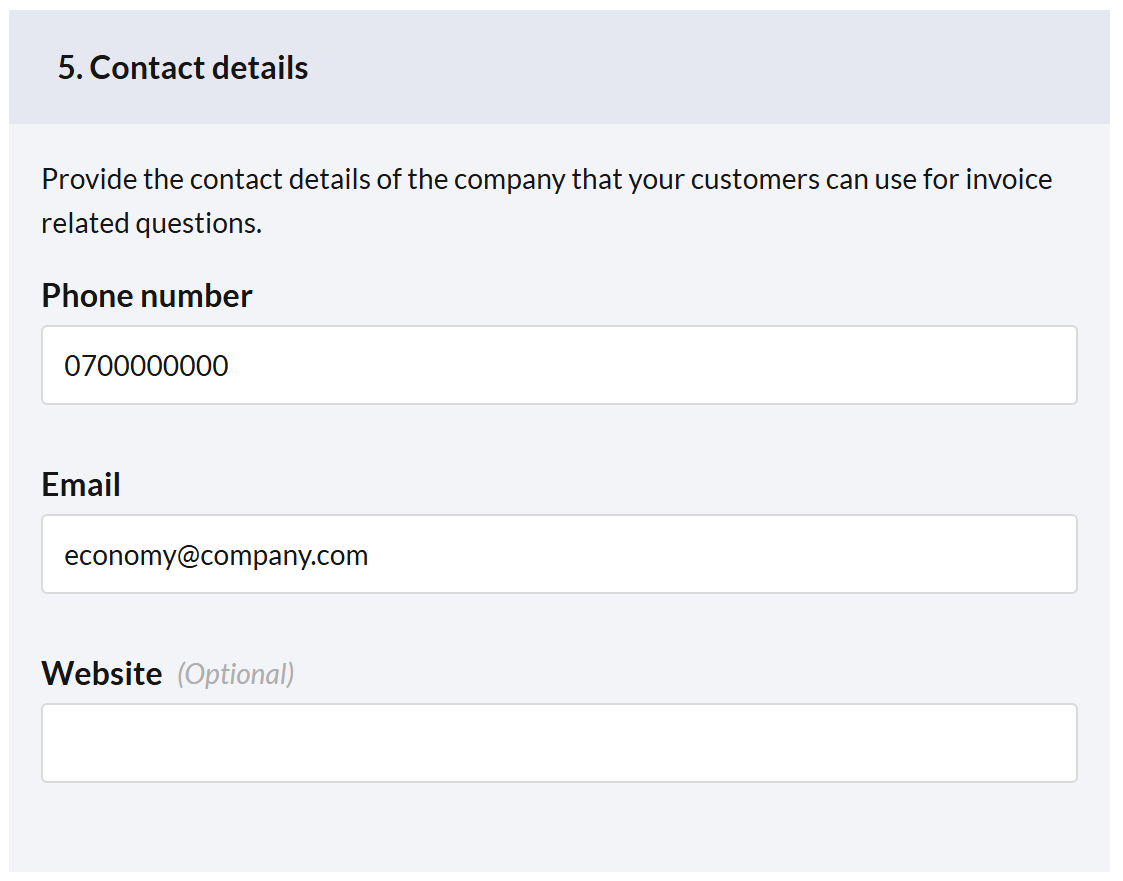
Contact details
Provide company contact details your customers can use for invoice questions.
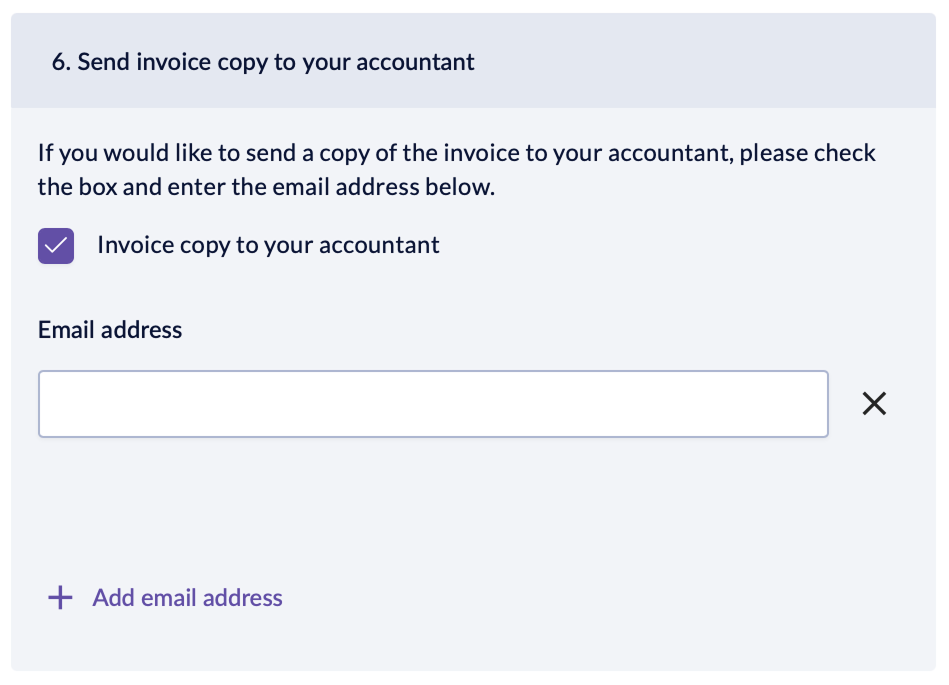
Send invoice copy to your accountant
To send a copy of each invoice to your accountant, check the box and enter the email address(es).
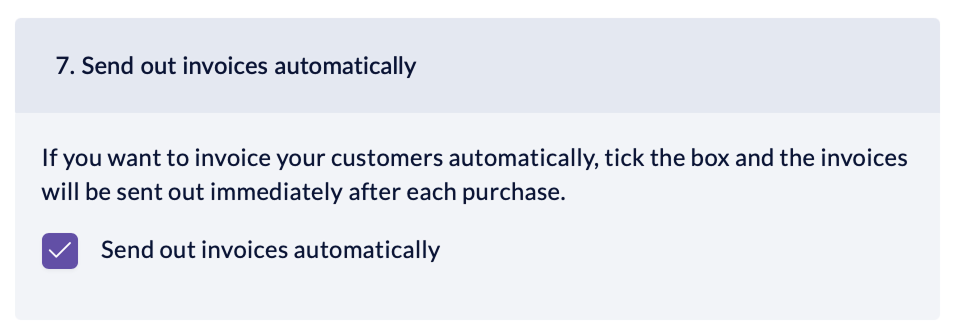
Send out invoices automatically
Check the box to email invoices automatically, right after a purchase. The invoice is sent to the email address on the customer card.


- Press Save changes at the bottom of the page when you're done.

Here's an example of how your invoice settings may appear on a finished invoice:

Invoice as a payment method
Invoice is automatically activated as a payment method at all your locations — there's nothing to switch on. To review or manage payment methods, go to Settings > Payment methods in BackOffice.

Step 2 — Add your customers
You can create and edit invoice customers in BackOffice or directly at the register. Both use the same core fields; BackOffice adds a few extra options, such as a parent company and collective invoicing.

From BackOffice
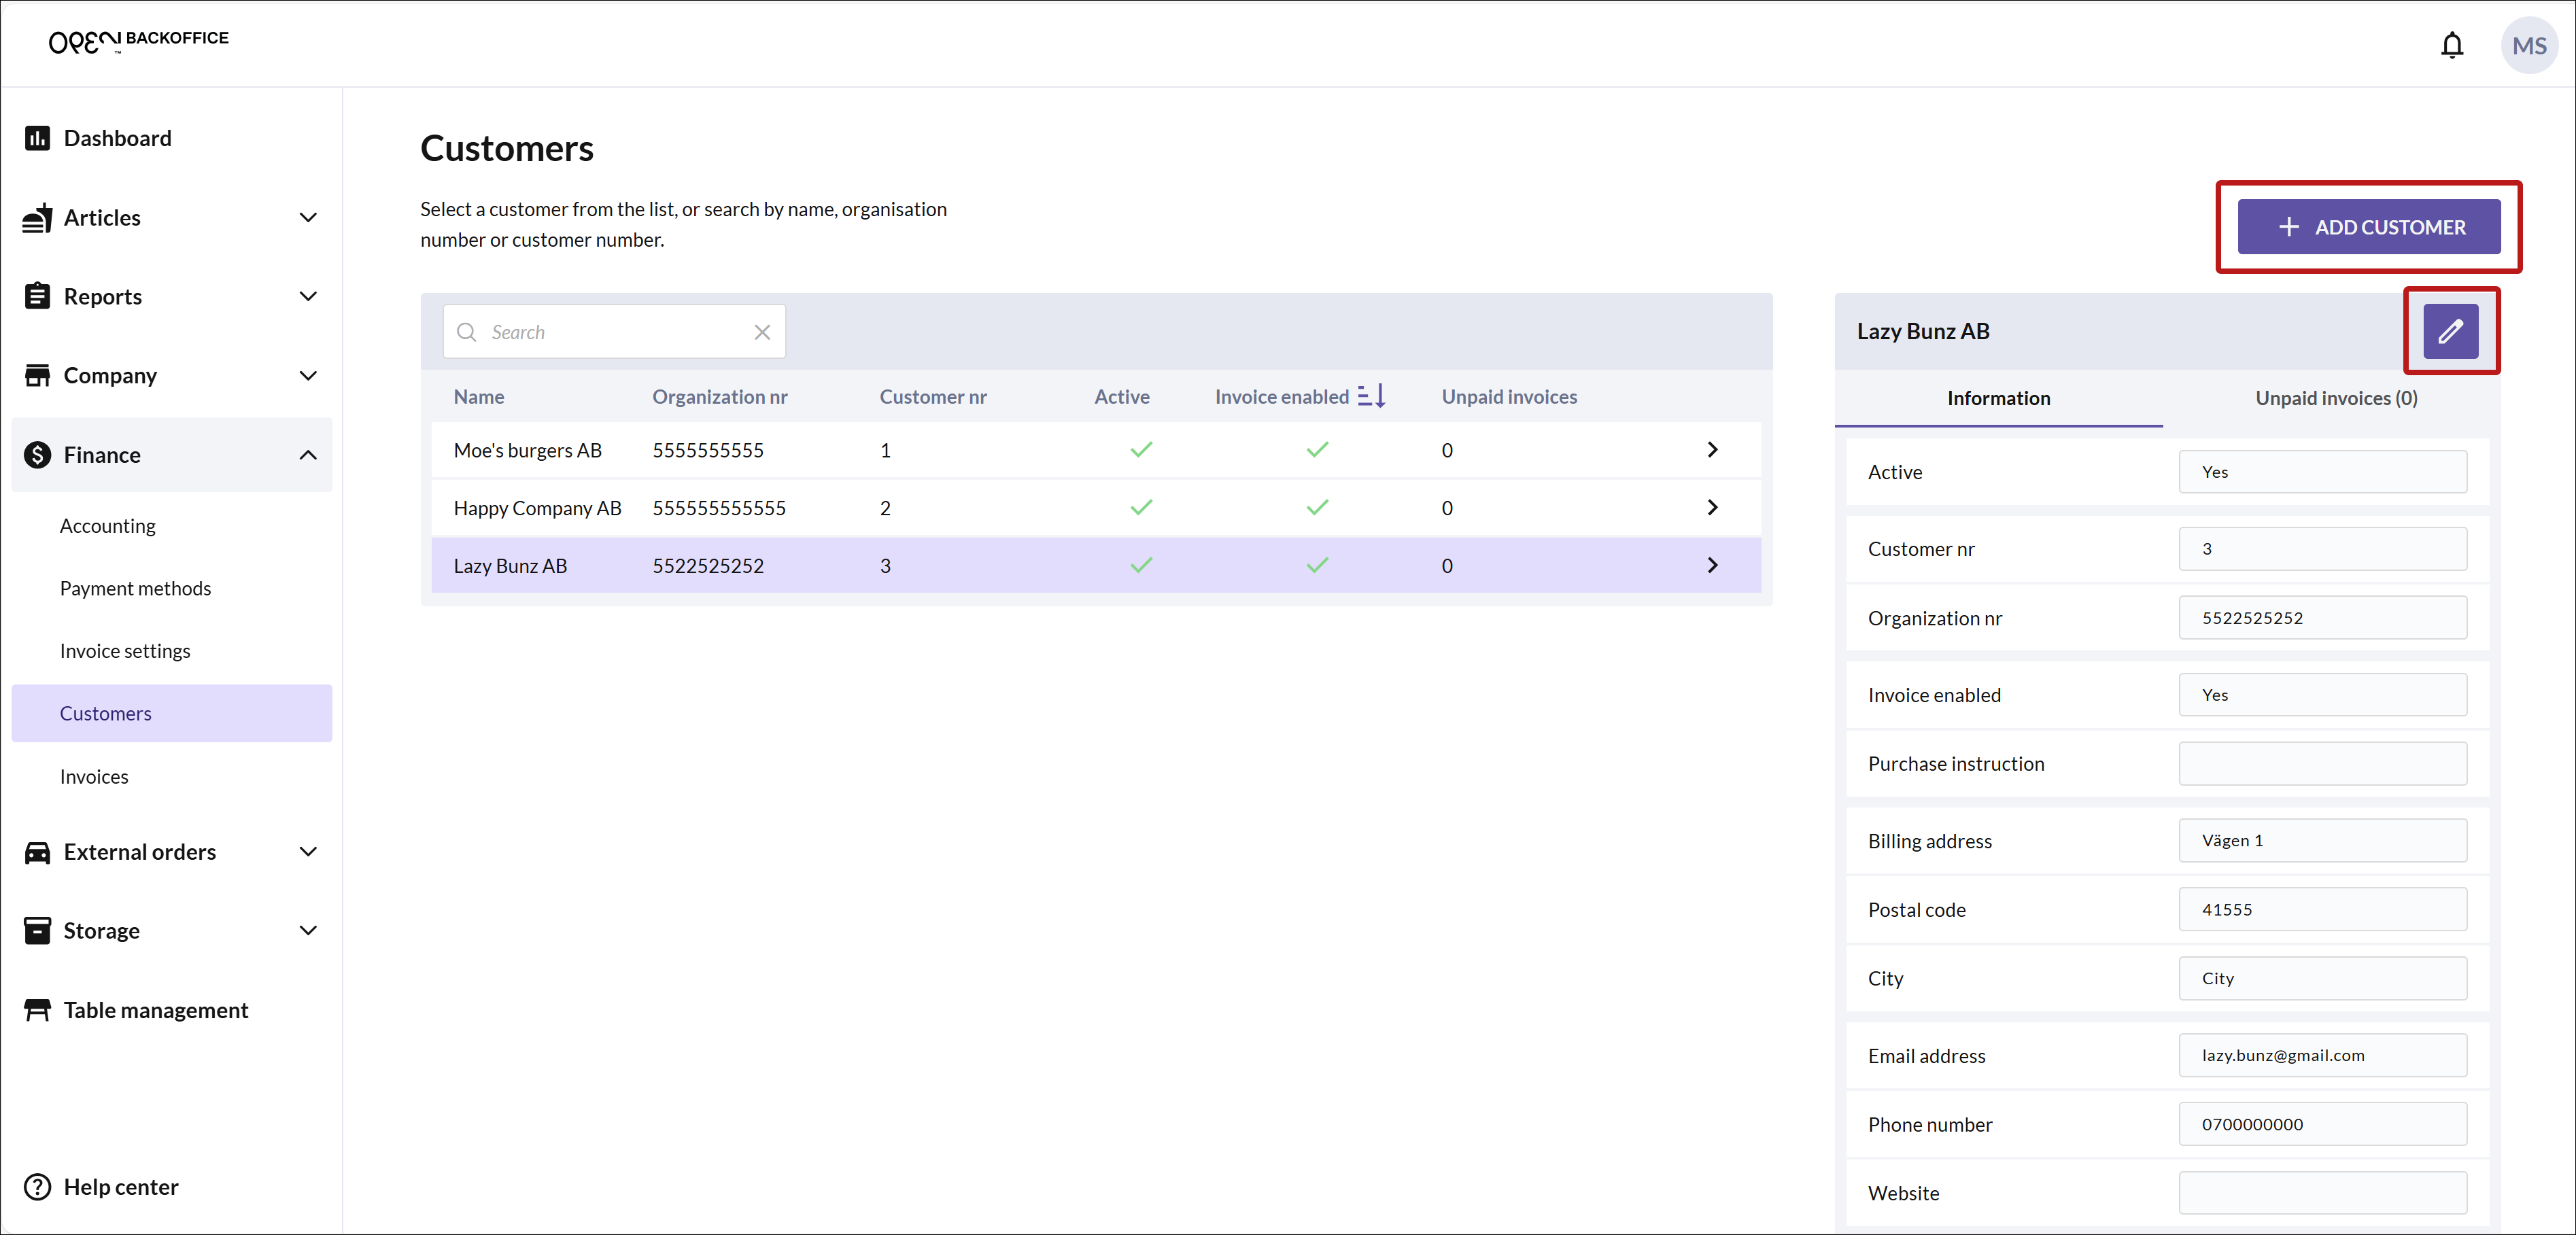
In BackOffice, select Finance from the menu and go to the Customers page.
To create a customer, press + New customer in the upper right corner. To edit one, select it from the list and press the pen icon in the upper right corner.
Fill out the customer form — customer information and invoice settings.

Customer information:
- Make sure the customer is active.
- Enter the customer's contact information.
A customer number is created automatically when you save a new customer.

Invoice settings:
- Enable invoicing.
- If the customer is a subsidiary, you can send invoices to the parent company (optional).
- Enter the number of due days (how many days the customer has to pay an invoice).
- Enter a purchase instruction (optional).
Purchase instruction
This instruction helps the cashier. For example, it could require the employee to state their full name or which department they work in.
- Enable collective invoicing to combine a customer's purchases into a single invoice — generated on a set day each month, when their outstanding amount passes a threshold, or both:
- Invoice day of month — the collected invoice is generated on this day each month.
- Invoice generation threshold — the collected invoice is generated as soon as the customer's outstanding amount passes this limit.

- Press Save & exit in the upper right corner when you're done.

From the register
- At the register, select More options and press Get customer.

- To create a customer, press + Add customer. To edit one, select it from the list and press the pen icon in the upper right corner.

- Fill in the customer details across the following sections.

Customer information:
- Enter a name and an organization number.
A customer number is created automatically when you save a new customer.

Invoice settings:
Enable invoicing.
Enter the number of due days (how many days the customer has to pay an invoice).
Enter a purchase instruction (optional).
Purchase instruction
This instruction helps the cashier. For example, it could require the employee to state their full name or which department they work in.

Billing address:
- Enter a billing address.

Contact information:
- Enter an email address and a phone number.

- Save the changes when you're done.

Step 3 — Charge a customer via invoice
Invoicing a customer happens at the register.
- Ring up the articles as usual at the register and select invoice as the payment method.

- Look up the customer — find them in the list, or search by name, organization number, or customer number. (Don't have the customer yet? Create them here — see From the register.)

- Select the customer.

- Add any reference and comment, then create the invoice.

- Finally, print a delivery note if you need one (optional).

All further invoice management happens in BackOffice — see Step 4.
Step 4 — Manage your invoices
From the Invoices page in BackOffice, you can view and manage all your invoices.

Send an invoice to the customer
Manually: open the invoice and tap Email invoice. The invoice is sent to the customer's email address.

Automatically: enable Send out invoices automatically in your invoice settings to email invoices to customers right after a purchase.

Filter & sort
Filter the list by date, and sort by any column in the table.

View an invoice and its actions
Click an invoice to open it in full. From here you can, for example:
- print or download it as a PDF
- mark it as paid in BackOffice This doesn't affect your accounting — it's only a visual status to help you keep track of your invoices.

When you mark an invoice as paid, also enter the date it was paid.

A paid invoice shows a green "Paid (date)" label.

Collective invoice orders
For customers with collective invoicing enabled, each purchase is collected as an order rather than invoiced immediately. You'll find these orders under Orders.
When is a collective invoice generated?
An invoice is generated only once the customer's outstanding amount passes the threshold, or on the chosen day of the month — whichever you set on the customer (see From BackOffice).
Refunds and credit invoices
If a customer returns goods bought via invoice, handle it like any other refund at the register. Once the refund is registered, a credit invoice is created in BackOffice.

You can download the credit invoice as a PDF (just like regular invoices) and send it to your customer. Once it's settled — whether you've refunded the customer or cancelled the original invoice — you can mark it as paid.